Introduction
Update: Microsoft have now released Configuration Manager 2203 and it contains this and other amazing new features.
Microsoft released Technical Preview Configuration Manager version 2203 and it contains some cool new features, one of which is the ability to Escrow Bitlocker recovery info to your Configuration Manager database. This is a much debated, sought after ability, and now you can test it. I have tested and verified that it works !
So what’s new about this ability ? previously to escrow BitLocker recovery password info to your configuration manager site during a task sequence you would have used a Powershell script.
That powershell script is no longer supported (even though it actually works again with TP 2203, I’ve verified it). The Powershell script method caused a stir when Configuration Manager 2103 was released as you can read about in the below two blogs:
using BitLocker Management in ConfigMgr and do OSD, read this !
Now however, you no longer need the powershell script as the feature is a simple checkbox. So now we know what’s changed, let’s take a look.
Prerequisites
Keep in mind the following prereqs before trying this out. Either of the following options will do:
- Create an Encryption Certificate in the site database (see here)
- Create a Bitlocker Management policy and opt-in to plaintext key storage on the Client Management tab.
Enabling the ability
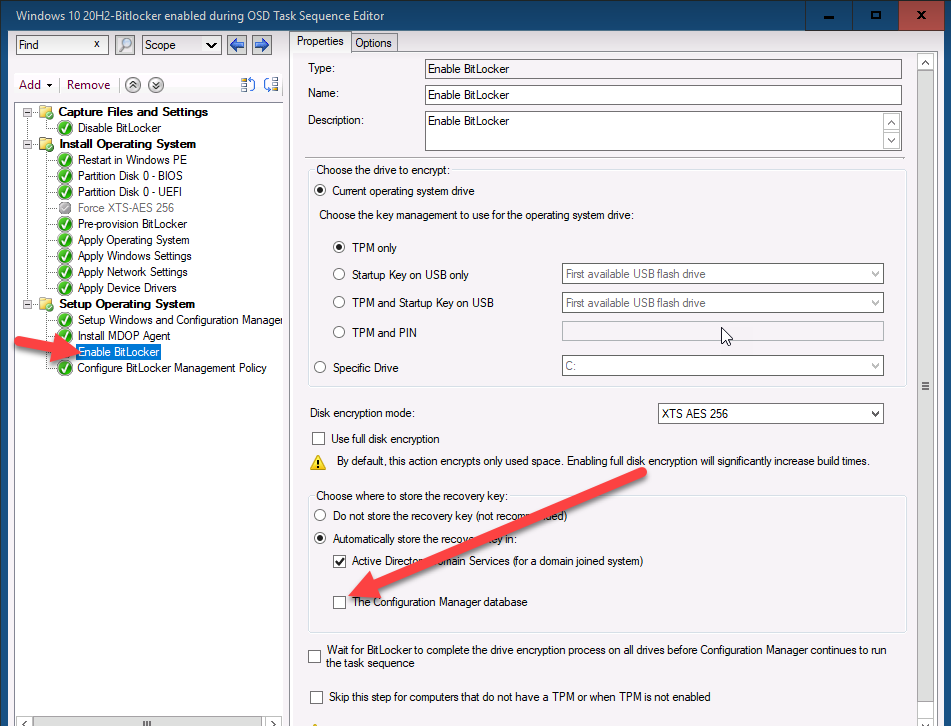
In a task sequence locate the Enable BitLocker step, you’ll see a new setting to allow you to escrow the key to your configuration manager database highlighted in the screenshot below.
By placing a check mark in Automatically store the recovery key in:
- The Configuration Manager Database
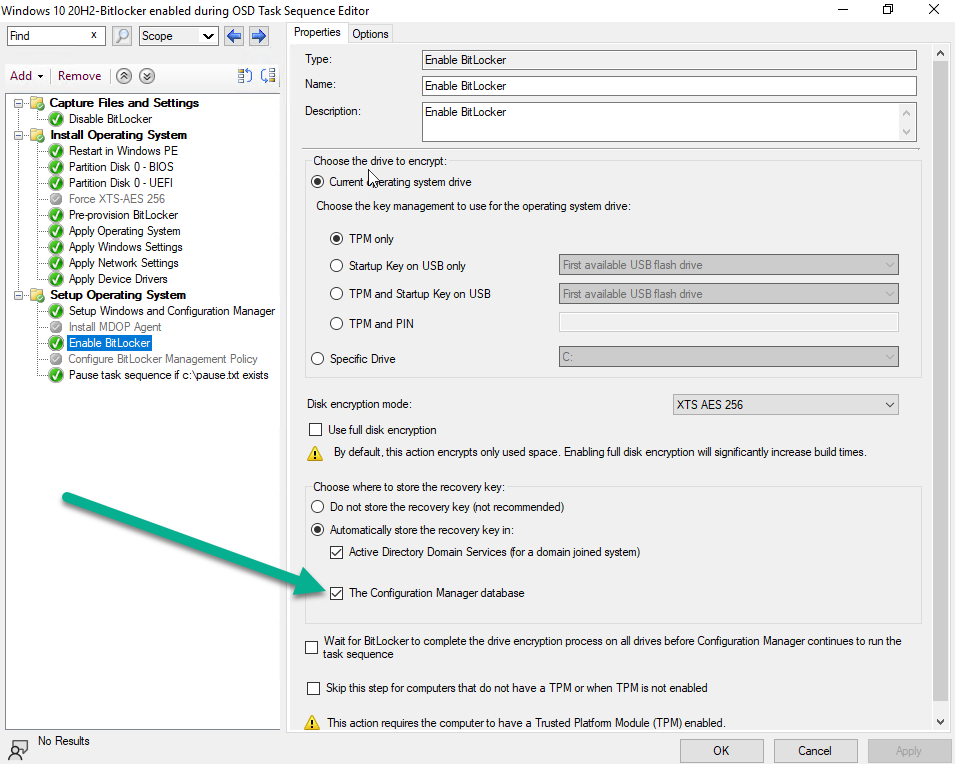
Like so..
This setting will force the task sequence process to store the Bitlocker recovery info in your CM database DURING OSD(operating system deployment) before the Windows login screen. This is the security feature that many companies have been asking for !
Note: You do NOT need to install the MDOP Agent as part of the task sequence and you do NOT need to run any PowerShell script for this functionality to work.
Seeing the ability in action
After PXE booting the device, the task sequence formats the hdd…
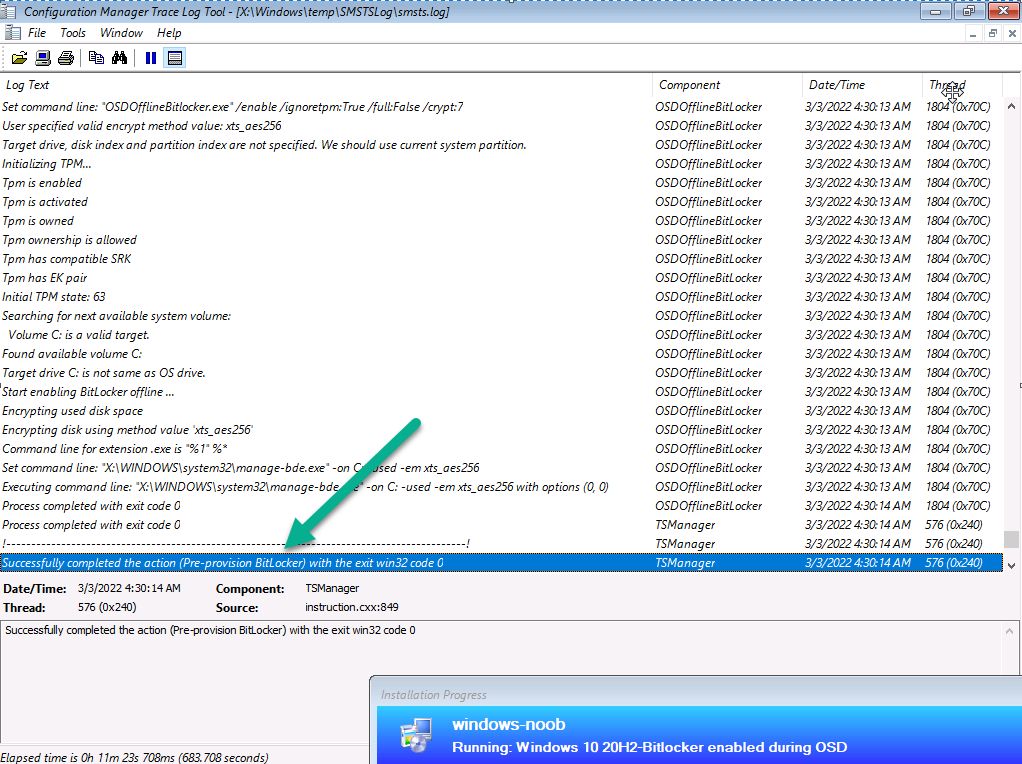
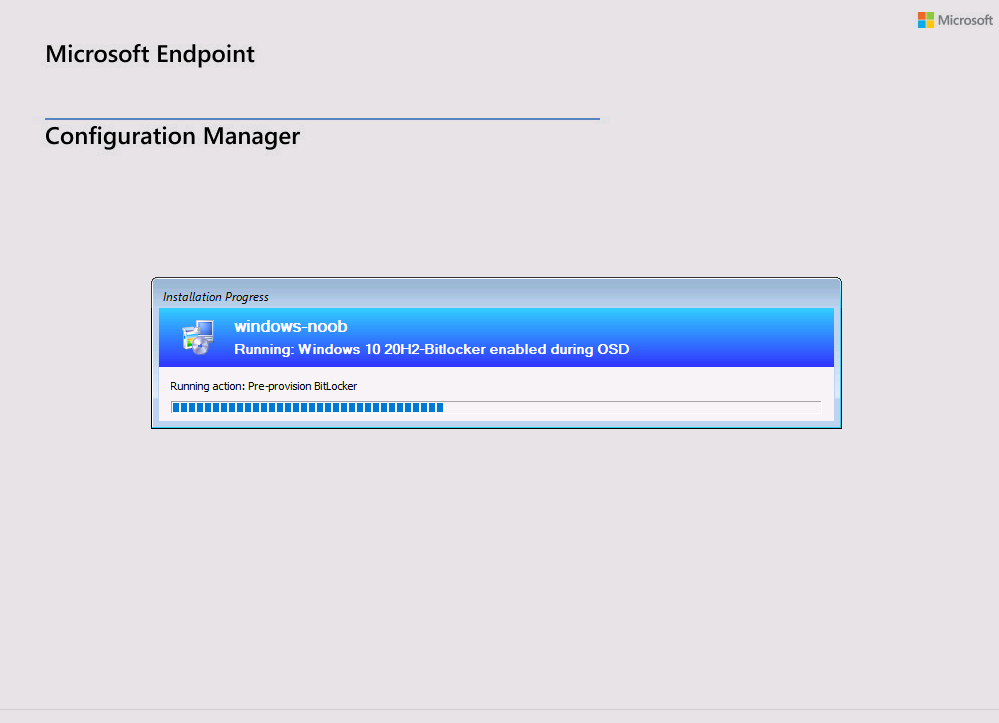 And shortly after the Pre-Provision Bitlocker step takes place…
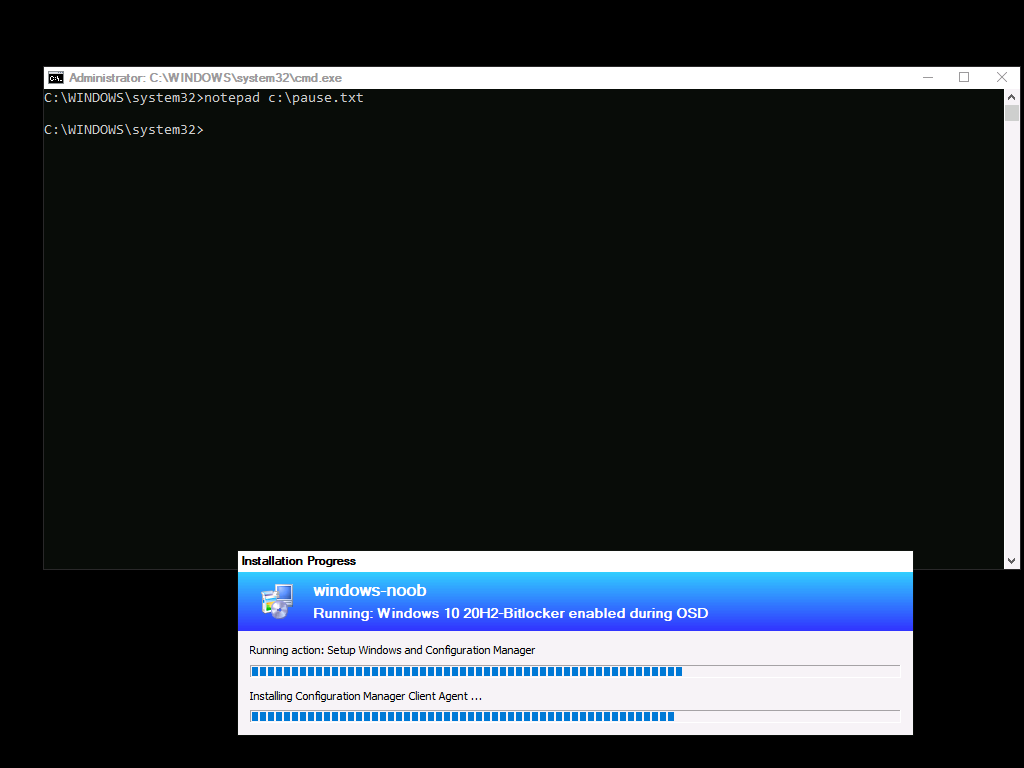
After laying down the Operating System the task sequence reboots into Windows Setup, and after that it installs the Configuration Manager client. At this point I’ve manually created a txt file to pause the task sequence BEFORE logging on to the desktop.
Note: You do not need this step, this is done to prove that the key is uploaded to Configuration Managers database during OSD.
 and here’s the proof ! The recovery info in the right screenshot (during OSD) is now present in Configuration Managers database !
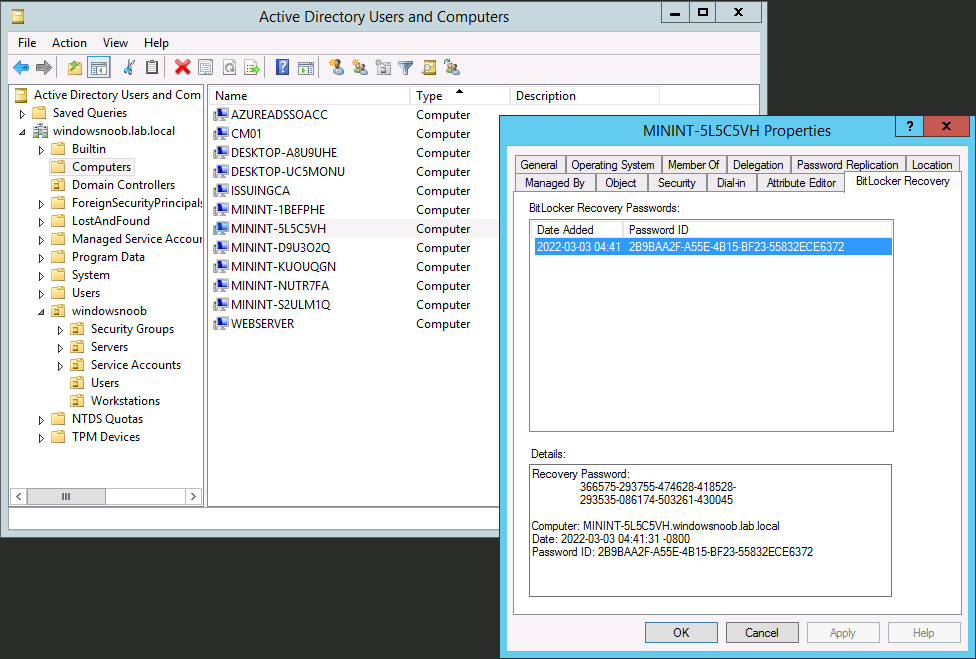
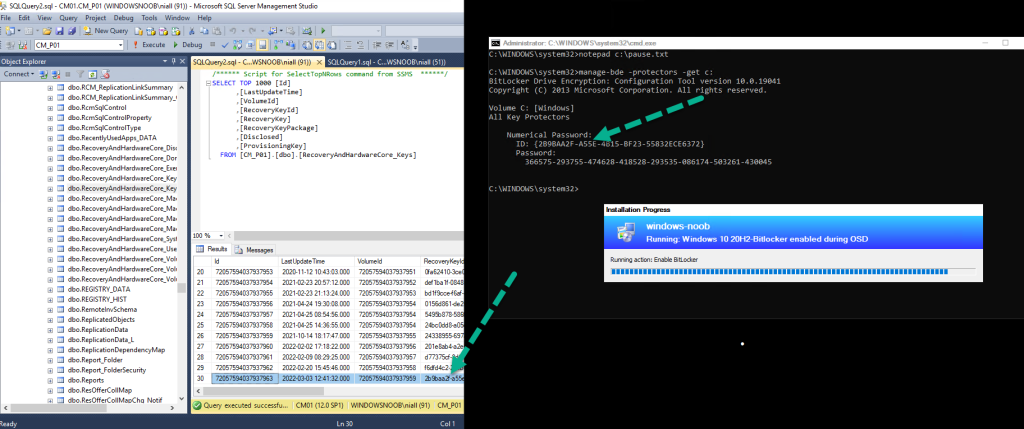 And as we also selected to store the key in Active Directory domain services, here it is.
Troubleshooting
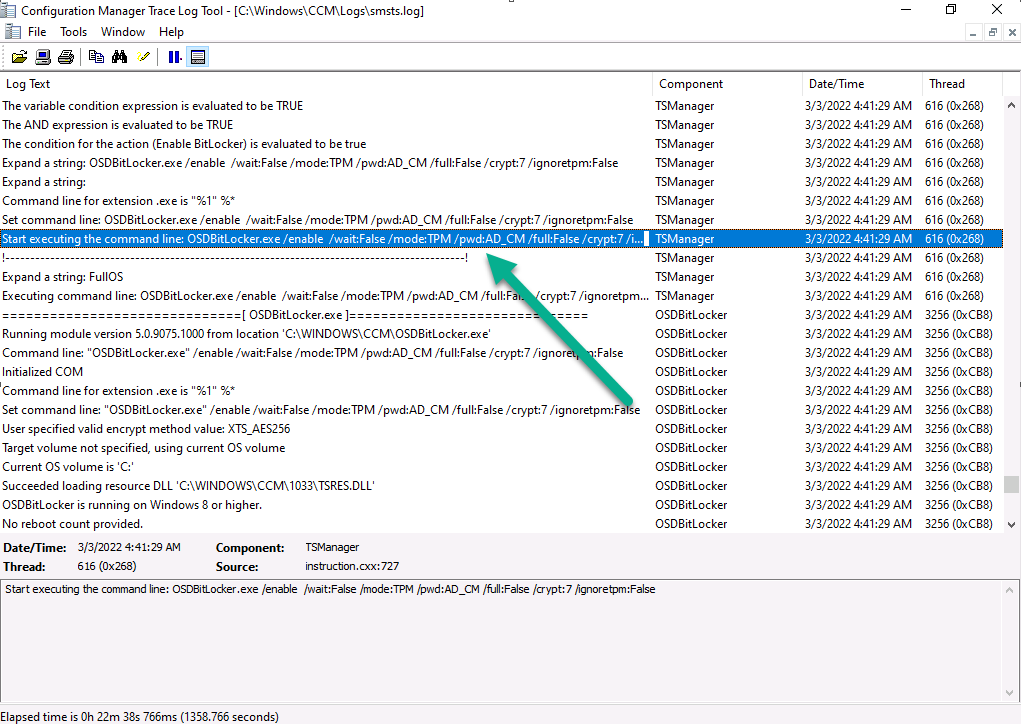
Close analysis of the SMSTS.log file reveals the following key moments in the Enable Bitlocker step, notice pwd:AD_CM shown below…this confirms that you’ve selected both Active Directory and Configuration Manager to store the recovery info.
Note: If you did not select to upload to Configuration Manager database, but upload to Active Directory domain services, then you’d see the following, pwd:AD
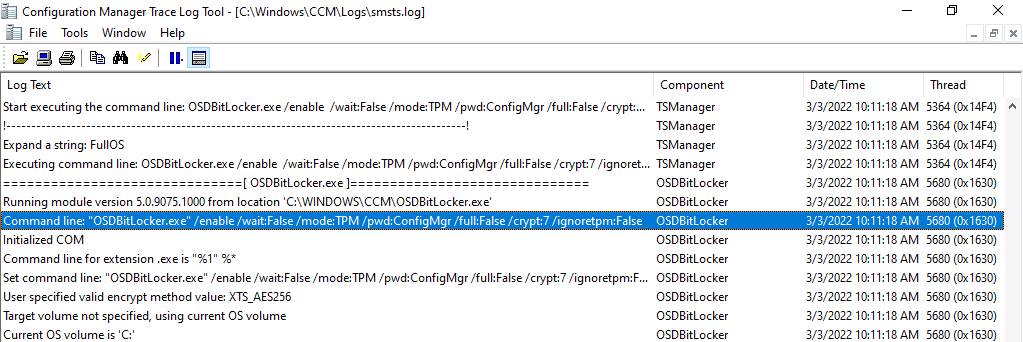
Note: If you only select to upload to Configuration Manager database,then you’d see the following, pwd:ConfigMgr
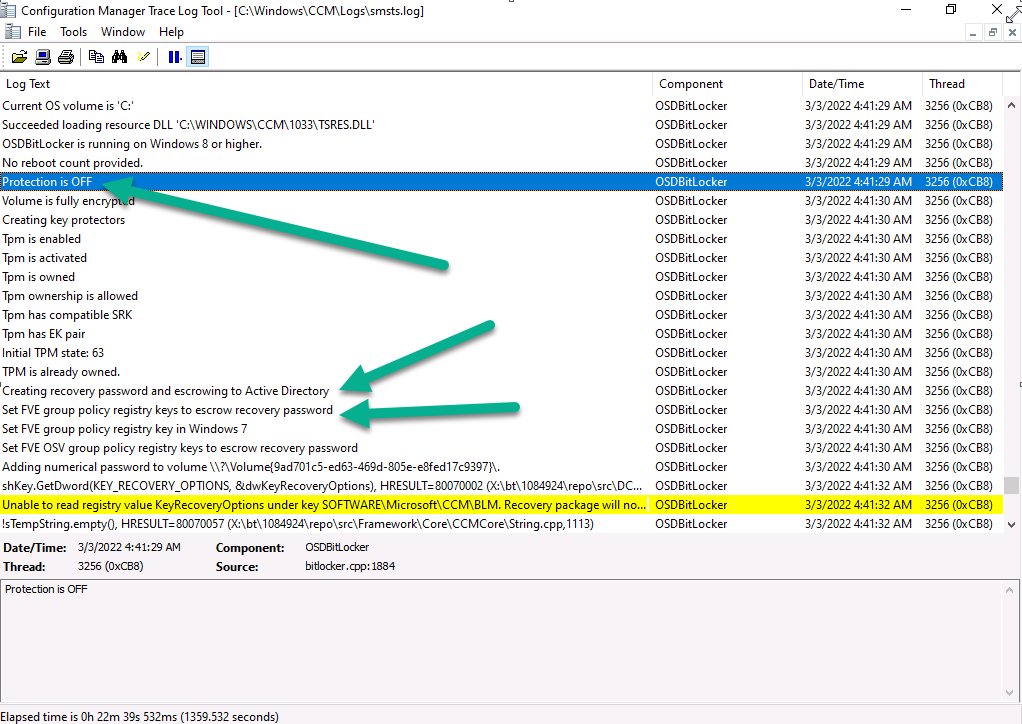
Next you can see it reveal that current BitLocker protection is detected as Off and that it’s setting registry keys for escrowing the key to AD and more…
 and it adds the volume to the payload
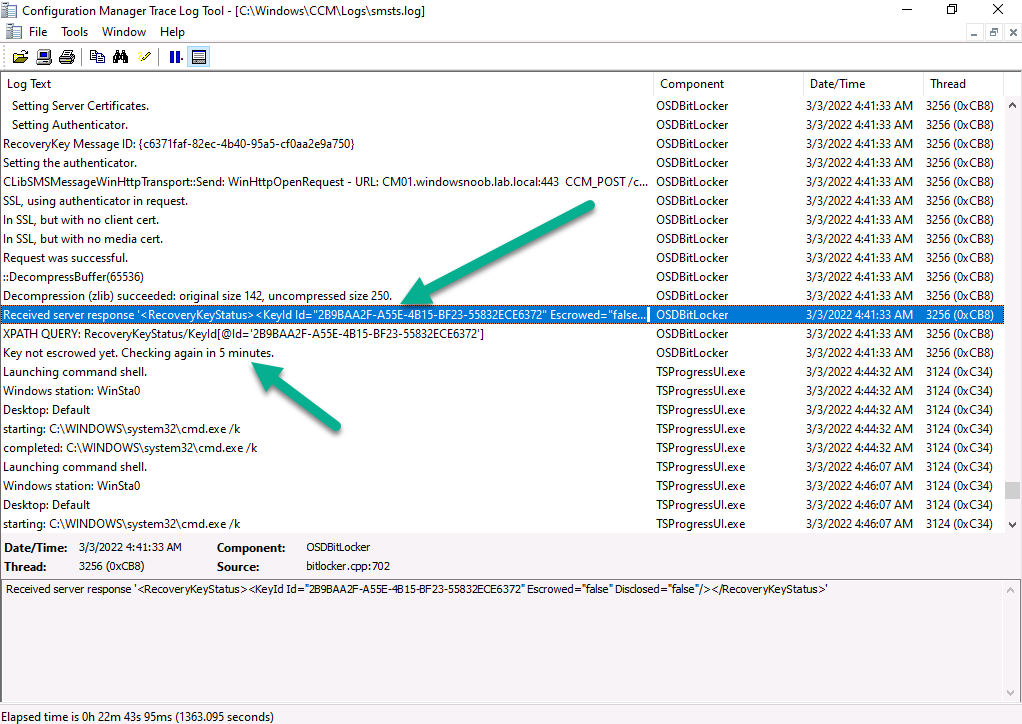
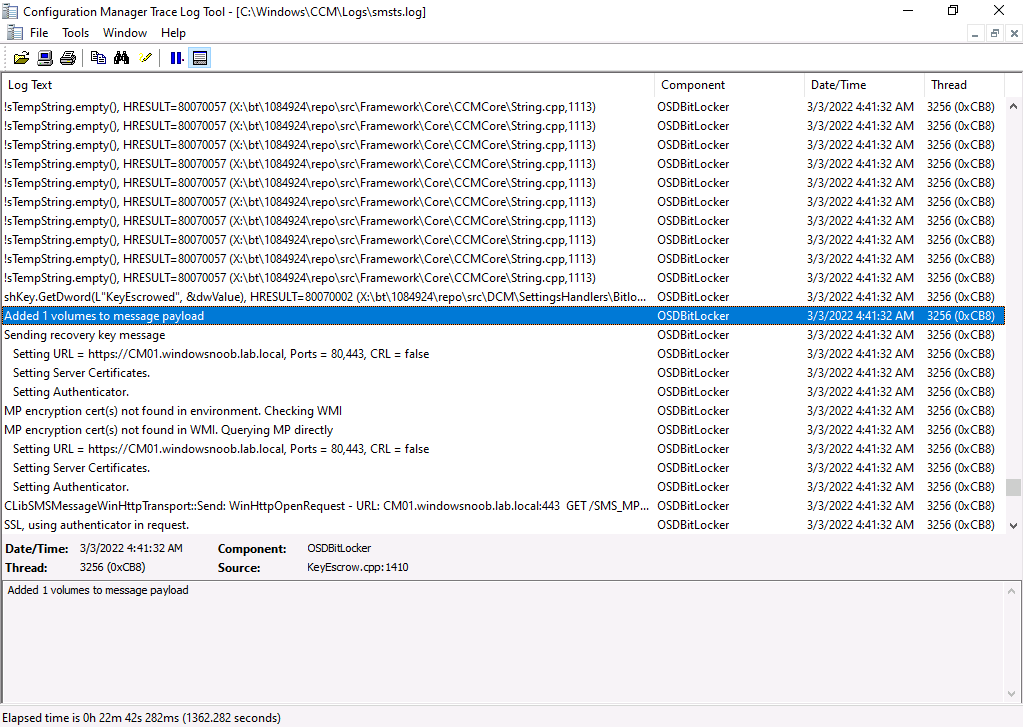 and it will verify the info returned from the server, in the case below it didn’t find the key escrowed yet so waits 5 minutes before checking again
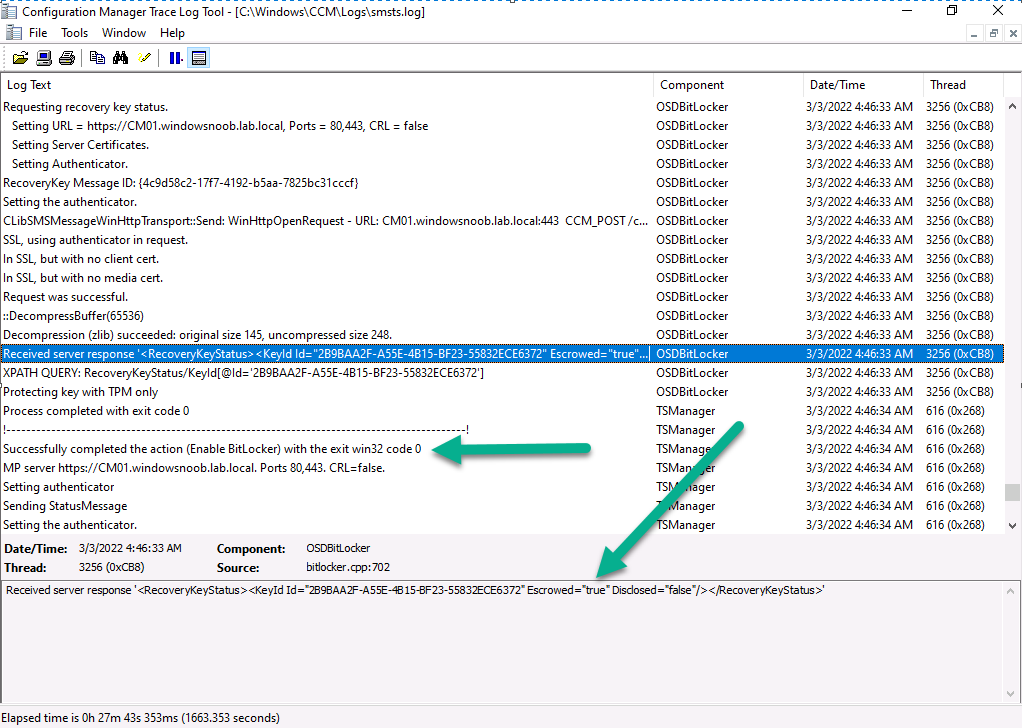
 and after some time… it detects the key is escrowed !
Want more ? check out my video on the subject here
well done Microsoft and well done @frederic


