Introduction
Security is everywhere, and a core component of security are certificates. Public key infrastructure (PKI) is a set of roles, policies, and procedures needed to create, manage, distribute, use, store, and revoke digital certificates and manage public-key encryption (1). In this series of guides I will show you how to set up a 2 tier PKI hierarchy running on Windows Server 2016 and you can use this to set up your own LAB so that you can learn about PKI and later use it for related System Center Configuration Manager roles such as Co-Management (3).
Note: I don’t claim to be an expert on PKI and would absolutely advise you to consult with a PKI expert if you plan on setting up PKI in production. This guide is designed to help you setup your LAB, it’s based on a Windows Server 2012 R2 PKI guide on Technet from here and kudos to those guys for writing it (2). The difference here is you’ll be using Windows Server 2016 and you’ll see more screenshots and hints to guide you through the experience. I’d highly recommend you go through this entire series twice, just to get a feel for PKI. The first time will be laborious, the second time things will start to make sense. This guide will be tough but take it one step at a time, and if in any doubt, ask questions here.
By the end of this series of guides you’ll have the following setup and running in your windowsnoob.lab.local PKI LAB.
- Domain Controller (Windows Server 2016) – 192.168.11.1
- Issuing CA (Windows Server 2016) – 192.168.11.2
- Webserver (Windows Server 2016) – 192.168.11.3
- Offline Root CA (Windows Server 2016)
- Windows 10 (Windows 10 Enterprise, version 1803) – 192.168.11.4
- (Optional) Smoothwall NAT (linux) – 192.168.11.199
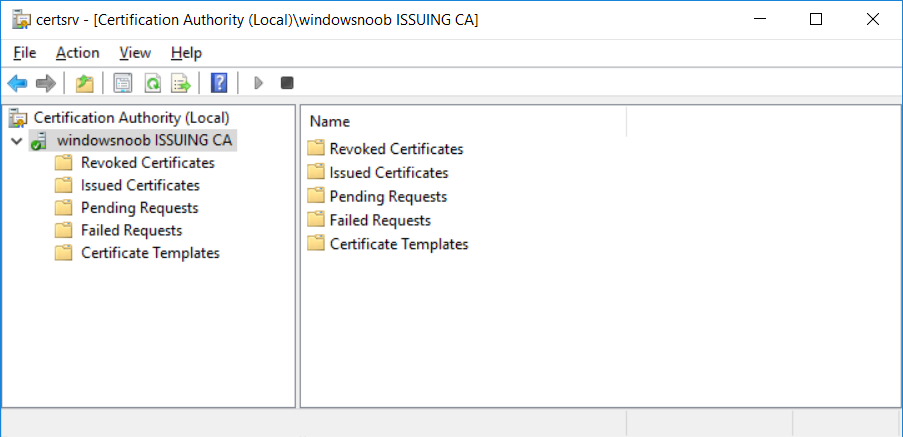
and MMC based applications like this screenshot from the Enterprise Issuing CA will become familiar to you ![]()
Before we start the series let’s list some of the terms you’ll see popping up over and over. I will try to explain them as we move through the guide.
- PKI – Public Key Infrastructure
- AIA – Authority Information Access
- CDP – Certificate revocation list Distribution Point
- CRL – Certificate Revocation List
- OCSP – Online certificate status protocol
- CA – Certificate Authority
Step 1. Create the Virtual Machines
I use Hyper-V for my labs, as it’s a role built into Windows Server 2016 (and even Windows 10), so as long as your computer is relatively new and the hardware supports virtualization, you can use it (simply enable the role, reboot, and start using it). You should have at least 16GB of ram and 500GB of SSD storage to set this lab up comfortably. To quickly create the virtual machines I use a PowerShell script which I wrote, you can download it here.
Download the script – Create HyperV VMv2.ps1
Virtual Machine Names
For this LAB, please use the following naming convention for your virtual machines (not the computer name)
- #11_DC01
- #11_IssuingCA
- #11_RootCA
- #11_W10_1803
- #11_Webserver
- #11_Smoothwall (optional linux NAT)
Note: The #11 prefix is simply a method I use in Hyper-V to separate my labs visually in Hyper-v manager, so #11 is one lab, and #10 is another (and so on). You don’t have to use the same convention as I do, but it would make it easier for you to follow the entire series. I use the Smoothwall linux based NAT to provide internet into my virtual machines.
Virtual Machine Roles
The Virtual Machines created will have the following functions
- #11_DC01 Roles: DC, DNS, LDAP CDP,AIA
- #11_IssuingCA Roles: Enterprise Issuing CA
- #11_RootCA Roles: Standalone Offline Root CA
- #11_W10_1803 Roles: A Windows client
- #11_Webserver Roles: Webserver HTTP CDP, AIA
Note: When prompted for a network switch, create a unique one (#11) for the first VM created, and use the same one for each of the other vm’s (we will remove the network from the Offline Root CA). For generation type, use Gen 2.
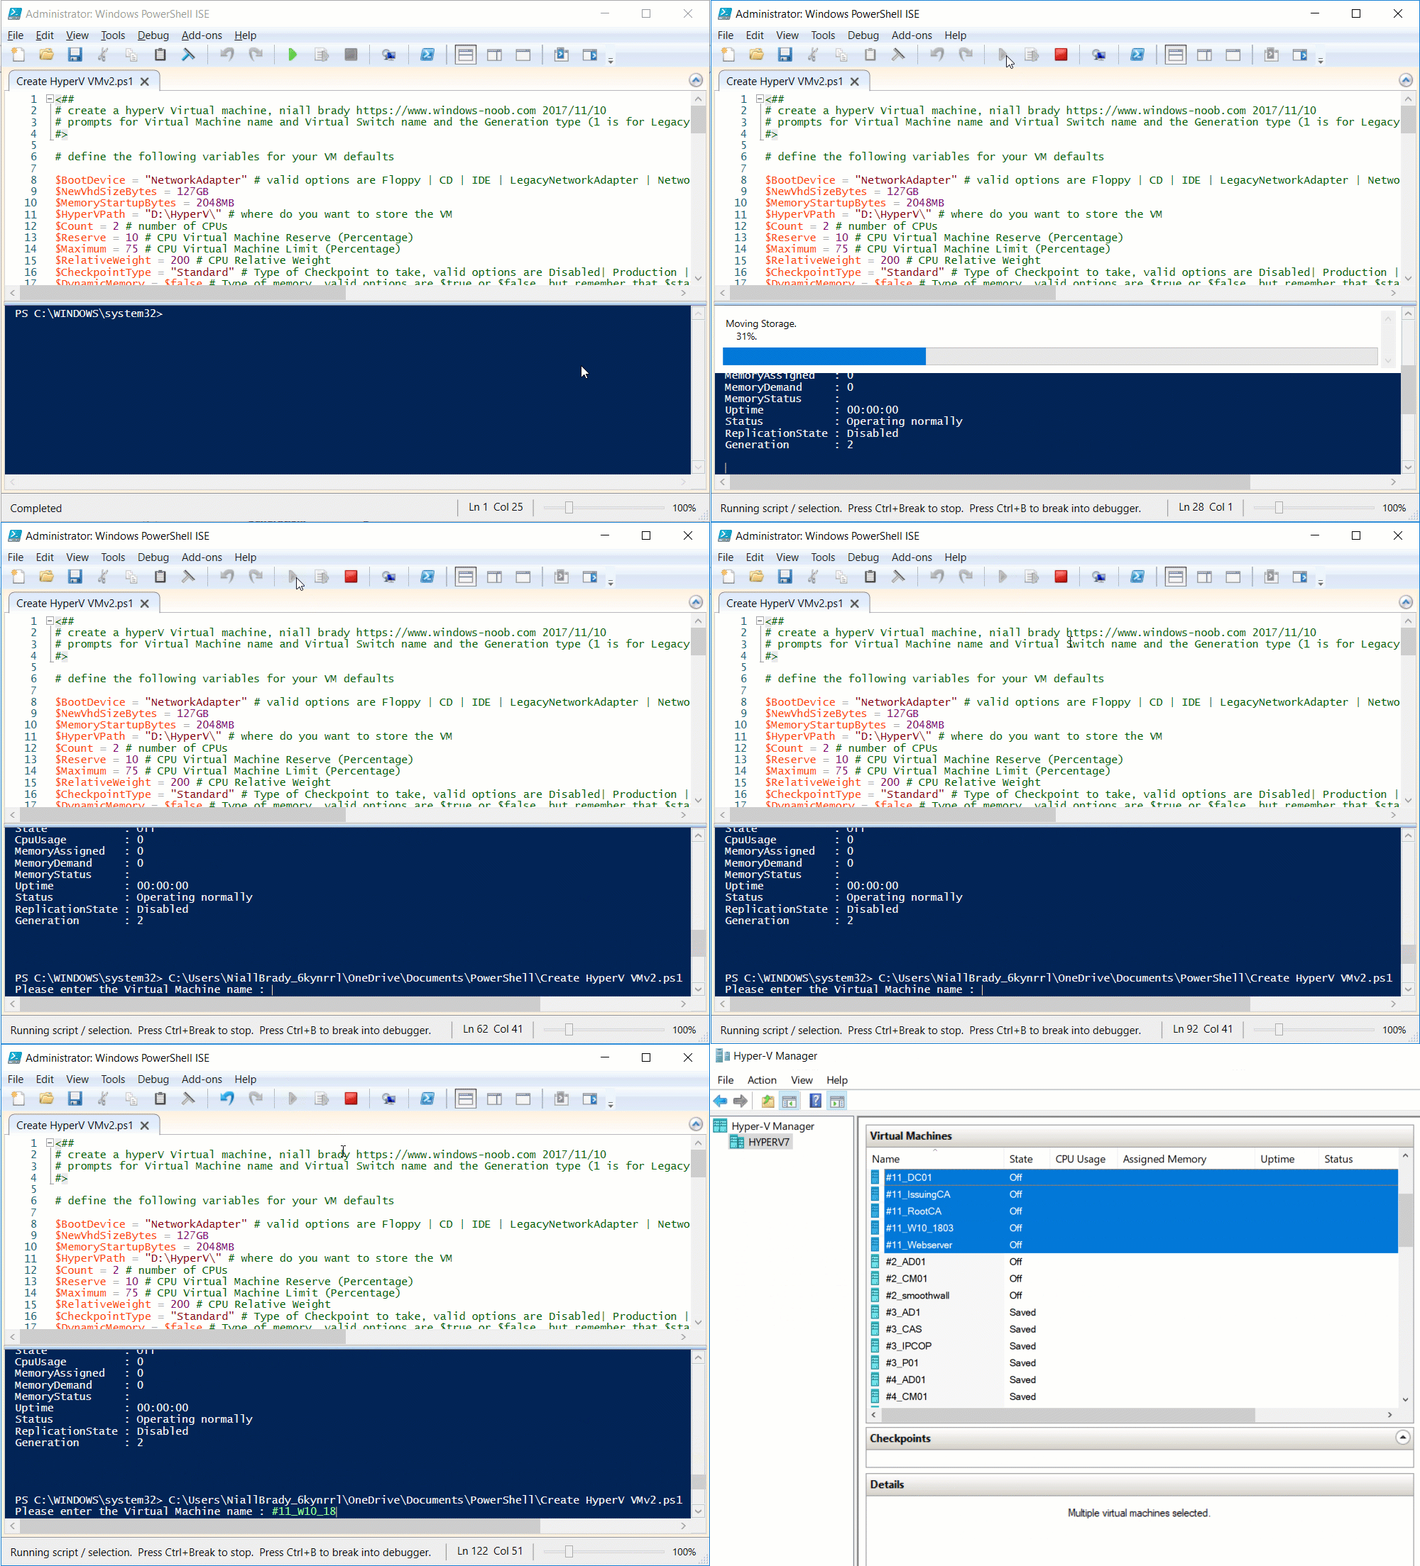
Below is how I created the virtual machines listed above.
Step 2. Install the virtual machines
Install Server 2016
On DC01, RootCA, IssuingCA and Webserver, install Windows Server 2016. It’s up to you how to do this, you can use an Automated MDT PowerShell script, or install them manually. To install all Windows Server 2016 on all 4 servers as WorkGroup joined computers do as follows..
Choose Windows Server 2016 Standard (Desktop Experience)
You can read the rest of this guide here.


