Introduction
In part 1 I showed you how to prepare Azure for the PC Buyback app, in this part we’ll add the Win32 app, deploy it and see how it behaves on a Windows Autopilot registered device.
This mini series is broken down into the following parts:
- PC Buyback for Windows Autopilot devices – part 1
- PC Buyback for Windows Autopilot devices – part 2 <— You are here
- PC Buyback for Windows Autopilot devices – part 3
Step 1. Download the scripts
Download this zip (from windows-noob.com) and extract to C:\Dev\Intune\Win32 apps
Note: you must be a logged on member of windows-noob.com to download the ZIP
Step 2. Get ServiceUI.exe from MDT
You’ll need the ServiceUI.exe executable file to display user interfaces (UI) to end users when operating in SYSTEM context. To get the file, download and install MDT somewhere and navigate to C:\Program Files\Microsoft Deployment Toolkit\Templates\Distribution\Tools\x64. To download MDT click here. Copy the 64 bit version of ServiceUI.exe file to your extracted win32app_source folder so it looks like this.
Step 3. Get 7Zip for compressing files
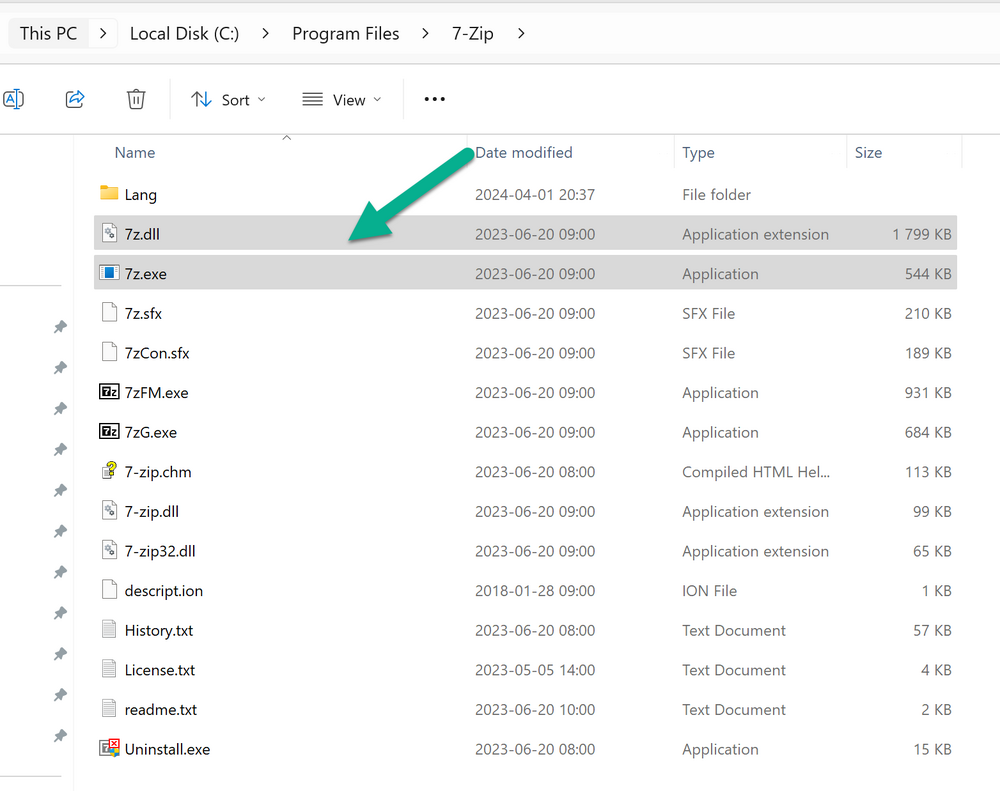
Download 7Zip and install it. Copy 7z.dll and 7z.exe from the default folder C:\Program Files\7-Zip
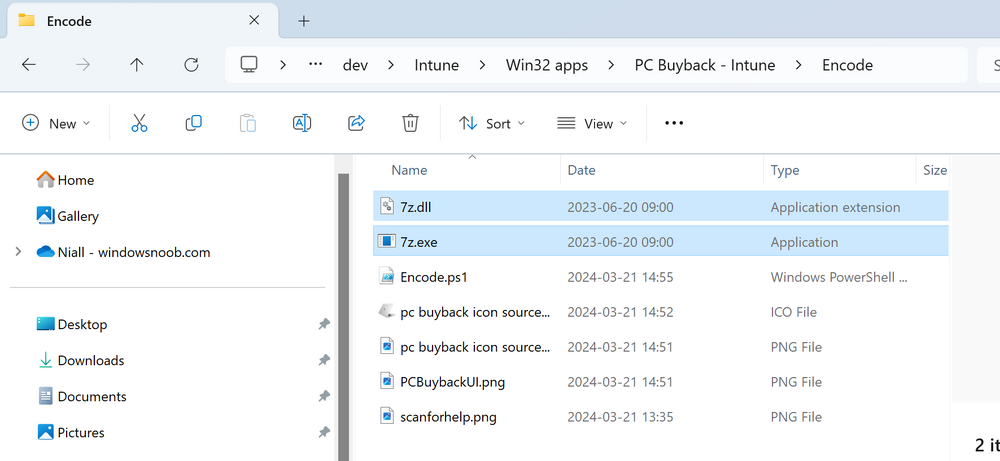
Copy those 2 files to C:\Dev\Intune\Win32 apps\PC Buyback – Intune\encode
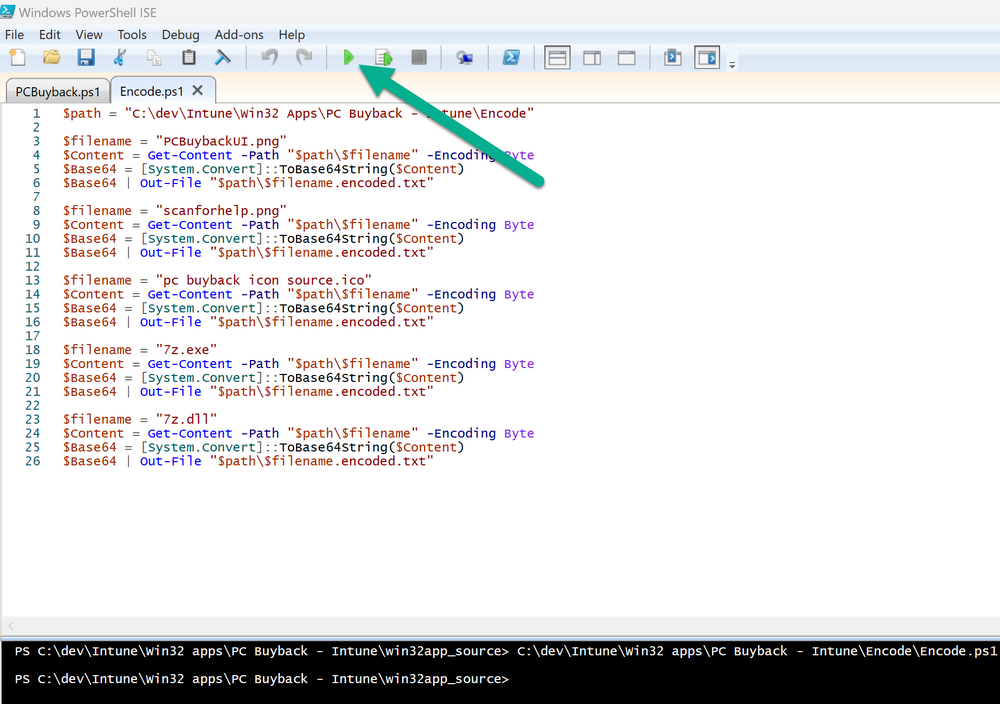
In PowerShell ISE run the Encode script..
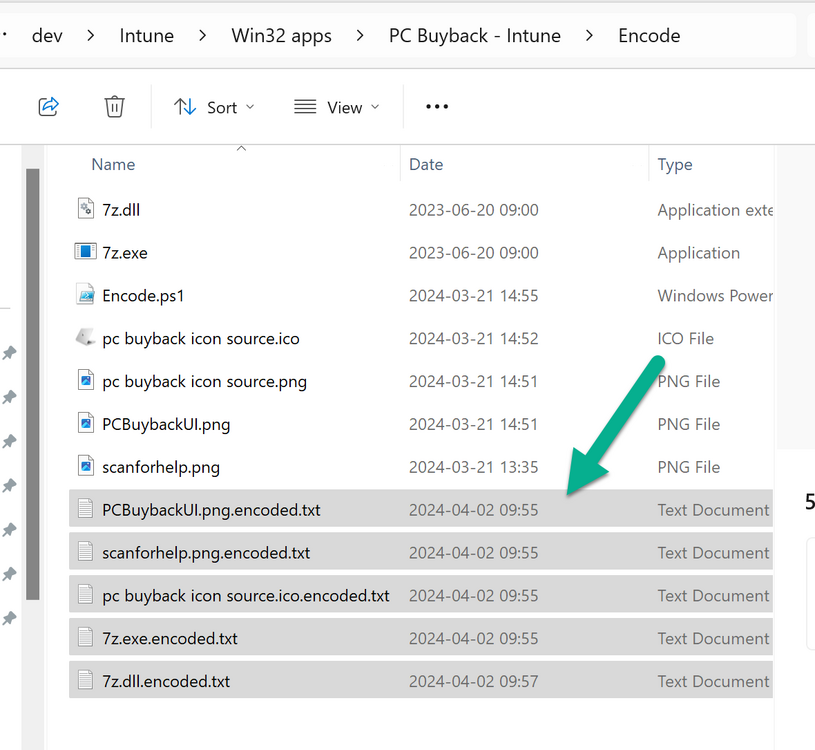
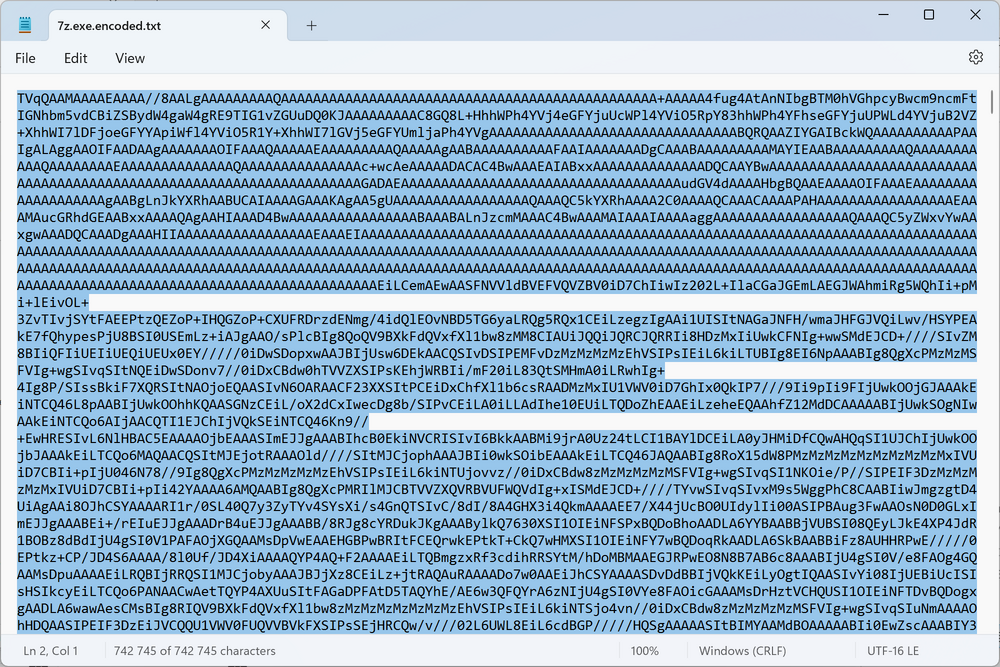
After it is completed encoding the files, you’ll have a bunch of additional text files in the encode folder.
Open each text file using notepad, press CTRL+A to mark all the text, then copy using CTRL+C
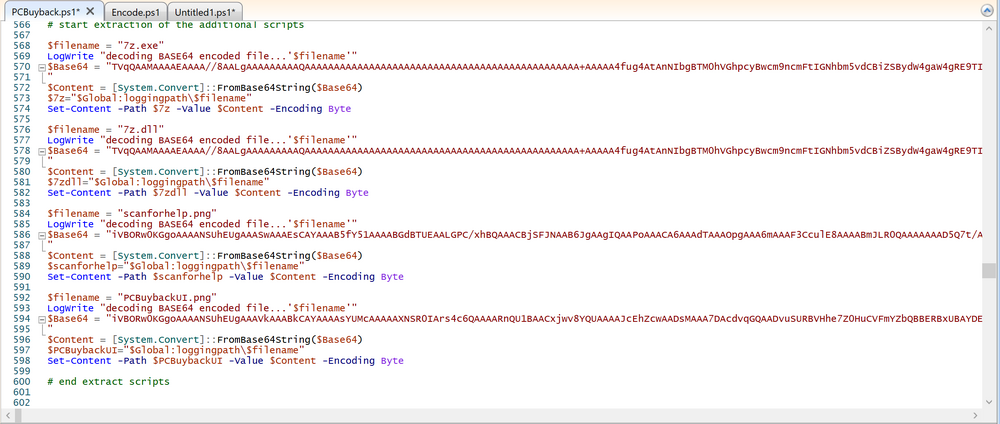
and paste the content of each file using CTRL+V into the corresponding section of the PCBuyback.ps1 script as shown below.
Note: The QR code used in this app points to part 1 of this blog series, but you can customize it to point to an internal knowledge base article to assist users with the entire process. One thing to keep in mind, I used https://www.qr-code-generator.com/this site to create the QR code, but you need to resize it to 118×120 pixels (in MS paint or similar).
Step 4. Modify variables
In the PCBuyback.ps1 script, configure the following email related variables:
- $ToAddress
- $FromAddress
- $APIkey
Next, copy the Function URL for each of the http triggers you created in part 1, below shows you how to do that
paste those URLs into the corresponding variable in the script
Save the changes to the PCBuyback.ps1 script.
Step 5. Get the Microsoft Win32 content prep tool
Download the Win32 content prep tool from here. Copy the IntuneWinAppUtil.exe file to your Win32 apps root folder, it should look like this.
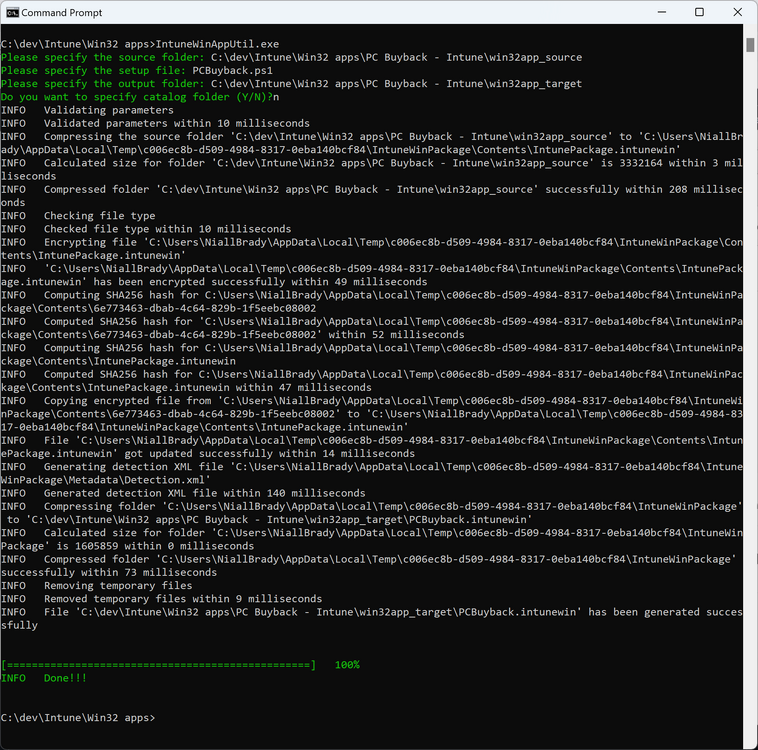
Open a command prompt and browse to the PCBuyback folder structure. Launch the IntuneWinAppUtil.exe file and answer the following.
- Please specify the source folder: win32app_source
- Please specify the setup file: PCBuyback.ps1
- Please specify the output folder: win32app_target
- Do you want to specify catalog folder (Y/N)? n
as shown here.
Step 6. Add the Win32 app in Intune
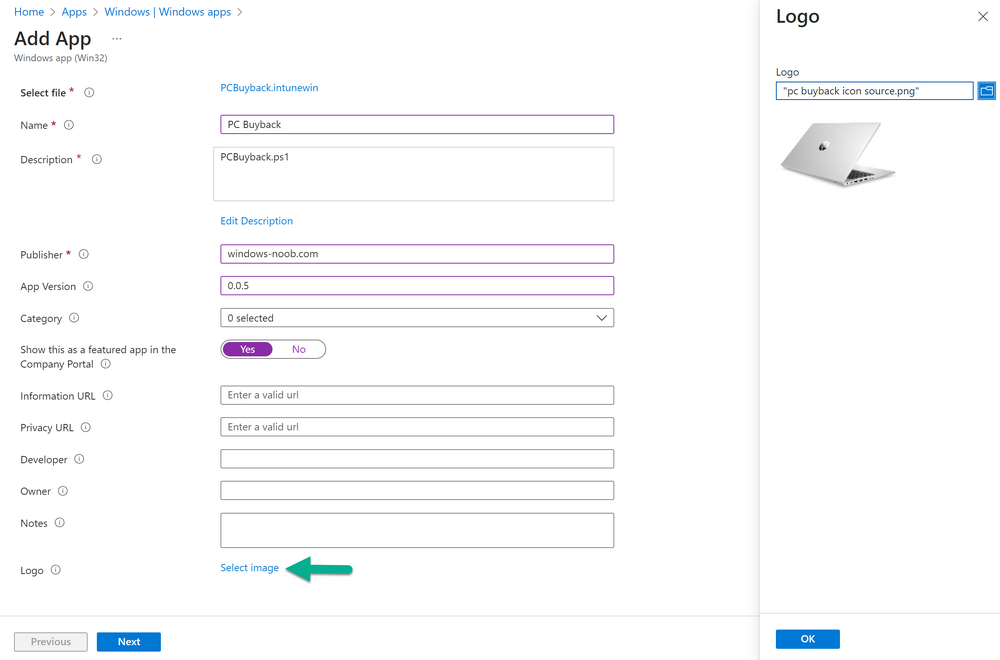
Log into Intune and add a new Win32 App. Below are some screenshots showing how I’ve configured the app.
For Select app type, select Windows app (Win32) from the drop down menu
Click on Select app package file and point it to the pcbuyback.intunewin file in the win32app_target folder, fill in some info about the app, for the logo, click on Select image and point it to the encode folder where the icon file can be used
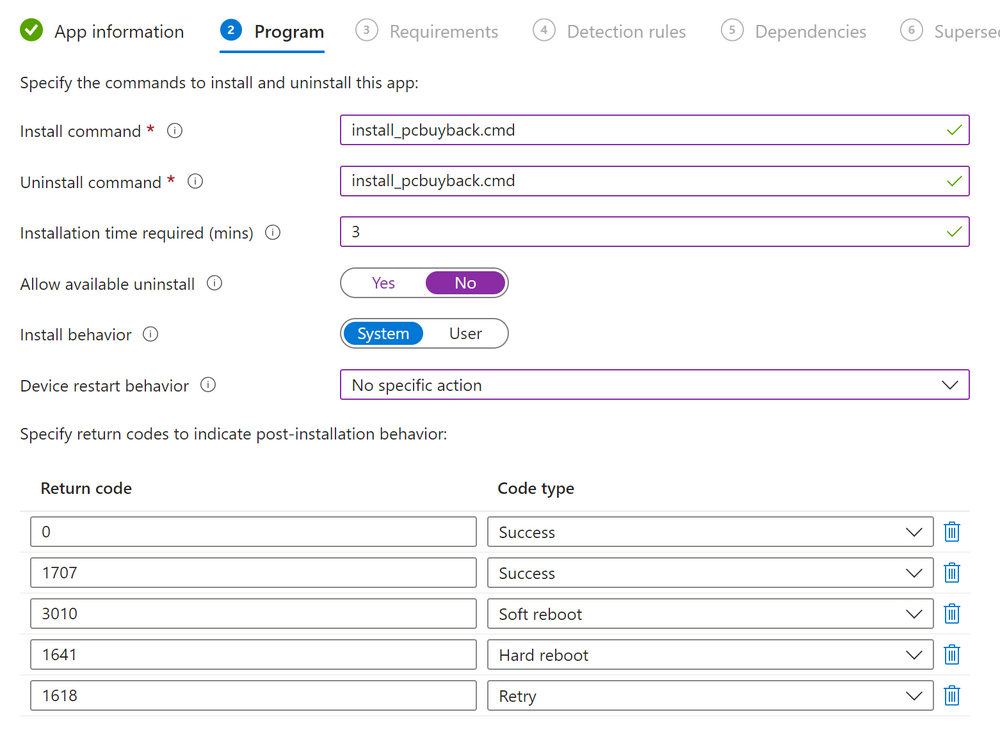
fill in the install commands, point it to install_pcbuyback.cmd
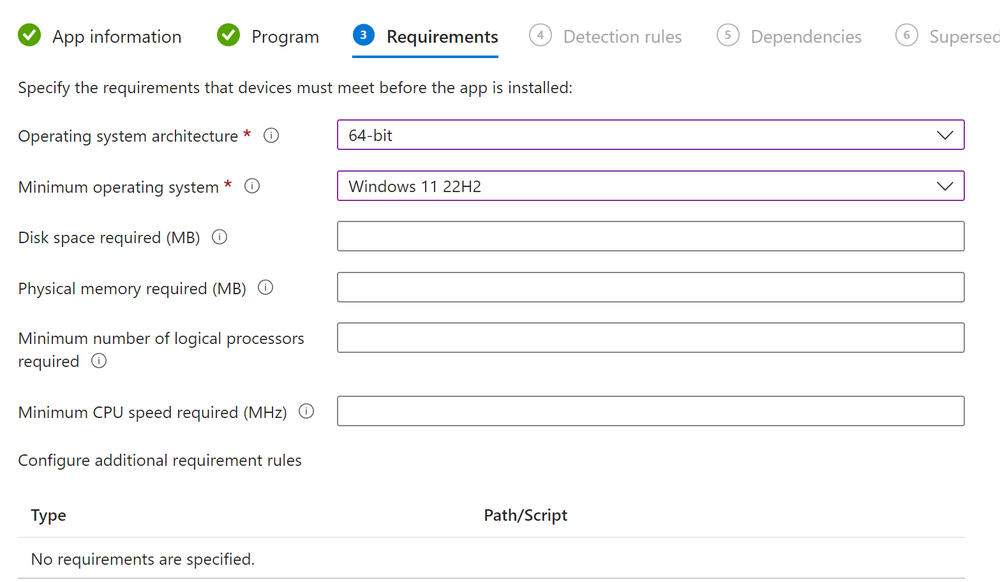
fill in the requirements,
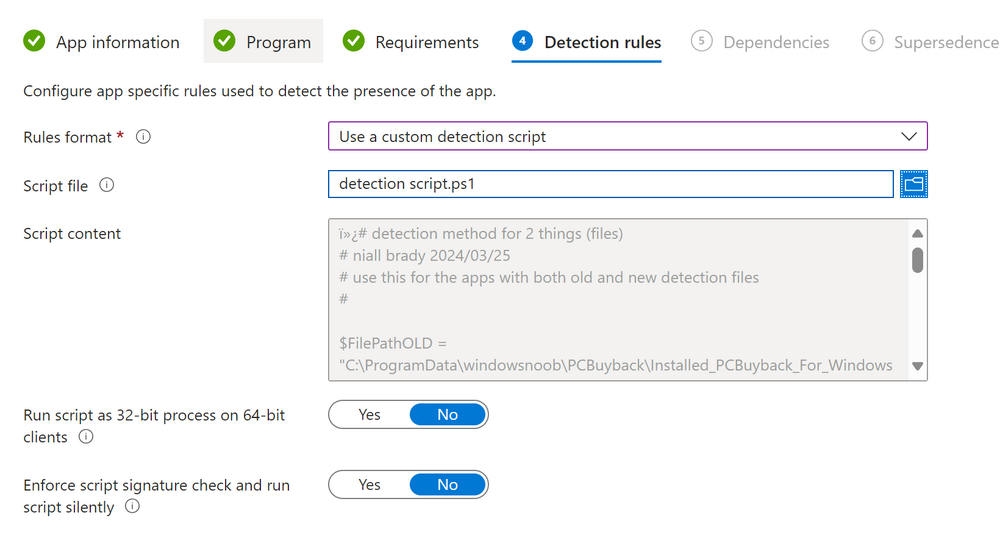
and for detection rules point it to the detection script in the root of the PC Buyback – Intune files
finally deploy it to an Entra ID group that contains the computers that are targeted for buyback, and deploy it as Available.
Step 7. Test the app on a device
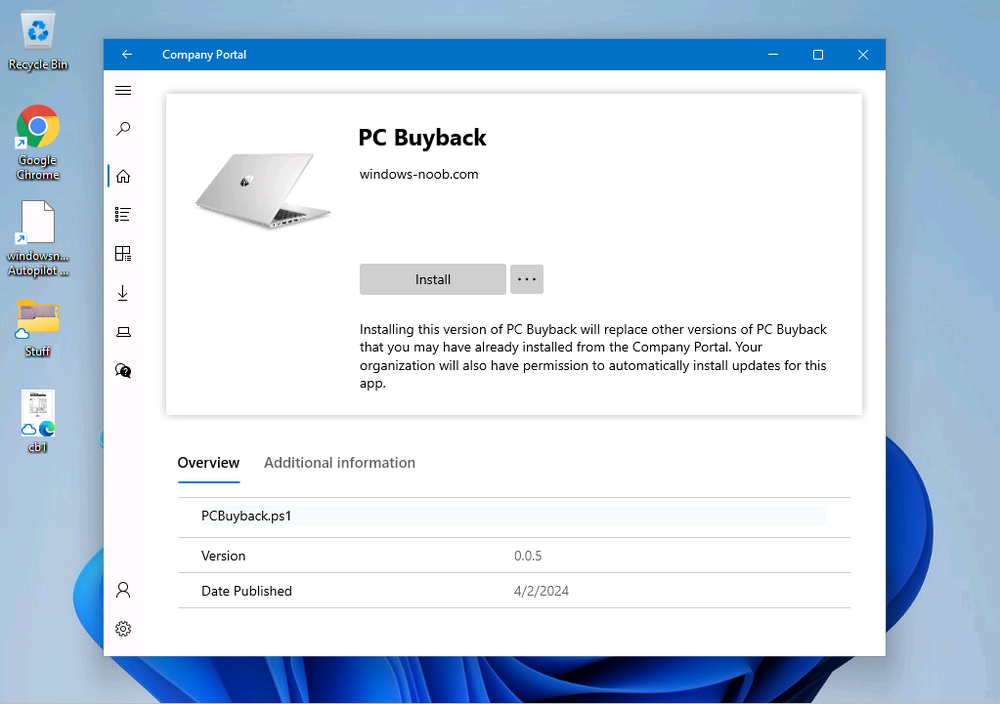
On a test device that is already enrolled into Intune and Windows Autopilot registered, add the device to the azure ad group above and launch Company Portal. The PC Buyback app should appear.
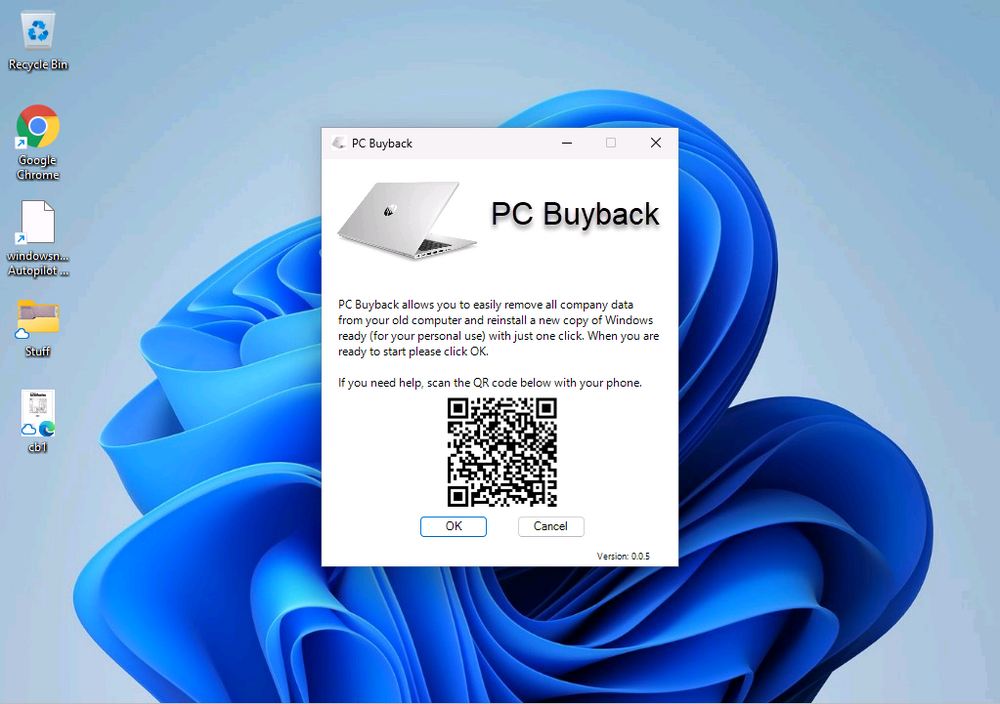
Click Install and after a few moments the app should appear.
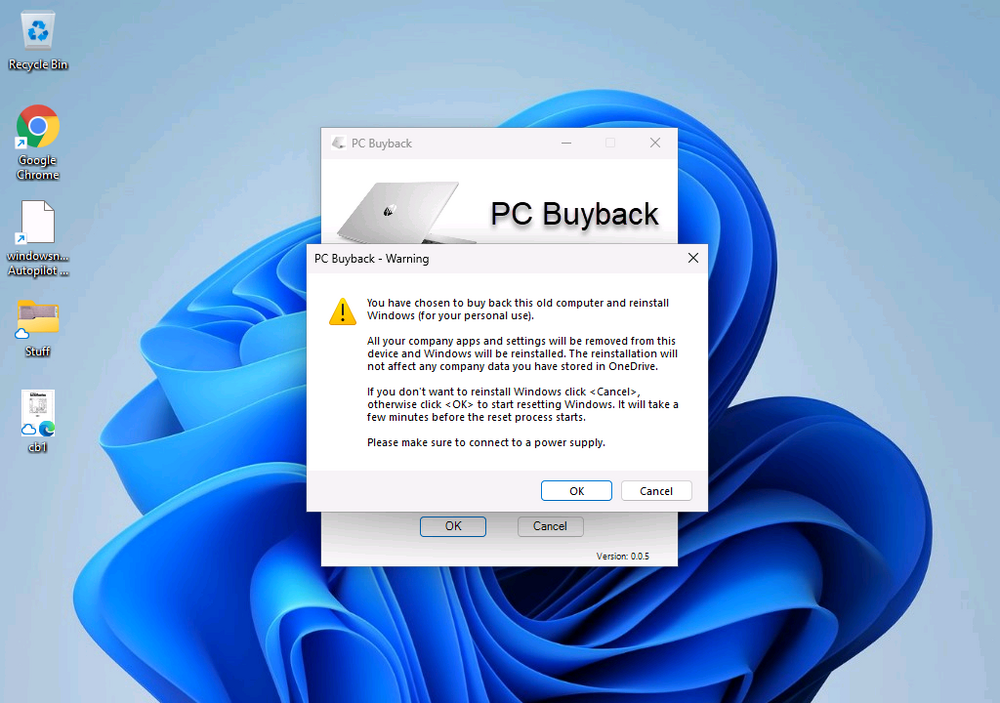
Clicking OK shows a warning
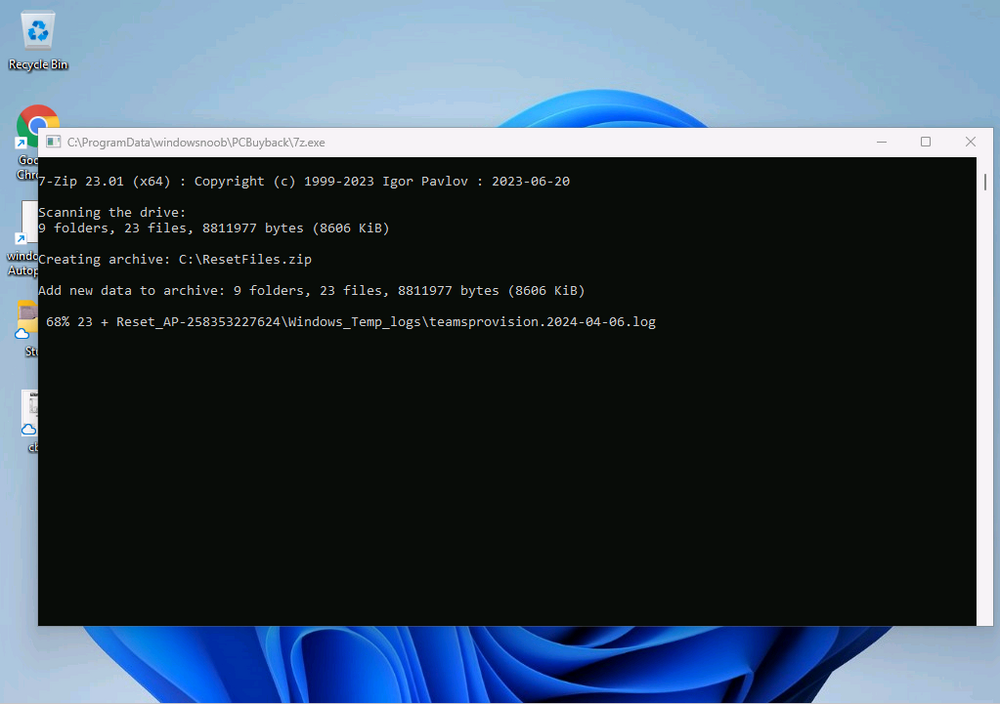
and clicking OK to the warning starts the process, after a few moments it will remove the device from Intune, then remove the Windows Autopilot registered device and zip up the logs before emailing them
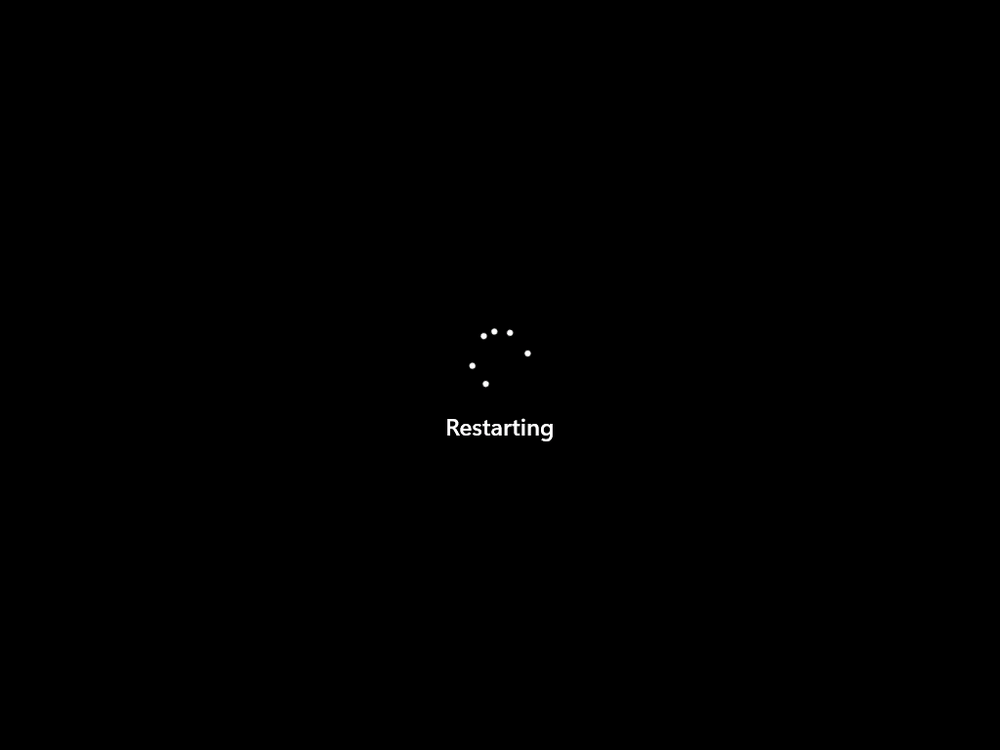
After emailing the logs and confirmation that it’s done PC Buyback, it will restart
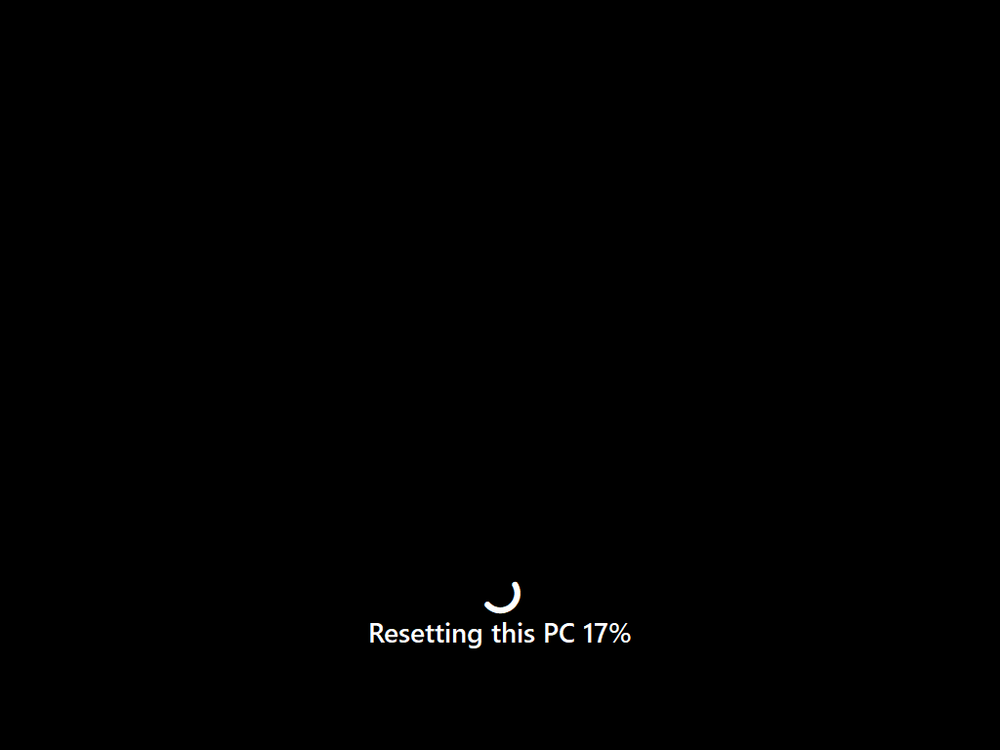
after the restart it will start resetting Windows removing all apps and settings that were on the device
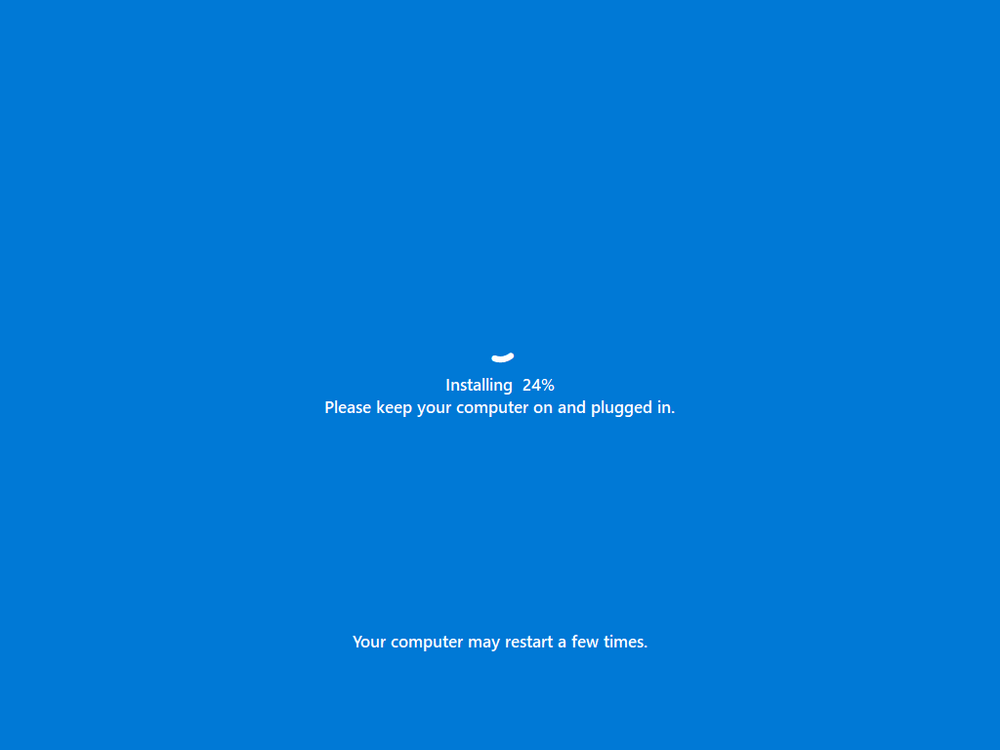
After the reset, Windows installs itself again…
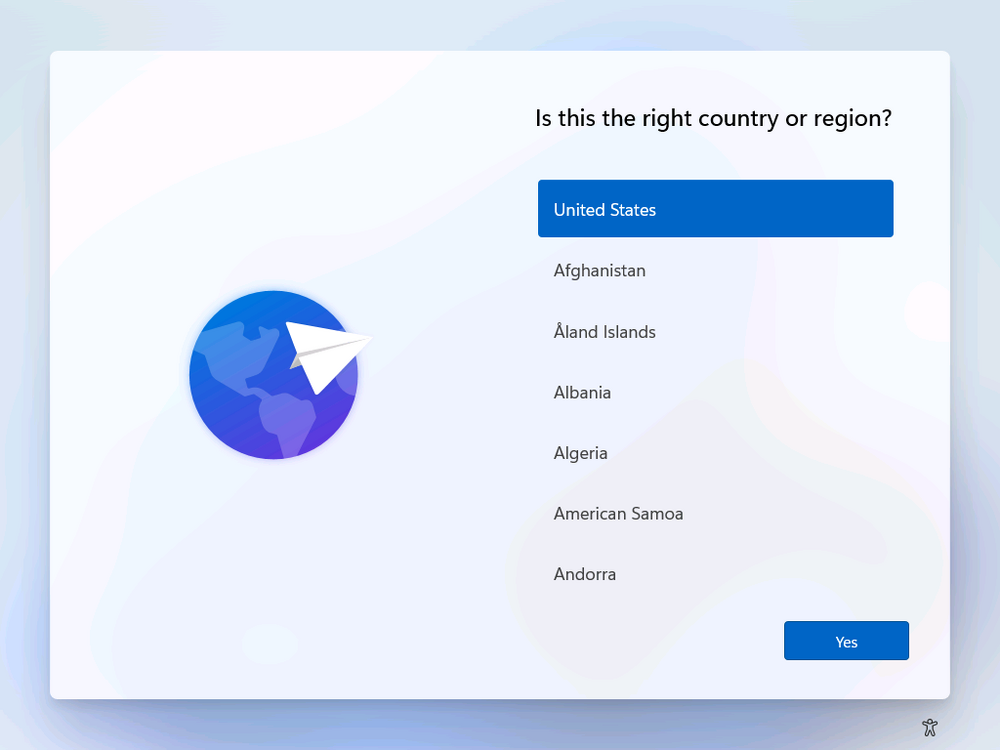
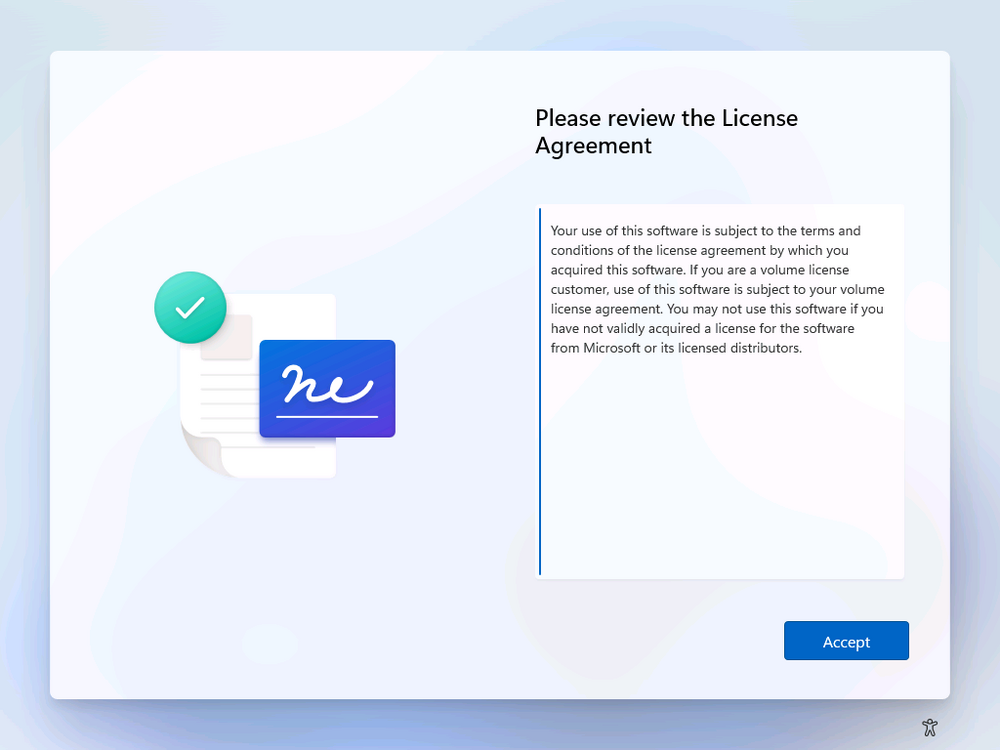
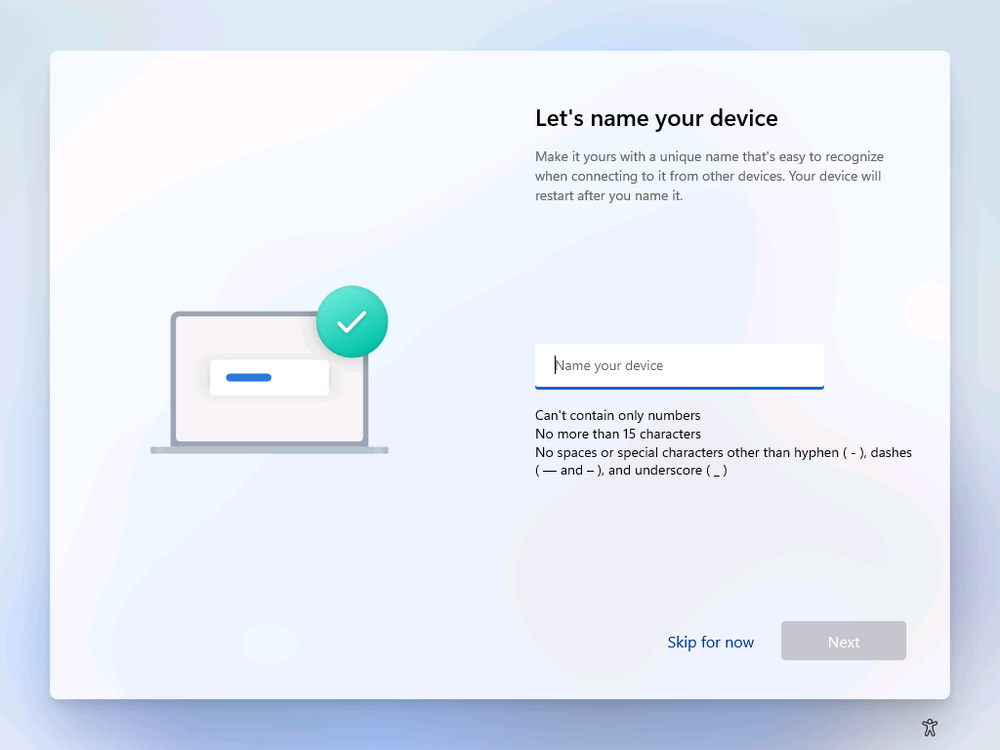
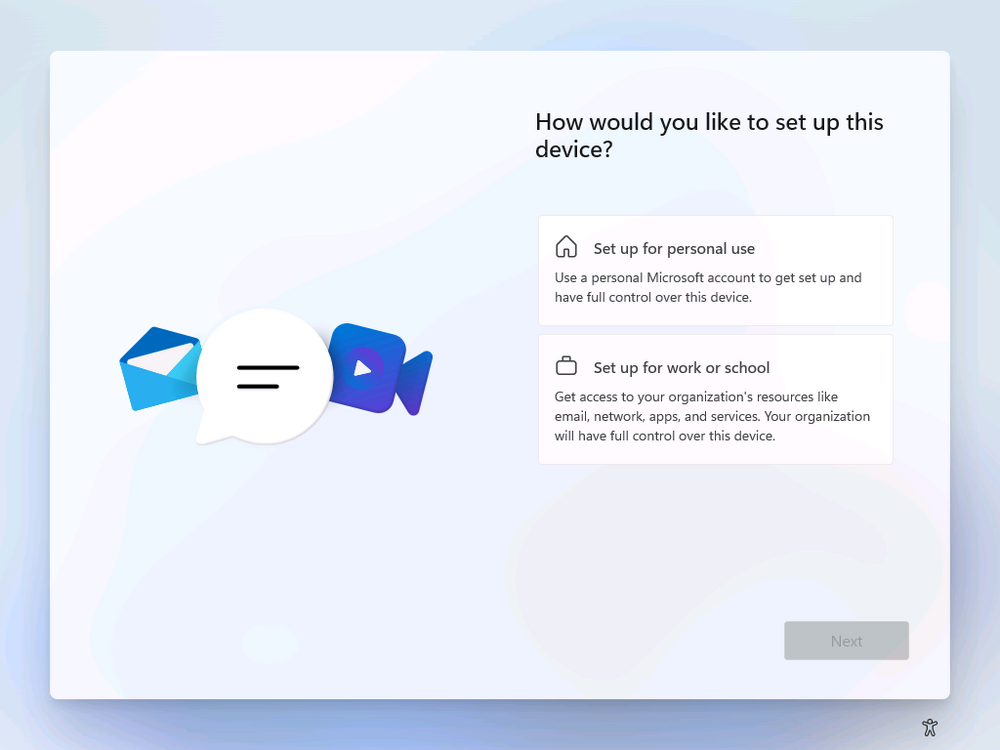
and after the reinstallation, it’s back to the first screen of the OOBE, so the user can now setup their device personally
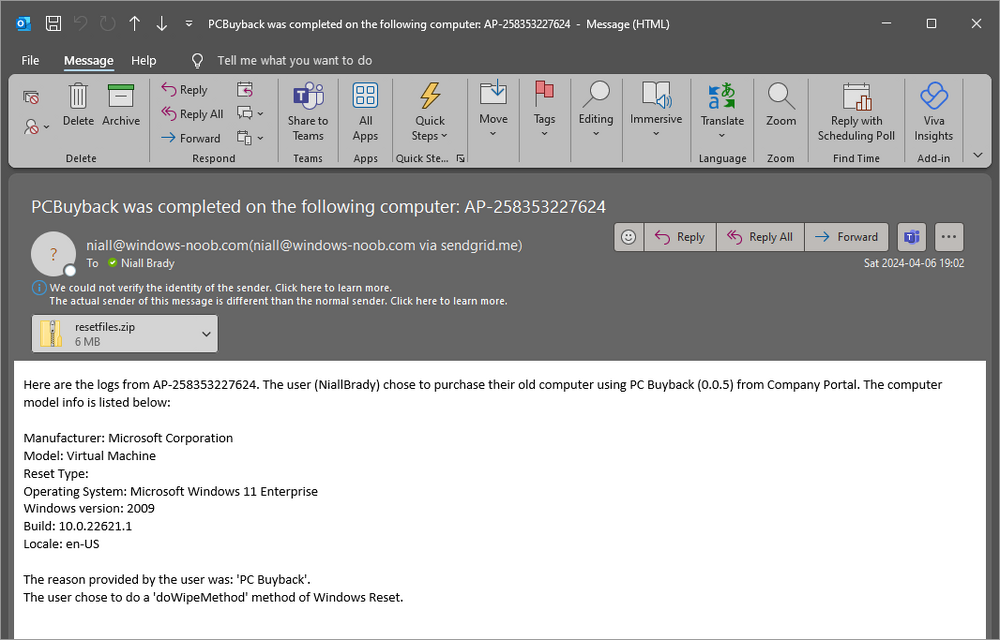
When the user runs PC Buyback an email is sent to the email address you configured…
and the process will store details in Azure tables (coming in Part 3)
Troubleshooting
If the app fails for whatever reason, it will log the details in C:\ProgramData\windowsnoob\PCBuyback\win.ap.pcbuyback.log


