Introduction
This is part 10 in a series of guides about cloud attach in Microsoft Endpoint Manager, with the aim of getting you up and running with all things cloud attach. This part will focus on using some of tenant attaches features. This series is co-written by Niall & Paul, both of whom are Enterprise Mobility MVP’s with broad experience in the area of modern management. at the time of writing, Paul is a 5 times Enterprise Mobility MVP based in the UK and Niall is an 11 times Enterprise Mobility MVP based in Sweden.
In part 1 we configured Azure AD connect to sync accounts from the on premise infrastructure to the cloud. In part 2, we prepared Azure resources for the Cloud Management Gateway, in part 3 we created the cloud management gateway and verified that everything was running smoothly. In part 4 we enabled co-management. With co-management, you retain your existing processes for using Configuration Manager to manage PCs in your organization and you gain the additional advantage of being able to transfer workloads to the cloud via Endpoint Manager (Intune). In part 5 we enabled the compliance policies workload and reviewed how that affected a co-managed computer. In this part we will enable conditional access and see how that can be used to deny access to company resources. In part 6 we configured conditional access and used it to deny access to company resources unless the device was encrypted with BitLocker. In part 7 we showed you how to co-manage Azure AD devices. In part 8 we enabled Tenant Attach and looked briefly at it’s features. In part 9 we renewed a soon to be expired certificate which we created about a year ago in part 2.
In this part, we’ll take a closer look at using tenant attach, in particular, using the Apps feature with your tenant attached devices.
Note: Screenshots used in this blog post were taken from Configuration Manager version 2111. Your wizards may offer more (or less) options if you are using a different version of Configuration Manager.
Below you can find all parts in this series.
- Cloud attach – Endpoint Managers silver lining – part 1 Configuring Azure AD connect
- Cloud attach – Endpoint Managers silver lining – part 2 Prepare for a Cloud Management Gateway
- Cloud attach – Endpoint Managers silver lining – part 3 Creating a Cloud Management Gateway
- Cloud attach – Endpoint Managers silver lining – part 4 Enabling co-management
- Cloud attach – Endpoint Managers silver lining – part 5 Enabling compliance policies workload
- Cloud attach – Endpoint Managers silver lining – part 6 Enabling conditional access
- Cloud attach – Endpoint Managers silver lining – part 7 Co-managing Azure AD devices
- Cloud attach – Endpoint Managers silver lining – part 8 Enabling tenant attach
- Cloud attach – Endpoint Managers silver lining – part 9 Renewing expiring certificates
- Cloud attach – Endpoint Managers silver lining – part 10 Using apps with tenant attach <- you are here
Tenant attach became GA (Globally available) in early February 2022 as documented here. I blogged about that last month here.
Step 1. Adding an application
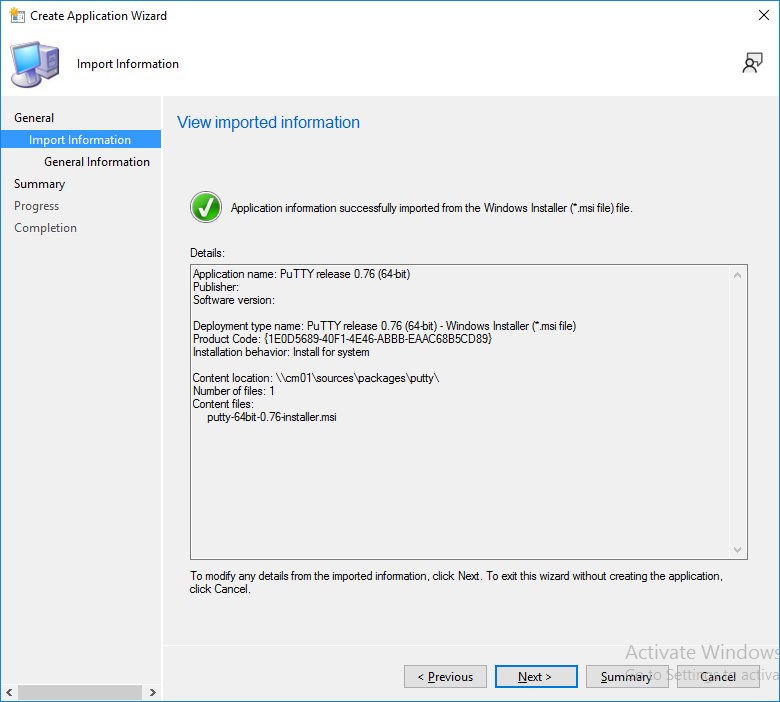
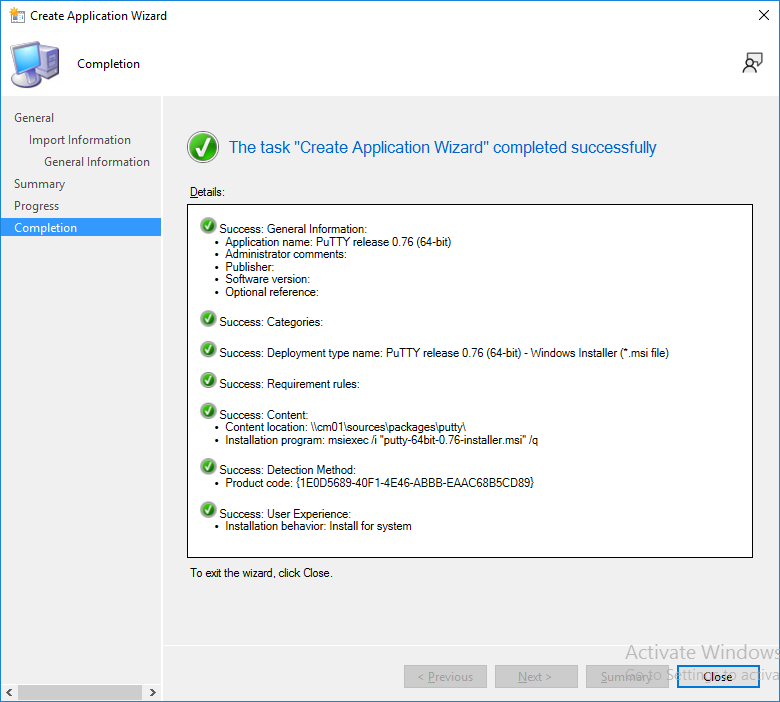
In this example we’ll add an application in Configuration Manager called Putty. Head over to this page to grab the latest MSI available. At the time of writing that’s version 0.76. After downloading the MSI, in Configuration Managers Software Library node, select Applications and choose Create Application. Point to the location where you’ve copied the MSI file as shown below.
click next
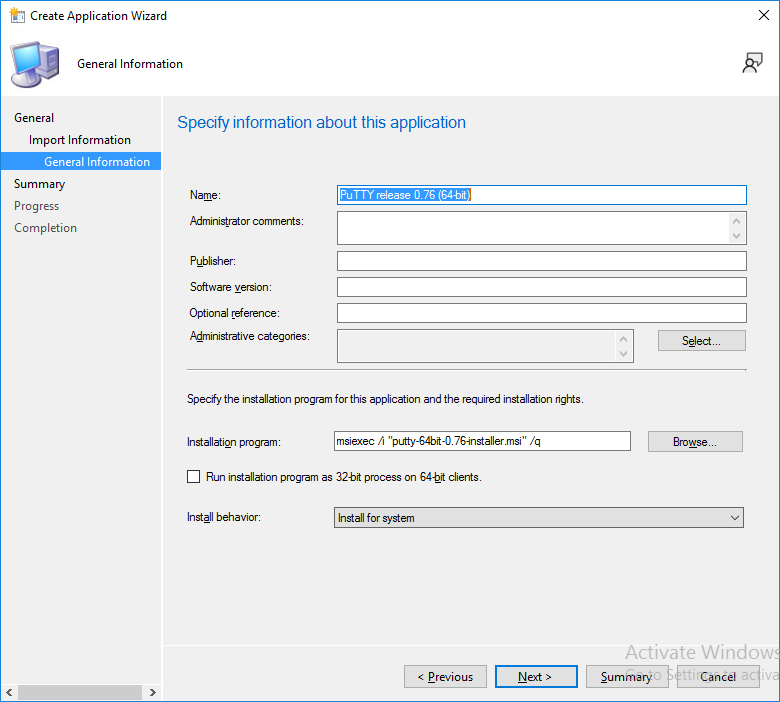
For the Specify information about this application screen, click next
click next again
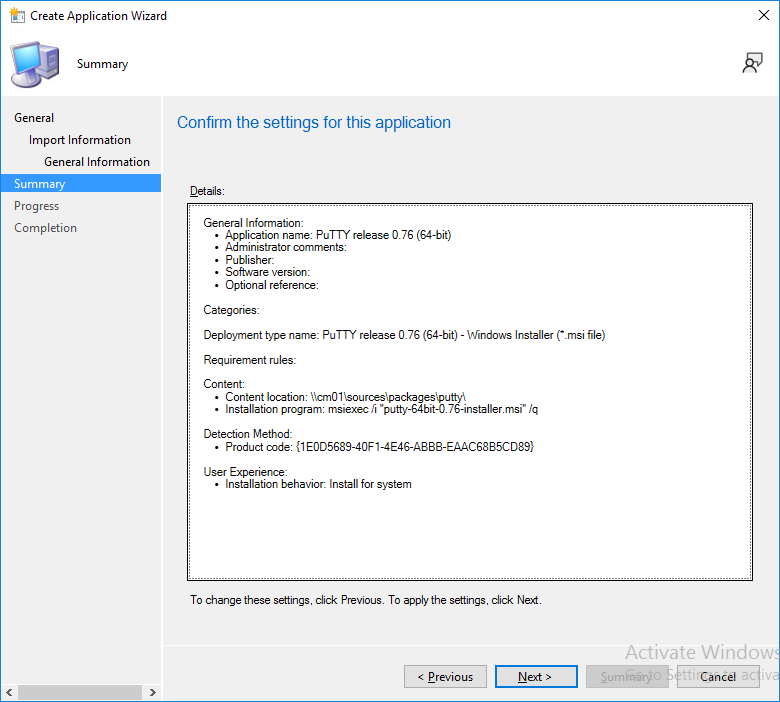
and the Create Application Wizard is complete. A summary is displayed.
Click Close.
Step 2. Modifying the application
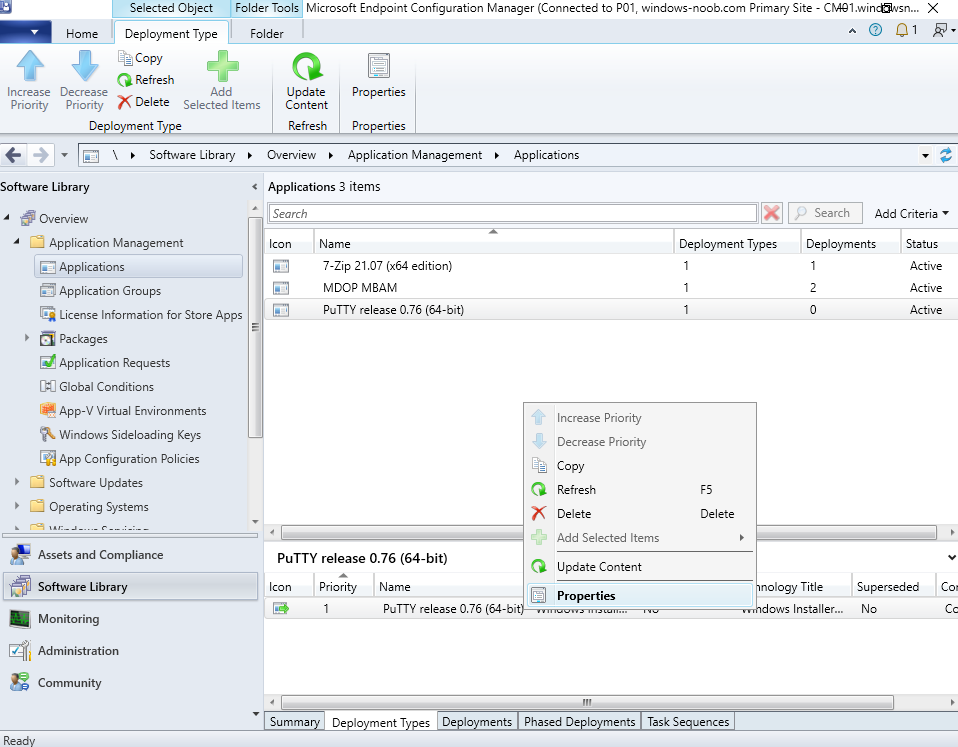
To allow for application repair, you’ll modify the deployment type of this application. To do that, select the newly created application and choose the Deployment Types tab. Right click on the deployment type and select Properties.
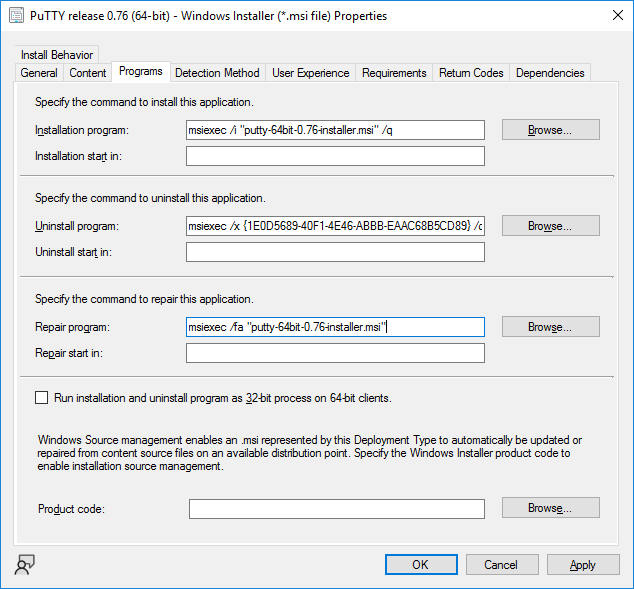
Select the Program tab.
In the repair program section, fill in
msiexec /fa <MSI>
click Apply and click OK to close the Deployment Type window.
Step 3. Deploying the application
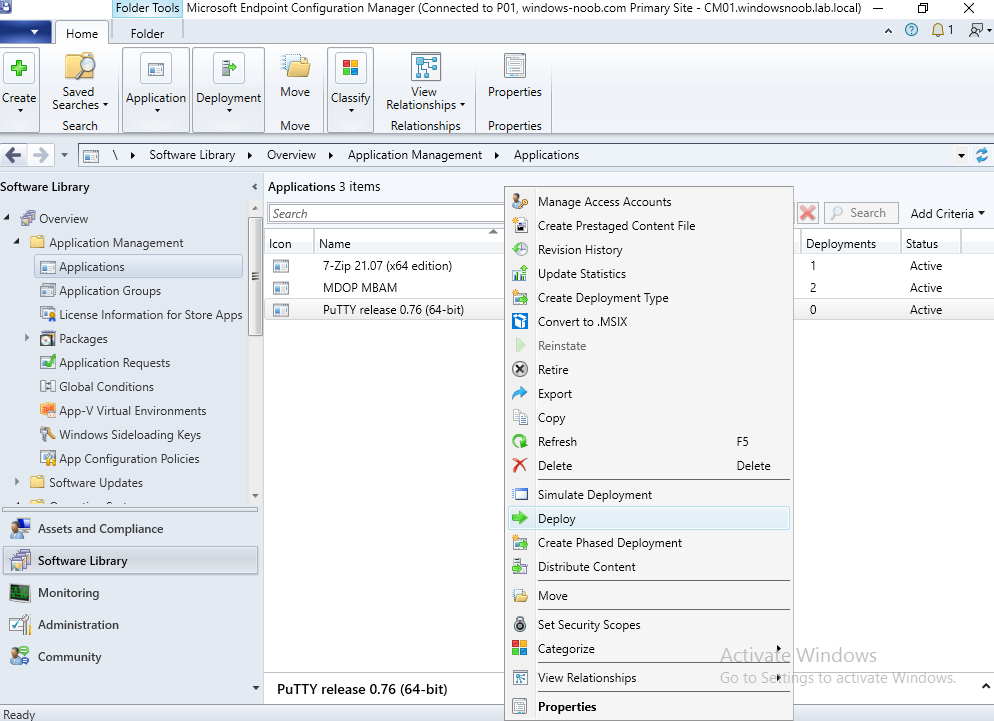
To make an application available for installation to tenant attached devices, you’ll need to deploy it correctly. Let’s get started. Right click on the newly added app from step 1, and choose Deploy.
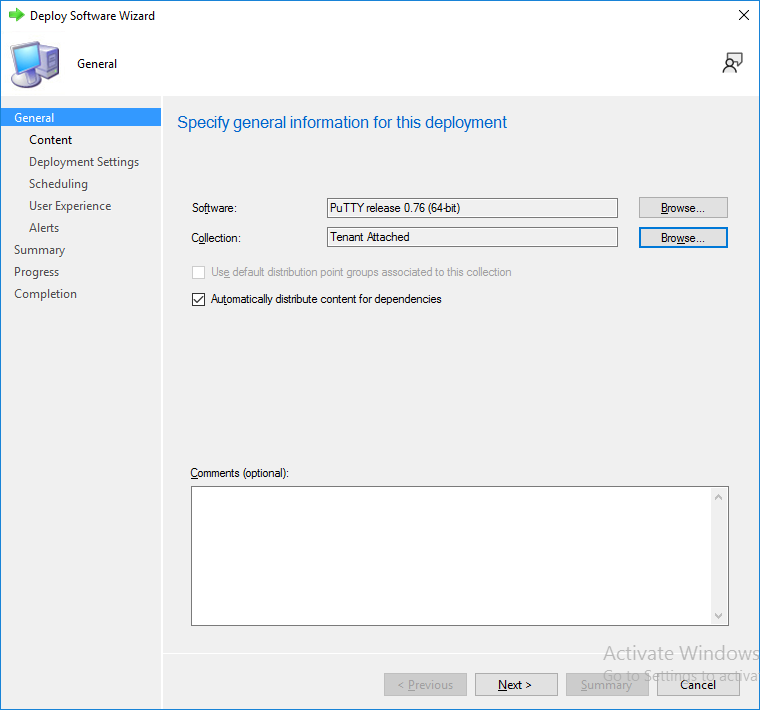
On the Specify general information about this deployment screen, click on Browse and browse to the tenant attached devices collection that you intend to target with this application.
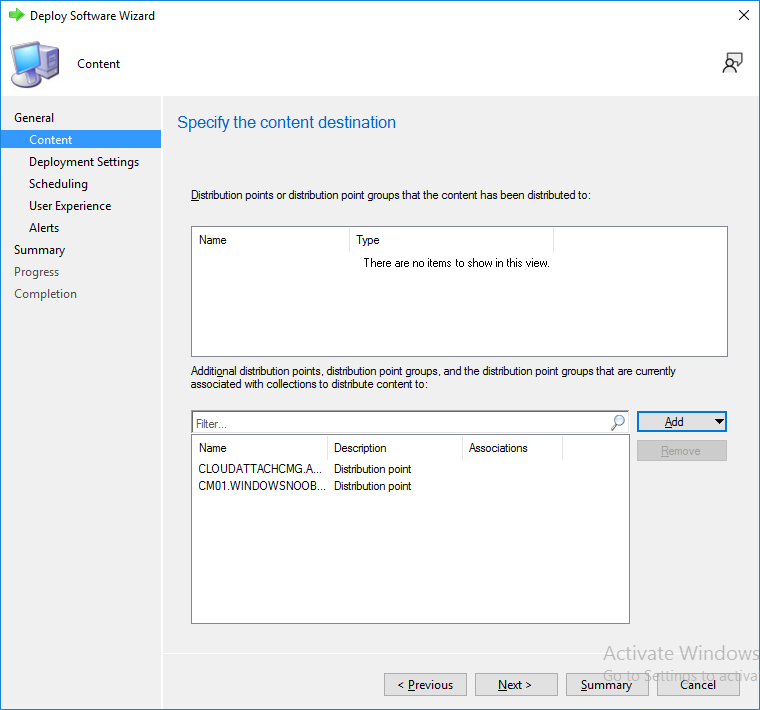
Specify the content destination by clicking on Add and selecting the distribution points or distribution point groups you want to add this content to
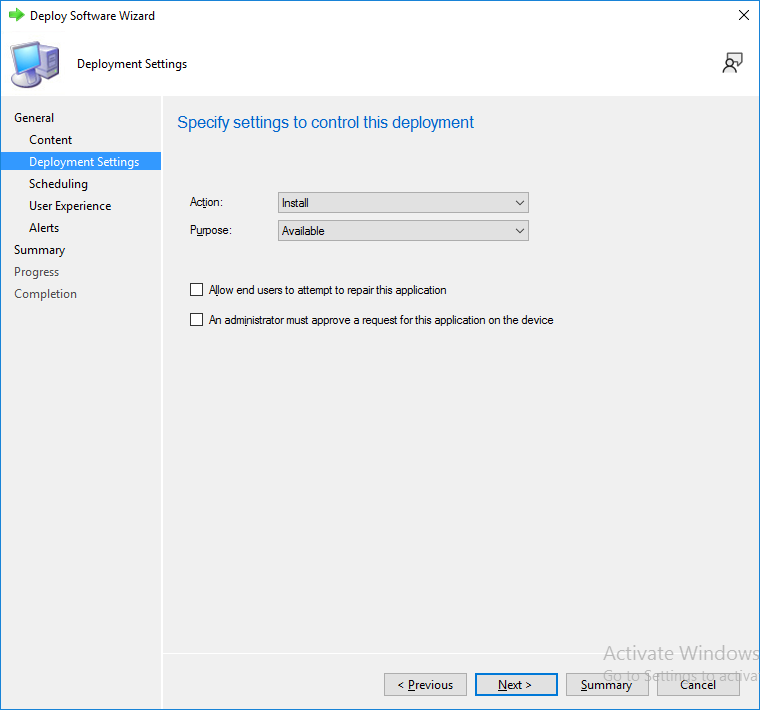
Next, at the Deployment Settings screen, you’ll see the following.
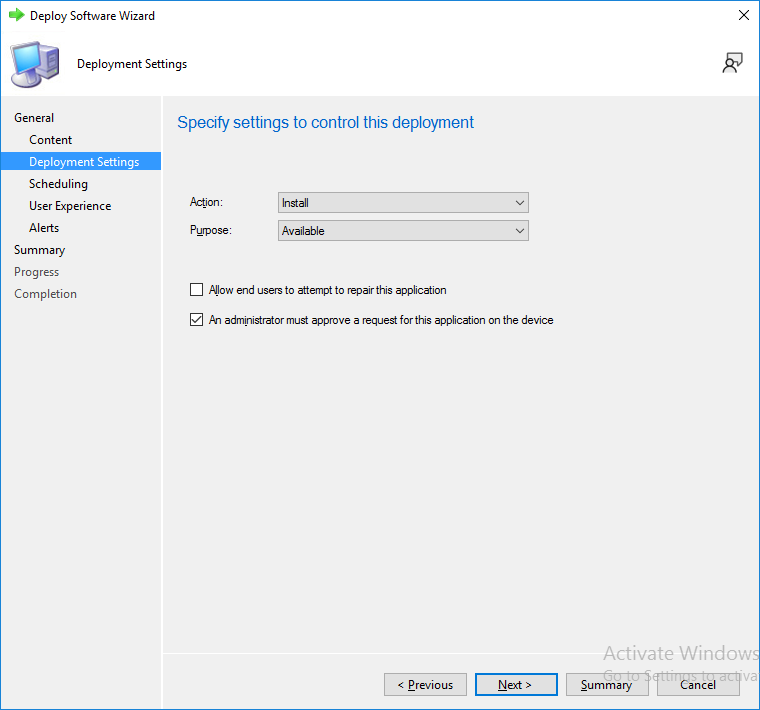
To use this application with tenant attach, place a check in the An administrator must approve a request for this application on the device checkbox.
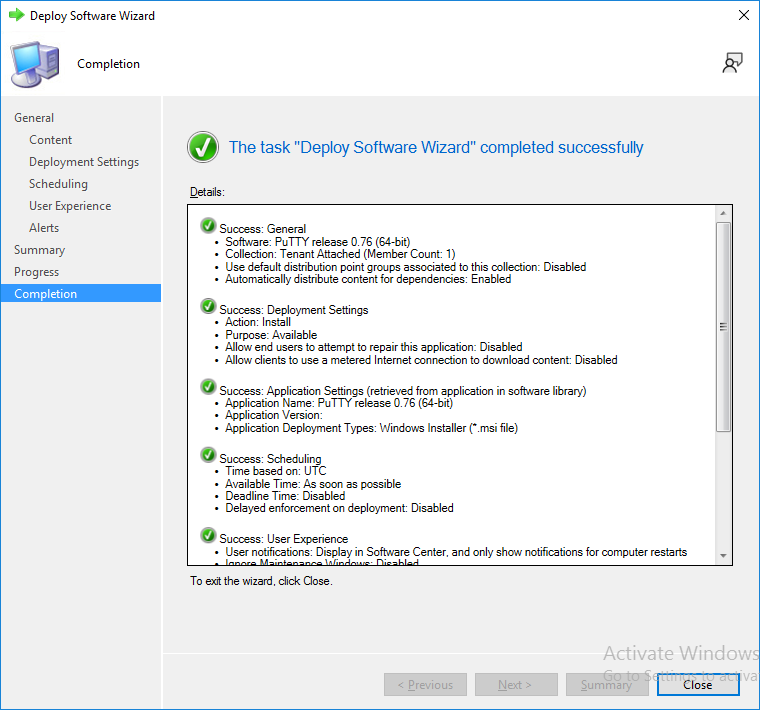
Continue through the wizard to completion, below is the summary.
Step 4. Reviewing the tenant attach app features
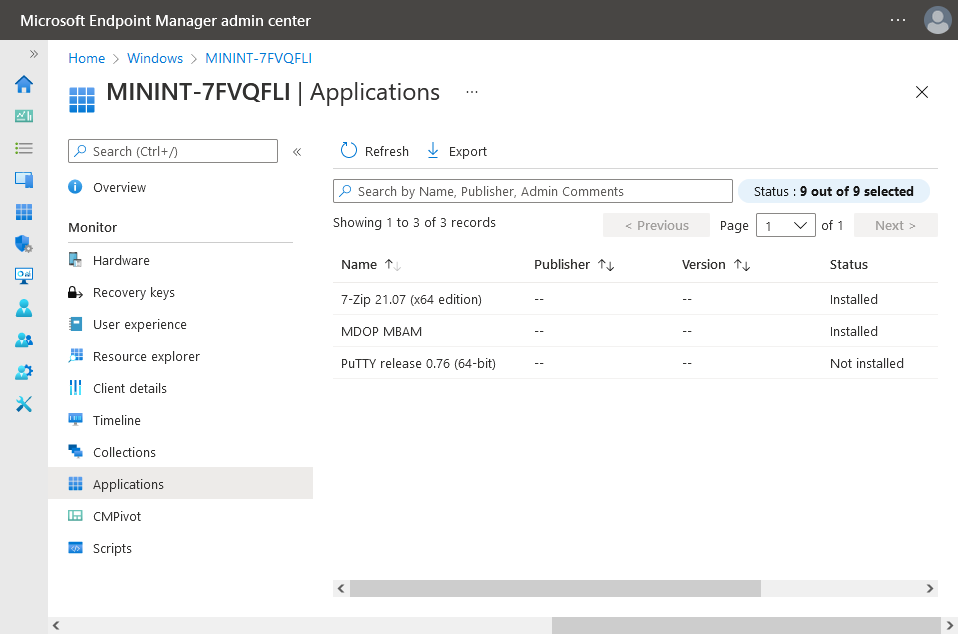
On a tenant attached device, open the MEM console and select the tenant attached device you will test these app features on. Click on Applications in the left node. Any apps that you’ve made available to tenant attached devices using the above method will show up. Here you can see the Putty application is listed, with a status of Not installed.
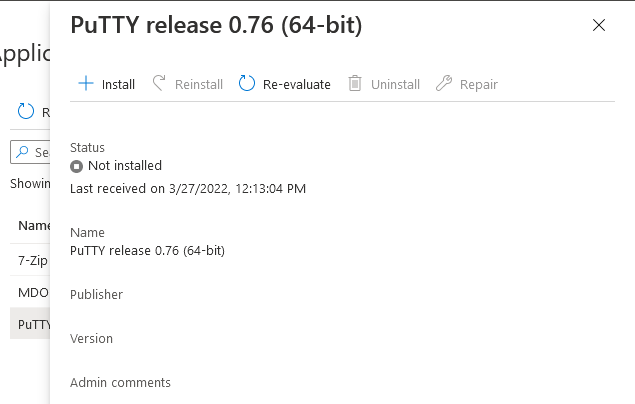
Select the application you’ve made available to tenant attach to get more options. The options available include:
- Install
- Reinstall
- Re-evaluate
- Uninstall
- Repair
As you can see the Install and Re-evaluate options are the only valid options at this time, so go ahead and click + Install.
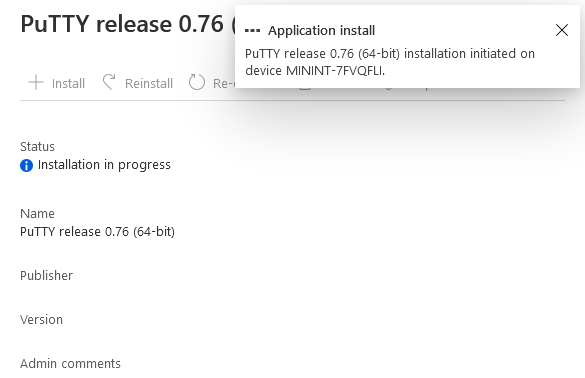
The notifications area in the MEM console gives you some information about the fact that it’s installing the app.
but a few moments later, you see this…
Ok, so maybe we were too fast, let’s trigger a machine policy on that computer. Click on Overview and then click Sync Machine Policy. Answer Yes when prompted.
If you click away and click back to Overview you’ll see the status of that action.
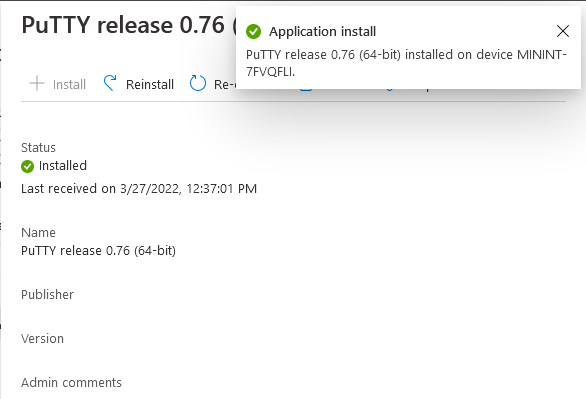
Go back to Applications. Click + Install. After a few moments you should see this.
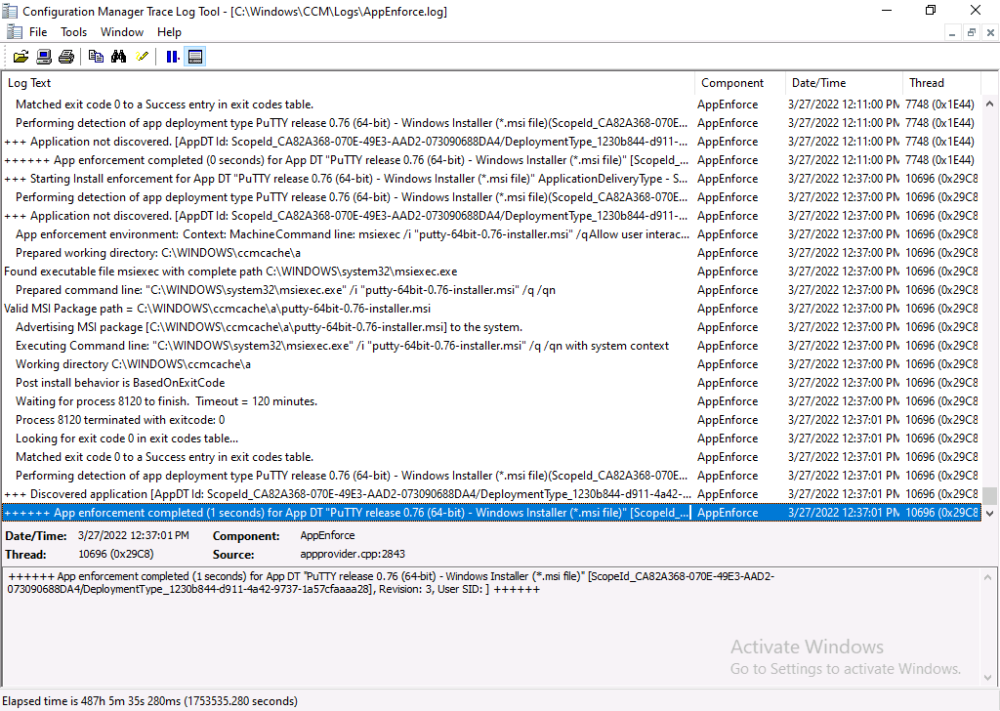
On the client, you can of course check control panel or the start menu to verify the app is installed or you can review the following logs:
- AppDiscovery.log
- AppEnforce.log
- AppIntentEval.log
Here’s a sample.
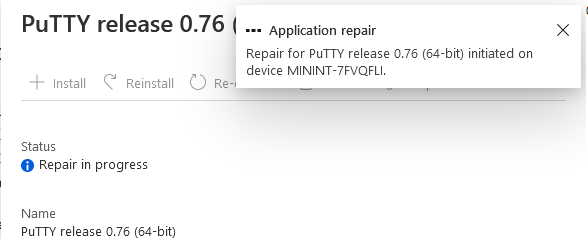
If you then try and click on Repair in the MEM console
Note: The repair option will be greyed out if you didn’t yet add the repair command line in the Repair Program.
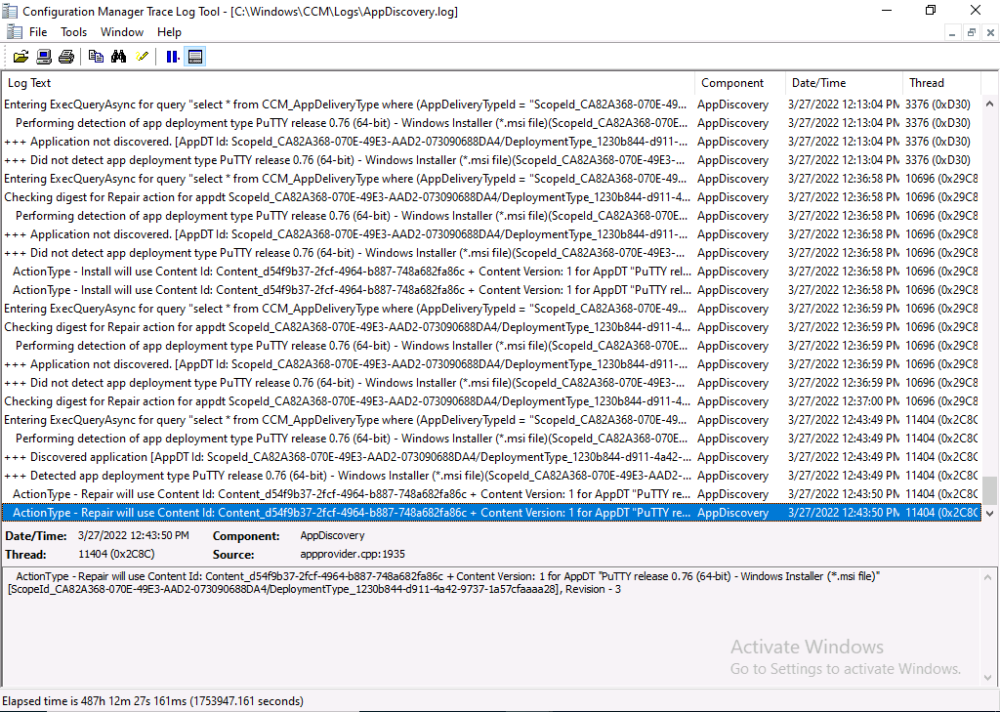
and then review the AppDiscovery.log you’ll see the following…
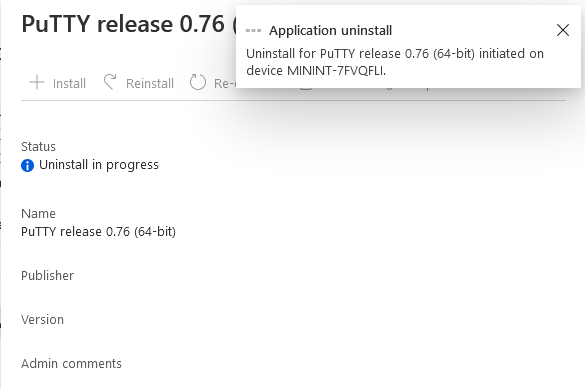
And finally, you can choose to Uninstall the app, via the MEM console.
and after some moments…
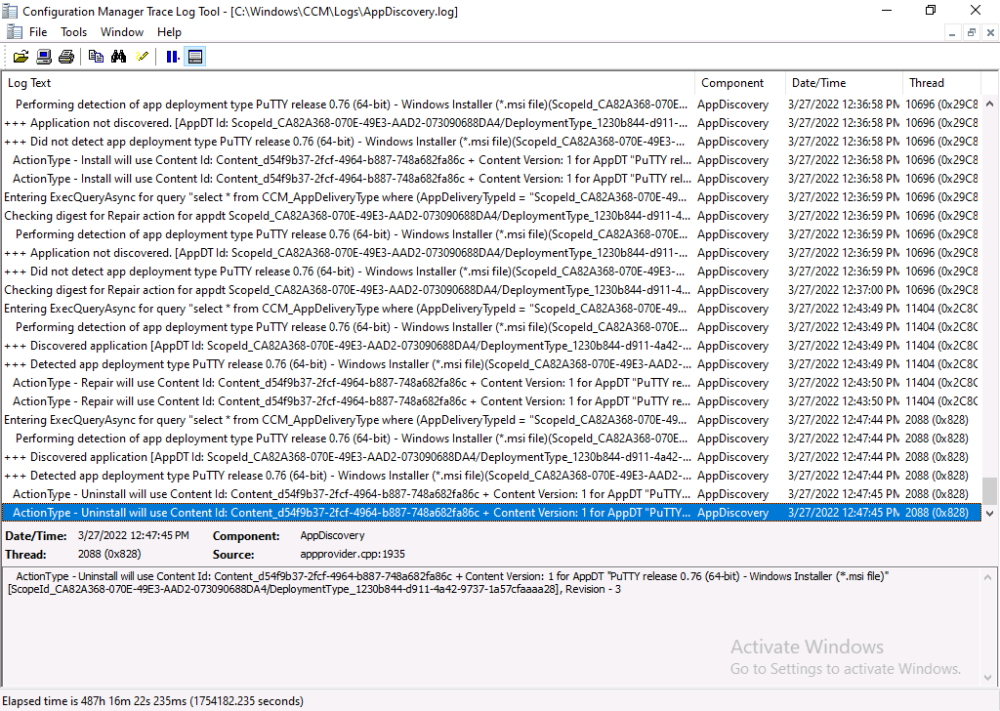
This action is also reflected via the logs on the client itself.
So there you have it, the ability to easily install, uninstall or repair applications on tenant attached devices all via the Microsoft Endpoint Manager console. Join us in the next part when we’ll take a look at more tenant attach features.


