Introduction
This is part 9 in a series of guides about cloud attach in Microsoft Endpoint Manager, with the aim of getting you up and running with all things cloud attach. This part will focus on renewing expiring certificates. This series is co-written by Niall & Paul, both of whom are Enterprise Mobility MVP’s with broad experience in the area of modern management. Paul is 5 times Enterprise Mobility MVP based in the UK and Niall is 11 times Enterprise Mobility MVP based in Sweden.
In part 1 we configured Azure AD connect to sync accounts from the on premise infrastructure to the cloud. In part 2, we prepared Azure resources for the Cloud Management Gateway, in part 3 we created the cloud management gateway and verified that everything was running smoothly. In part 4 we enabled co-management. With co-management, you retain your existing processes for using Configuration Manager to manage PCs in your organization and you gain the additional advantage of being able to transfer workloads to the cloud via Endpoint Manager (Intune). In part 5 we enabled the compliance policies workload and reviewed how that affected a co-managed computer. In this part we will enable conditional access and see how that can be used to deny access to company resources. In part 6 we configured conditional access and used it to deny access to company resources unless the device was encrypted with BitLocker. In part 7 we showed you how to co-manage Azure AD devices. In part 8 we enabled Tenant Attach and looked briefly at it’s features. In this part we’ll renew a soon to be expired certificate which we created about a year ago in part 2.
Below you can find all parts in this series.
- Cloud attach – Endpoint Managers silver lining – part 1 Configuring Azure AD connect
- Cloud attach – Endpoint Managers silver lining – part 2 Prepare for a Cloud Management Gateway
- Cloud attach – Endpoint Managers silver lining – part 3 Creating a Cloud Management Gateway
- Cloud attach – Endpoint Managers silver lining – part 4 Enabling co-management
- Cloud attach – Endpoint Managers silver lining – part 5 Enabling compliance policies workload
- Cloud attach – Endpoint Managers silver lining – part 6 Enabling conditional access
- Cloud attach – Endpoint Managers silver lining – part 7 Co-managing Azure AD devices
- Cloud attach – Endpoint Managers silver lining – part 8 Enabling tenant attach
- Cloud attach – Endpoint Managers silver lining – part 9 Renewing expiring certificates
A certificates validity is set in stone when it’s created, and as time passes the certificates validity will eventually expire. When a certificate expires, anything that relied on it to approve communication will no longer work, so keeping a close eye on your certificates validity and noting when they expire is a good practice to avoid any disruption to services within your organization.
Note: The Configuration Manager console (as of ConfigMgr version 2111) does NOT keep you alerted of the expiring certificate, so you’ll have to keep track of it yourself by paying attention to those emails from your certificate provider.
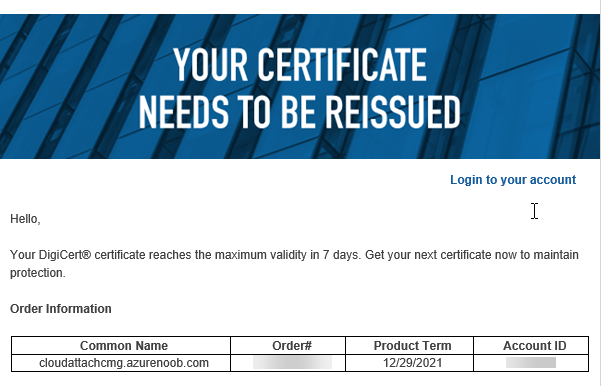
Digicert does however notify you by email about the coming expiration, at 90 days, 30 days and 7 day intervals.
Step 1. Create a new CSR
Note: You should avoid using the CSR generated during the initial certificate creation, as this is not secure and can compromise your SSL certificate usage.
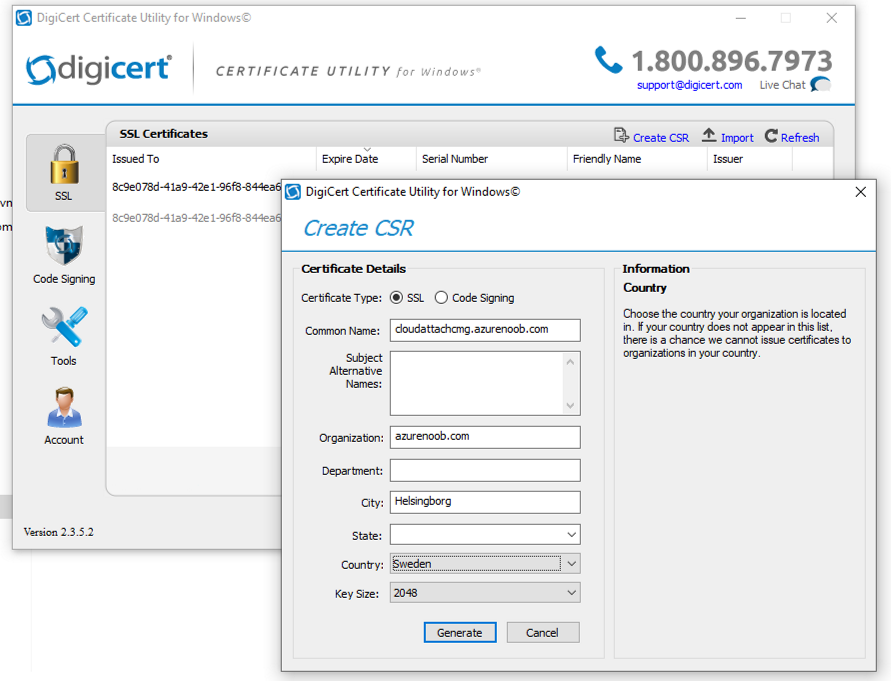
In Part 2 of this series, we downloaded a digital certificate utility from DigiCert for creating a Certificate Signing Request (CSR) but you can do this process on an IIS server see here. A CSR is a block of encoded text that is given to a Certificate Authority when applying for an SSL Certificate. It is usually generated on the server where the certificate will be installed and contains information that will be included in the certificate such as the organization name, common name (domain name), locality, and country. Source
Using the tool above (from Digicert, our external SSL certificate provider, there are many to choose from), click on Generate to create the CSR.
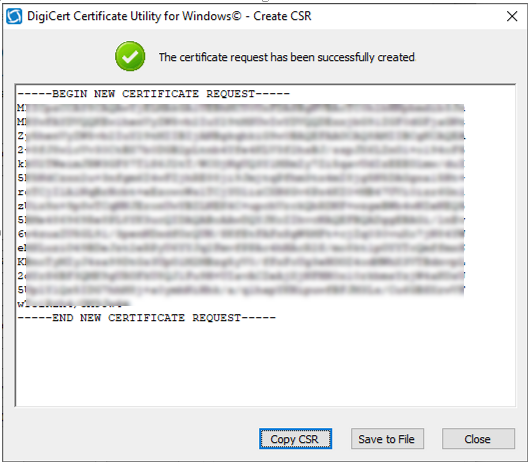
After generating the CSR, save it to a file.
Step 2. Reissue the expiring certificate
Next, login to your certificate provider (in this case Digicert) and locate the soon to be expired certificate. To the right click on Reissue Now.
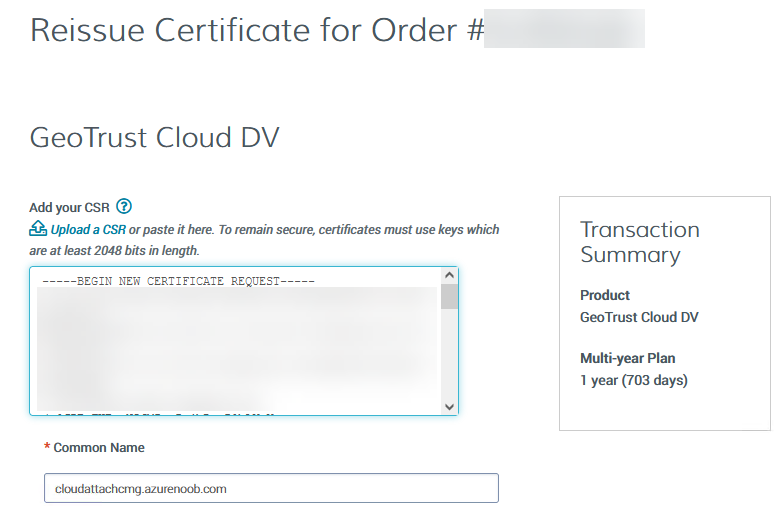
In the window that appears paste in the newly generated CSR from step 1.
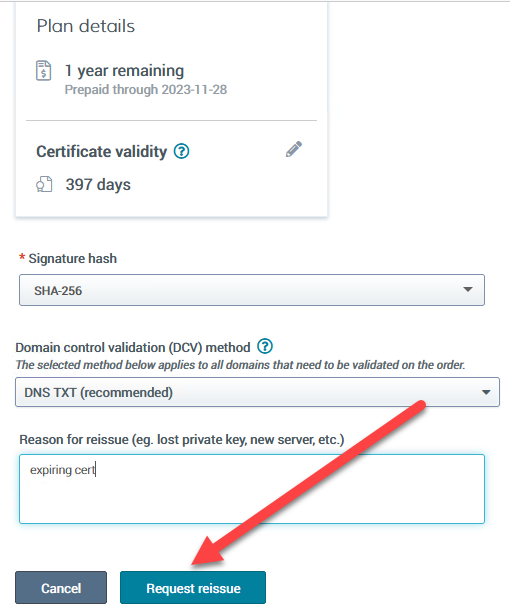
Enter a reason why you want the certificate reissued and then click on Request reissue.
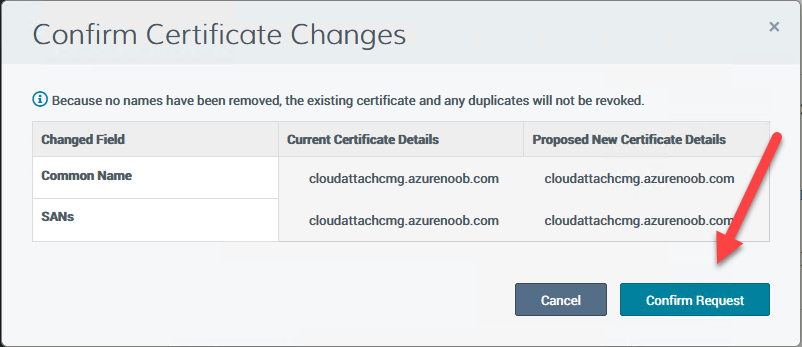
Finally, click on Confirm request.
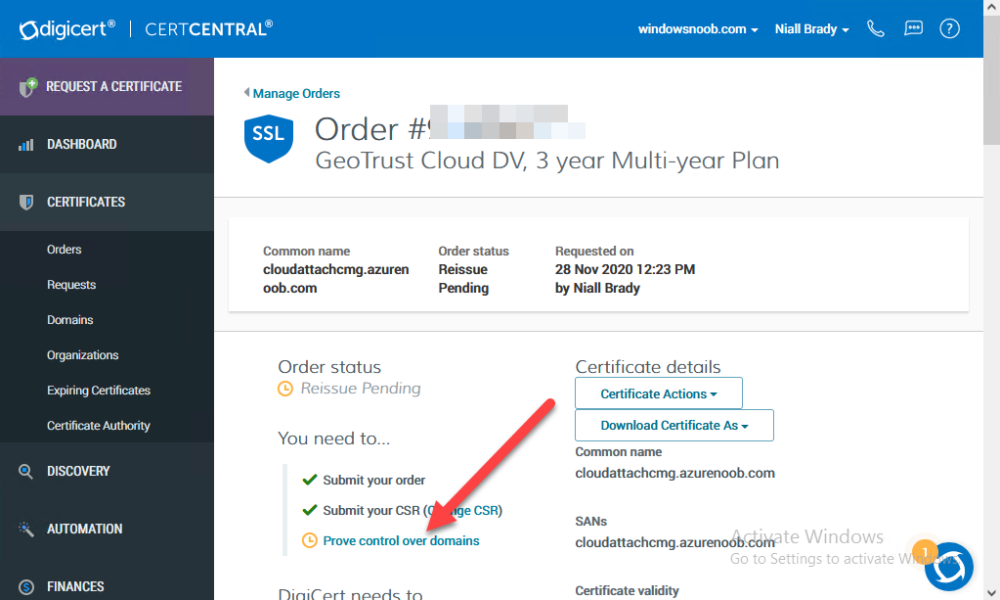
At this point, you will see a summary screen like this, take note that to complete the process you’ll have to prove ownership of the domain by clicking on Prove control over domains.
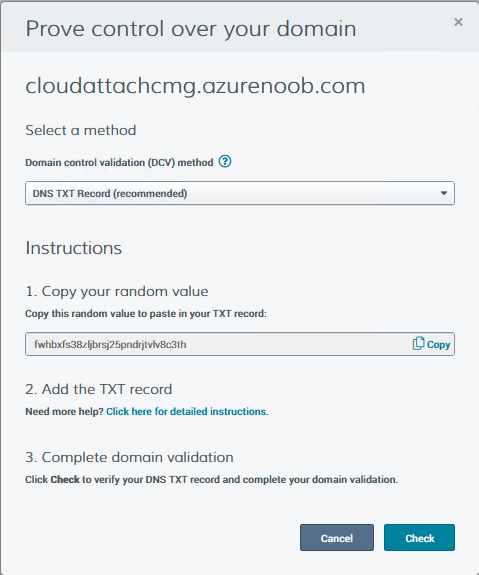
We chose the option to use a DNS TXT Record (recommended).
Copy the TXT record and then login to your Domain Name registrar (eg: godaddy) and select the domain name, then paste in the DNS txt record value, below is the record created from above.
Note: If your domain name registrar is GoDaddy or uses the same UI as GoDaddy, you may need to temporarily delete any CNAME that matches the hostname prior to adding the TXT record. After validating the TXT record, you can delete the TXT record and add the CNAME back. This seems to be a bug in their UI.
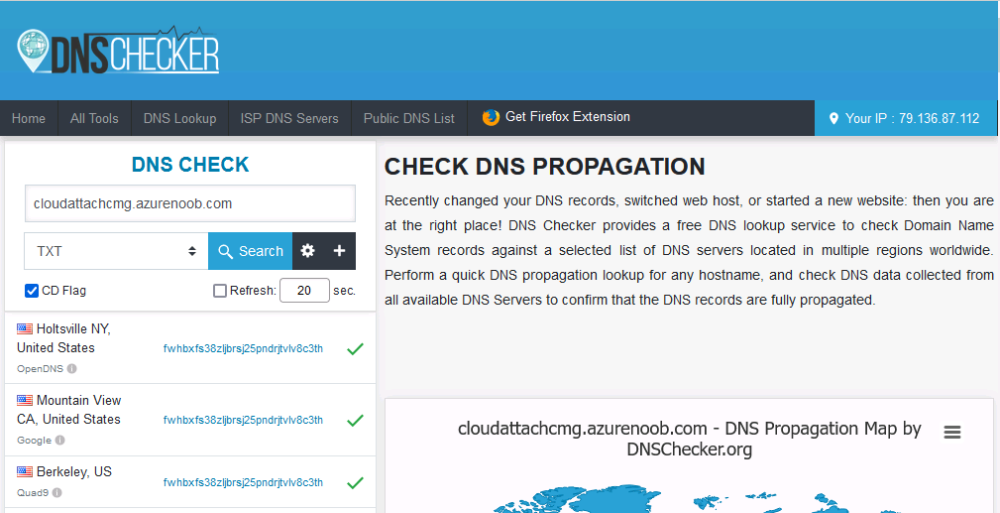
After creating the TXT record you can verify it with dnschecker.org, as shown here, this is helpful in troubleshooting whether your DNS record (TXT, CNAME etc…) is valid or not.
Be sure to enter the cloudattachcmg prefix (yours will be different obviously) into the record for the TXT DNS validation otherwise it might have problems finding the TXT record.
Step 3. Download the CRT
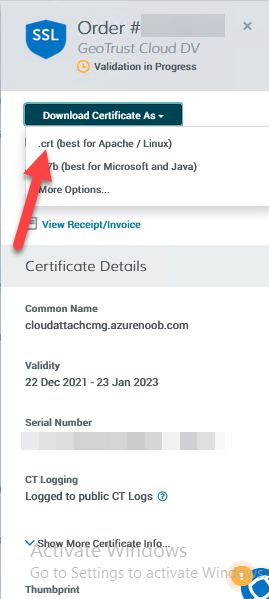
After verifying that you own the domain, you’ll be able to download the reissued CRT (certificate) from the certificate provider (eg: DigiTrust).
Step 4. Import the CRT
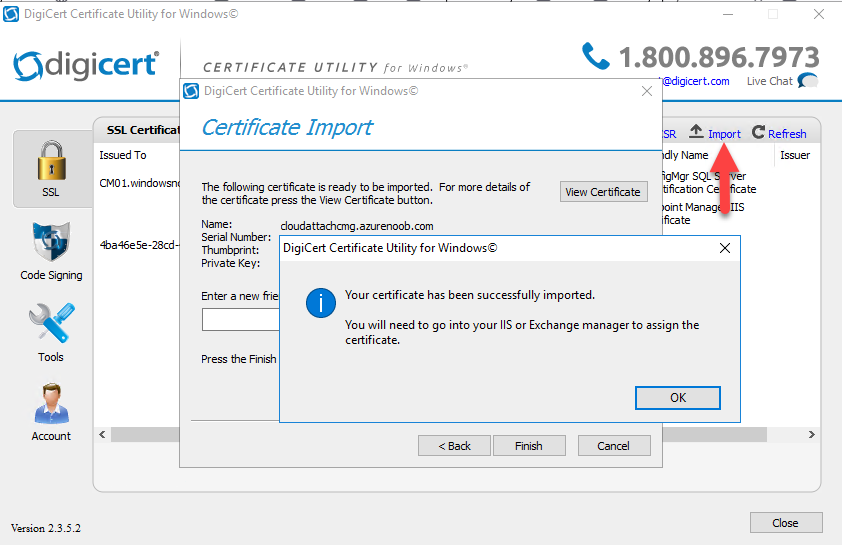
Next, import the downloaded CRT back into the Digicert tool by clicking on Import and pointing it to the extracted CRT file in the zip you downloaded.
Step 5. Export the pfx
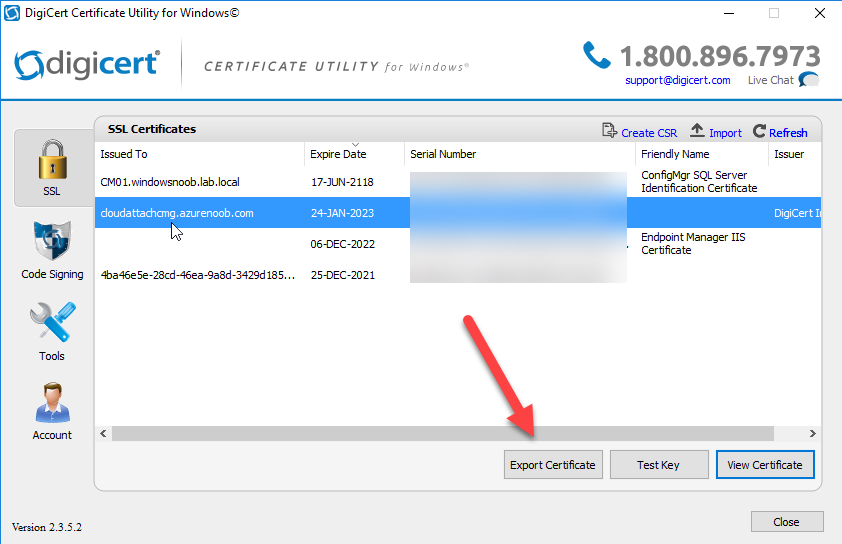
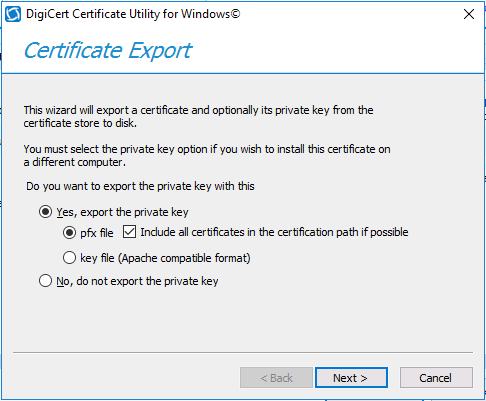
Select the Imported certificate, click on Export Certificate
choose the option to export pfx
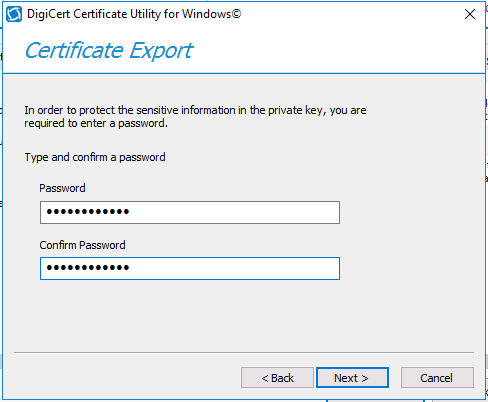
You’ll be prompted for a password
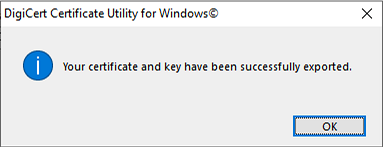
and you’ll be informed of the successful export.
Step 6. Reconfigure the Cloud Management Gateway
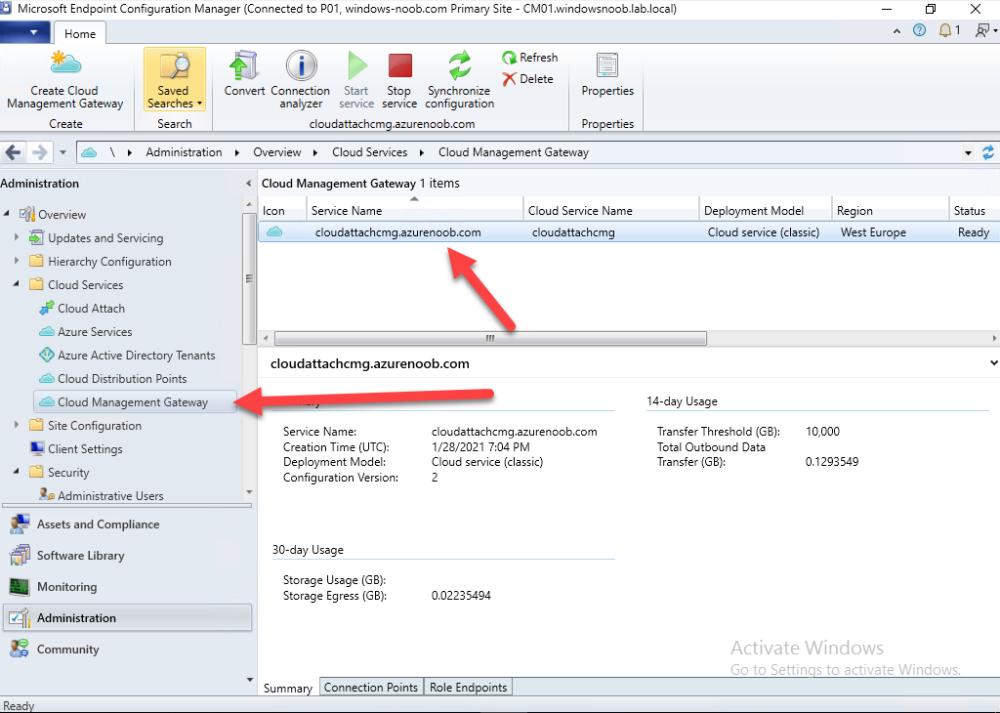
In the ConfigMgr console, select Cloud Services and select Cloud Management Gateway.
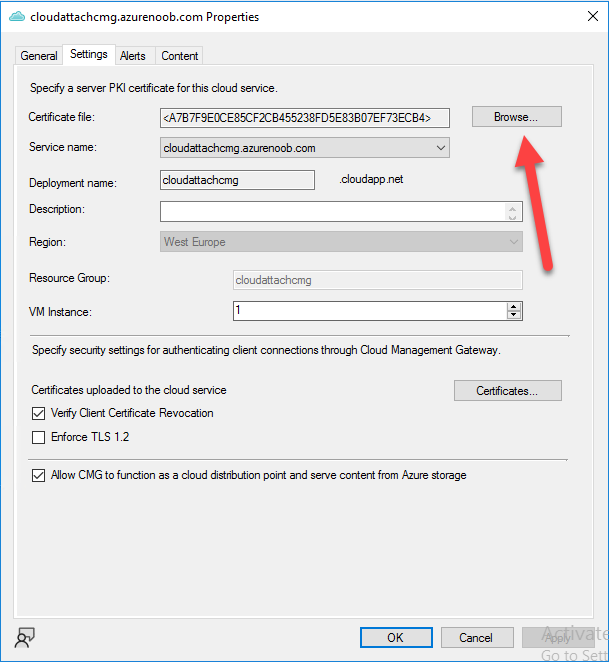
In the CMG properties, choose the Settings tab and click Browse beside the currently expiring PKI certificate
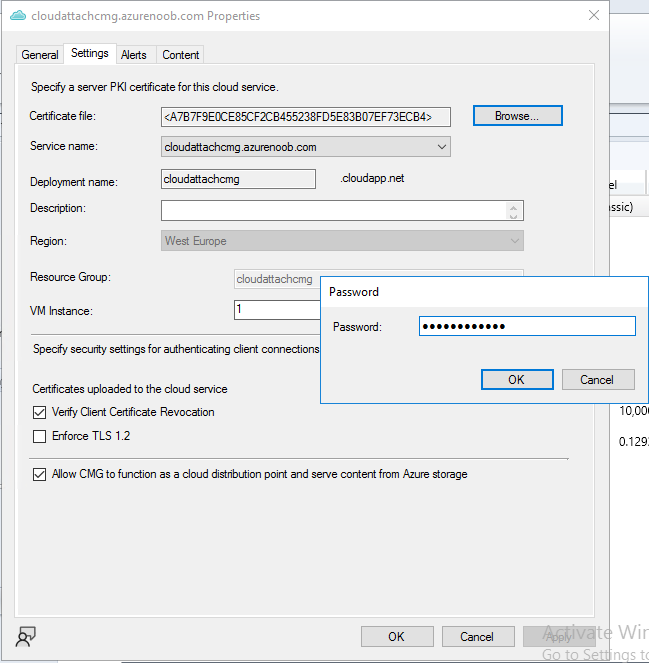
Point it to the previously exported PFX file and enter the password when prompted
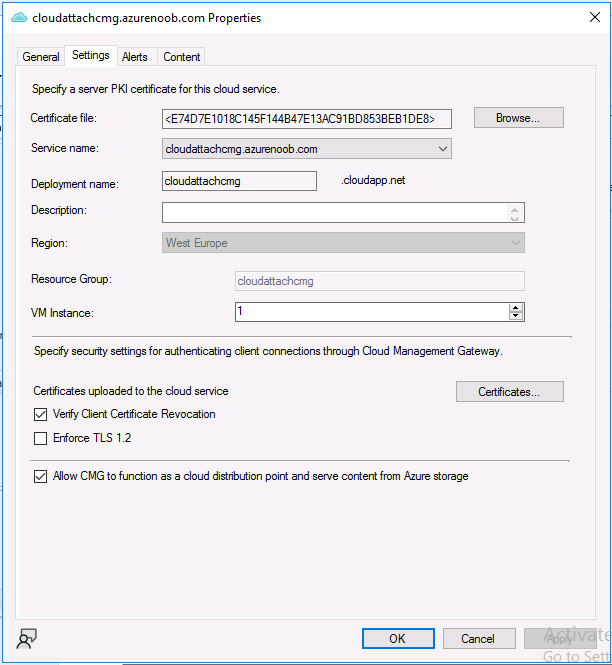
Click Apply, notice that the Certificate File will have changed
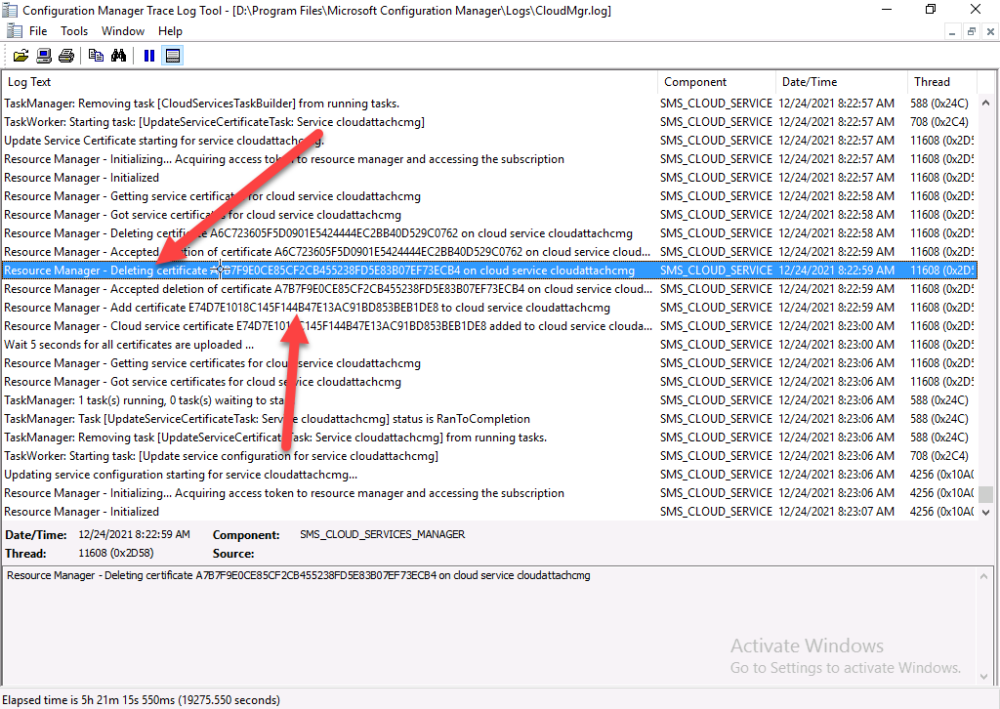
The CloudMgr.log will record this old certificate deletion and the addition of the reissued certificate.
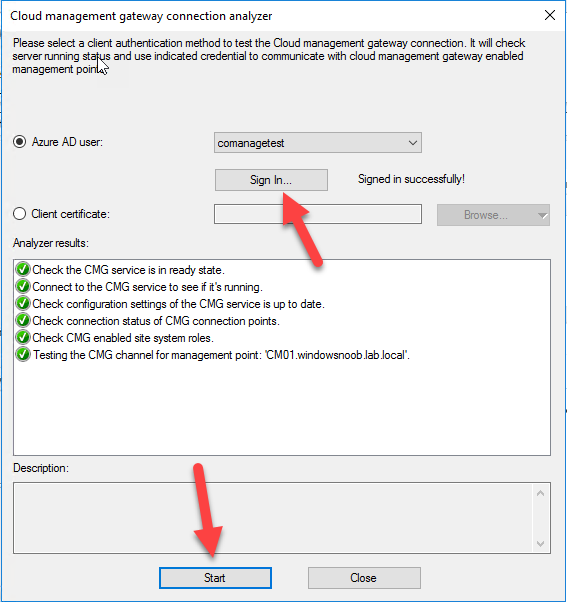
At this point, the hard work is done and your certificate is reissued, and your CMG is reconfigured to use the new certificate. You can verify the CMG is working properly by running the Connection Analyzer.
Job done,
please join us in the next Cloud Attach blog post, early next year !


