This multi-part guide will show you how to install the latest baseline version of Configuration Manager from Microsoft. The latest available baseline version is System Center Configuration Manager (Current Branch) version 1802 as of March 29th 2018. You can use this multi-part guide to get a hierarchy up and running on Windows Server 2016 using SQL Server 2017. The concept behind this is to guide you through all the steps necessary to get a working Configuration Manager Primary site installed using manual methods or automating it by using PowerShell.
This gives you the power to automate the bits that you want to automate, while allowing you to manually do other tasks when needed. You decide which path to take. PowerShell knowledge is desired and dare I say required if you are in any way serious about Configuration Manager.
I will show you how to do most steps via two methods shown below, it’s up to you to choose which method suits you best but I highly recommend automating everything that you can (if possible), using PowerShell.
- Method #1 – Do it manually
- Method #2 – Automate it with PowerShell
In Part 1, you configured Active Directory Domain Services (ADDS) on AD01, then joined the Configuration Manager primary server (CM01) to the newly created domain. You then created users, usergroups and OU’s in Active Directory and created the System Management Container. Finally you delegated permission to the Configuration Manager server to the System Management container. In Part 2, you configured Windows Server 2016 roles and features on the Configuration Manager primary server (CM01) and then you downloaded and installed Windows ADK 1709. Next you installed SQL Server 2017 CU5 with SQL Server Management Studio (SSMS) and Reporting Services before installing the WSUS role which uses SQL to store the SUSDB instead of the Windows Internal Database (WID). In this Part, you will download and extract the ConfigMgr content, you’ll download the ConfigMgr prerequisites and then you’ll extend the Active Directory schema before installing System Center Configuration Manager (Current Branch) version 1802.
Step 1. Download and extract the ConfigMgr content
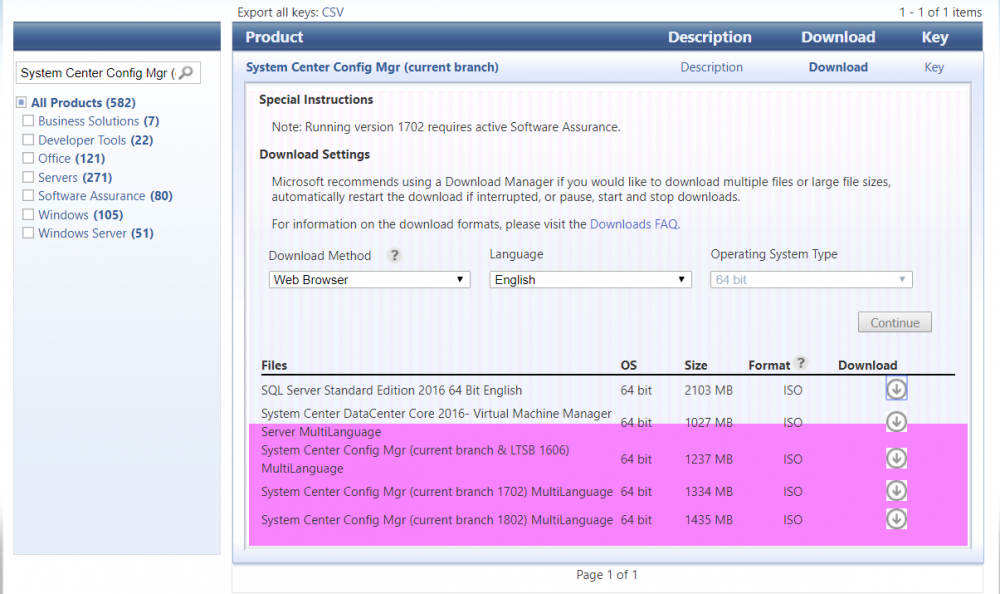
Before installing System Center Configuration Manager version 1802 you’ll need to download the content as it is a baseline version. You can download baseline versions of the ConfigMgr media from Microsoft’s Volume licensing Service Center (VLSC) site for use in production or from MSDN (or the Microsoft Evaluation site) for use in a lab. The VLSC download can be found be searching for Config and then selecting System Center Config Mgr (current branch and LTSB) as shown below.
Once you’ve downloaded the ISO, mount it using Windows File Explorer and copy the contents to somewhere useful like C:\Source\SCCM1802 on the Configuration Manager server.
Step 2. Download the ConfigMgr Prerequisites
Note: Perform the following on the Configuration Manager server (CM01) as a Local Administrator
You can download the prerequisites during ConfigMgr setup or in advance. As you’ll probably want to install more than one copy of ConfigMgr (one lab, one production) it’s nice to have the prerequisites downloaded in advance.
Method #1 – Do it manually
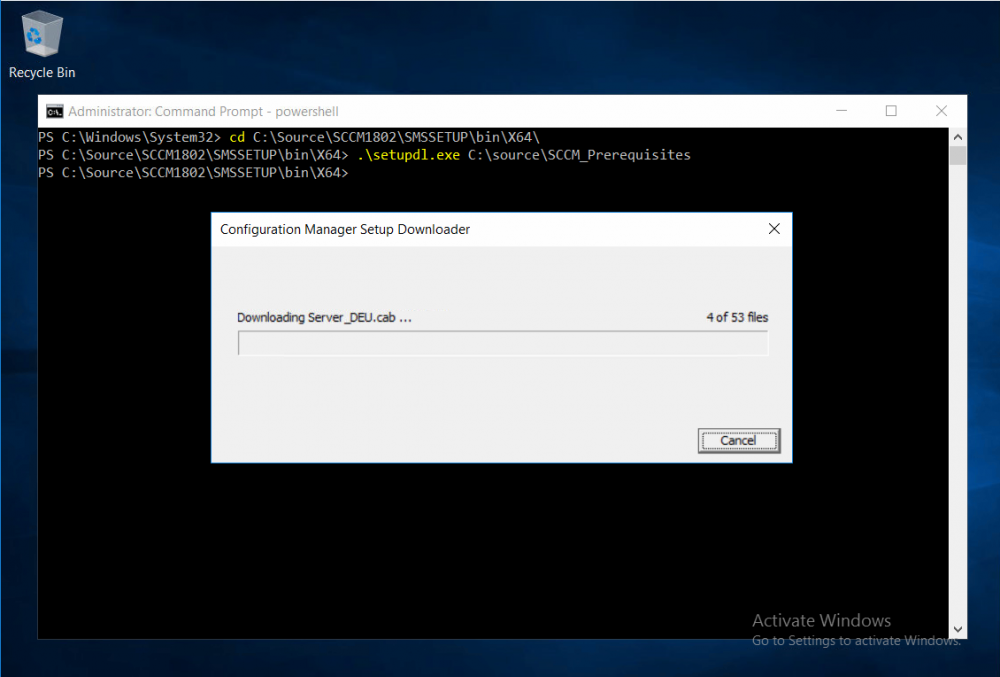
To do that, open an administrative PowerShell command prompt and navigate to the following folder:
C:\Source\SCCM1802\smssetup\bin\X64
Run the following line
.\SetupDL.exe C:\Source\SCCM_Prerequisites
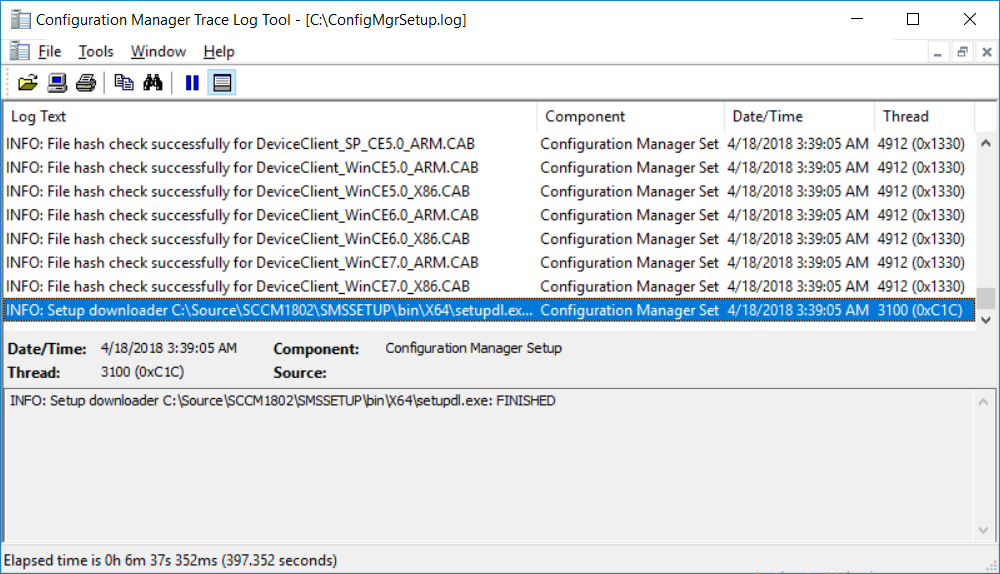
Once the process is complete you can open C:\ConfigMgrSetup.log with CMTrace (or notepad) to verify the status of the download.
Note: You can find the CMTrace executable in the SMSSetup Tools folder in the location that you extracted the ConfigMgr media, eg: C:\Source\SCCM1802\SMSSETUP\TOOLS.
To read the rest of this post please click here.


