Introduction
I’ve spent the last few weeks getting familiar with the new ConfigMgr Portal for System Center Configuration Manager (Current Branch) and System Center Configuration Manager 2012 available from Cireson (a windows-noob.com sponsor) and I have to say, I’m impressed.
Cireson is a company dedicated to Microsoft Cloud and System Center products and has its headquarters in San Diego. It is well regarded in System Center circles. The company’s quick rise to prominence is no doubt related to the excellent products and services they offer coupled with a team of highly skilled staff.
About the portal
The Cireson Portal for Configuration Manager is in Ciresons’ own words “a web-based experience for those who would use the Configuration Manager Console to create and deploy software or operating systems. In addition, the Cireson Portal for Configuration Manager allows great customization”.
Before I installed the ConfigMgr Portal, I viewed a video by Wally Mead and Shaun Ericson available here. This video covered some of the products functionalities and is well worth seeing. The video explains why using the Cireson ConfigMgr portal can help reduce the number of people having direct access to the Configuration Manager console.
After watching the video I quickly built a new lab based on Windows Server 2016, SQL Server 2016 and Configuration Manager 1610 Current Branch as detailed with lots of PowerShell scripts here. Once I had my lab setup I was ready to install the portal, which is currently still in Preview (Preview 2).
Requirements
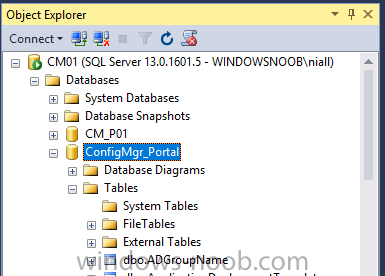
The portal has some requirements such as a backend Configuration Manager installation (obviously) and it needs a SQL Server database to host the portal data. You’ll need to provide credentials for connections to the ConfigMgr site database, Reports Server database, ConfigMgr portal database, IIS application pool and MDT database if used. The installation installs a Cireson ConfigMgr Portal hosting service which is used to extract data from the ConfigMgr and MDT databases and to insert it into the portals database.
Installing the portal
Installation of the portal was straightforward and not too complex, it comes with very detailed instructions for setting up and configuring everything including SQL server changes and IIS manipulation on the ConfigMgr server itself. I took my time with the setup and it took a couple of hours to complete including some emails back and forth with the helpful folks at Cireson who answered any questions I had during the setup.
I initially installed Preview 1, and configured it as per the post installation configuration section of the guide and then later upgraded to Preview 2. Upgrading was a straightforward and quick process and instructions were provided to assist with that also.
Configuring the Portal
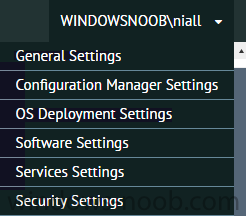
It’s recommended to configure settings in the portal prior to using it. To configure settings in the portal simply click on the drop down menu in the upper right corner beside your username as shown here.
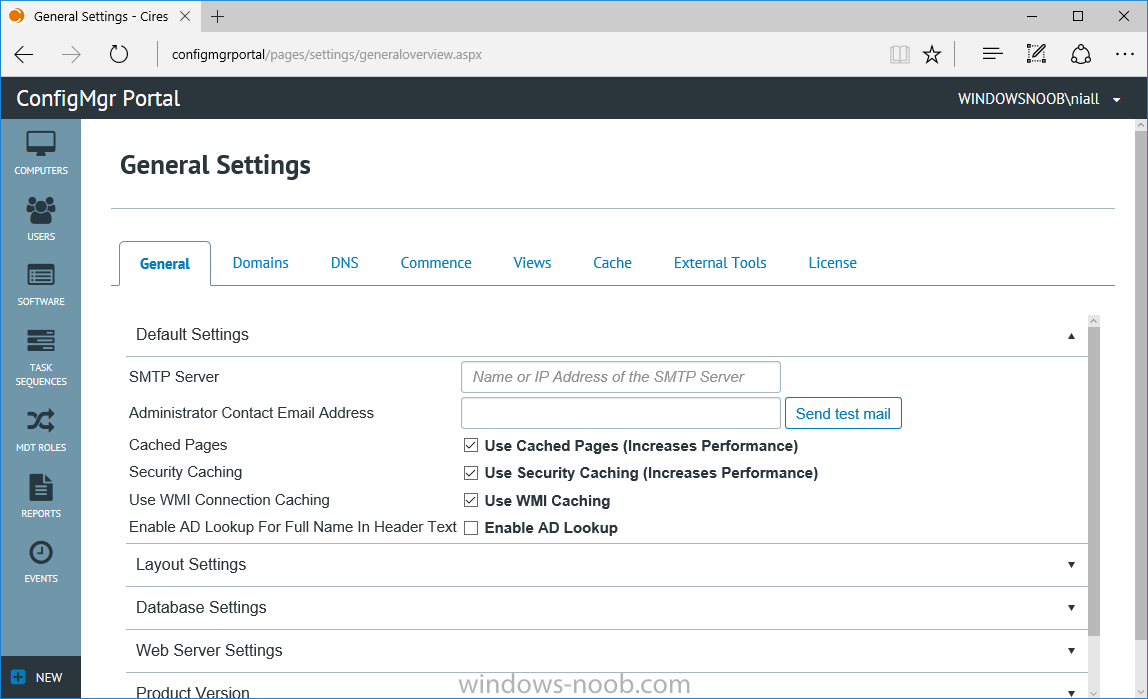
You have a bunch of options available, the first is General Settings which has a bunch of settings related to the portal.
In General Settings you have tabs with different options and expandable content. To change how you ‘view’ the nodes on the left, click on the Views tab. In here you’ll see the standard views that ship with the product and you can edit them to suit your needs or create new views.
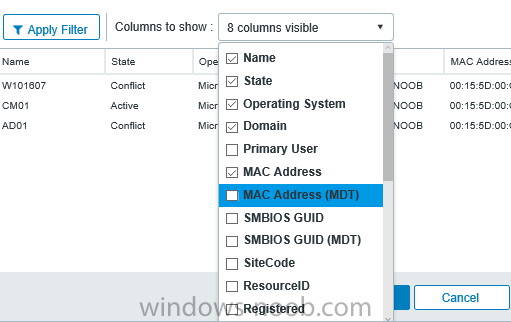
By clicking on Standard View, Computer View and selecting edit, you can add or remove columns from the view. Tip: To see all of the options in the Columns to show drop down, change your web browsers zoom level to 80%.
Once you’ve configured the view to your desires click on Save. Another area of the settings that you should take a look at is Services Settings, and the Scheduled Task Settings for Groups and Users, these specify how often the Hosting Service is set to get data from ConfigMgr.
Using the portal
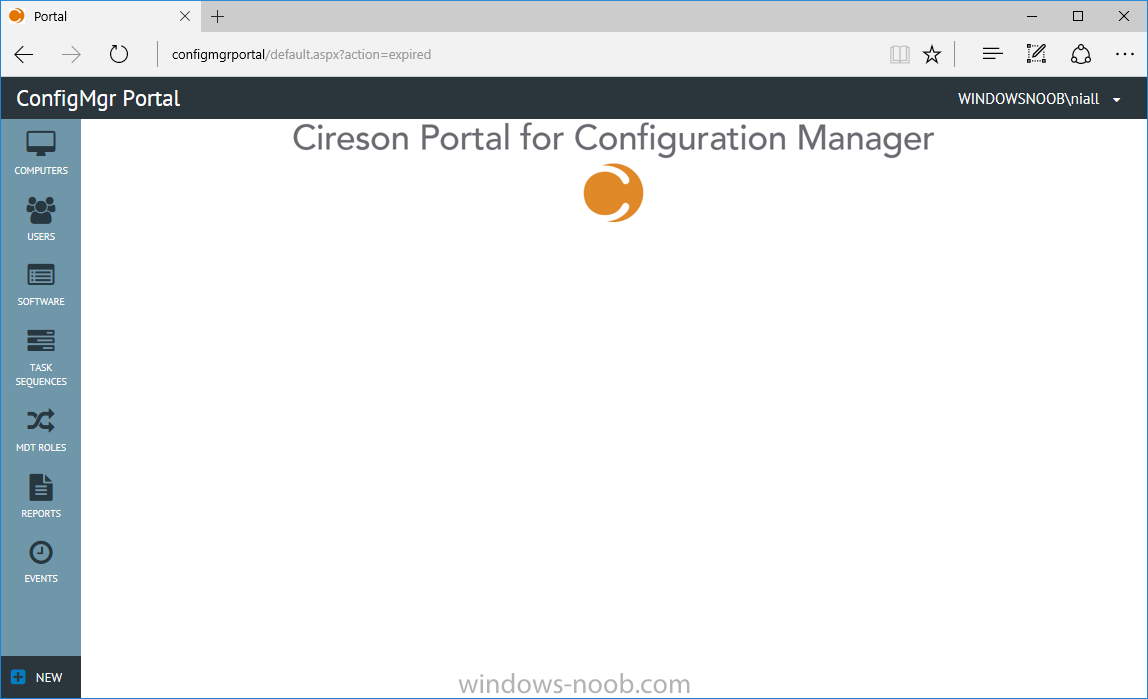
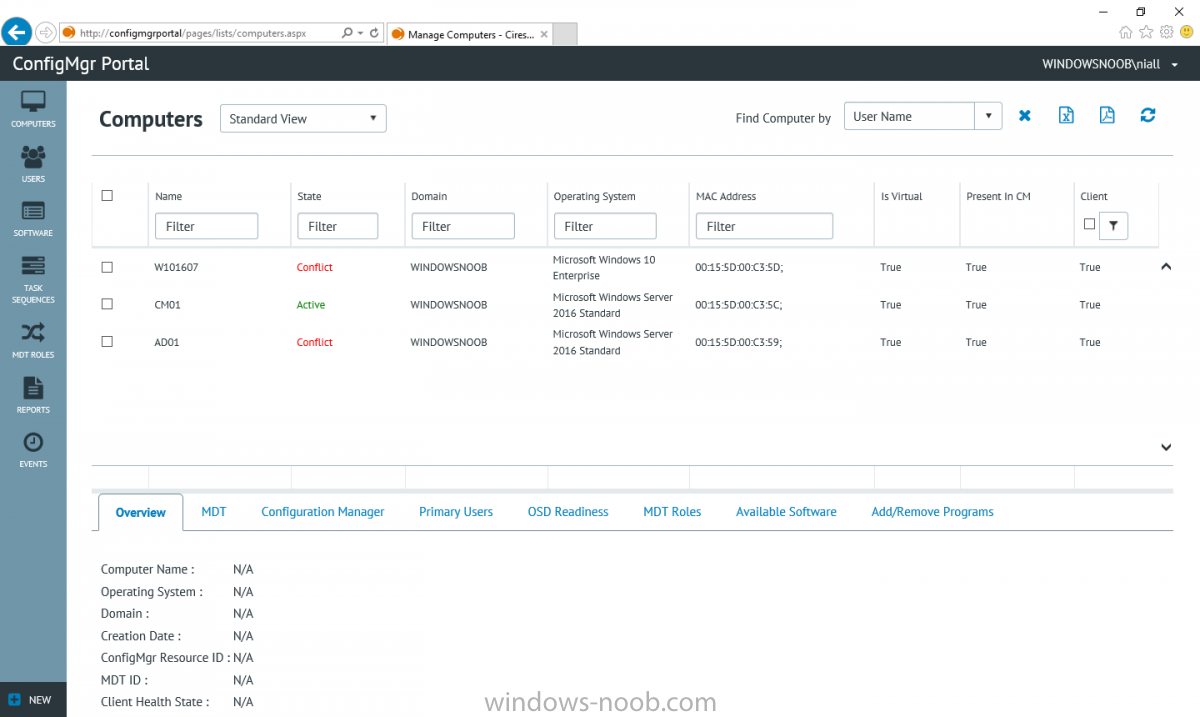
Once the ConfigMgr Portal is installed and configured login to a computer with no ConfigMgr console installed, and point your browser to the http://ConfigMgrPortal web address as seen below (in Internet Explorer).
You’ll get different results when using different web browsers, and I guess that’s down to what the browsers do or don’t support, for example I had an issue moving a settings window in Edge, but it worked fine in Google Chrome, however zooming the web browser window may solve the problem for you.
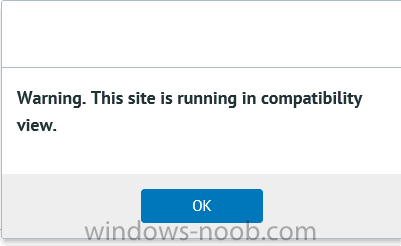
Note: The first time you open the portal in Internet Explorer you may get a Compatibility View warning as shown below.
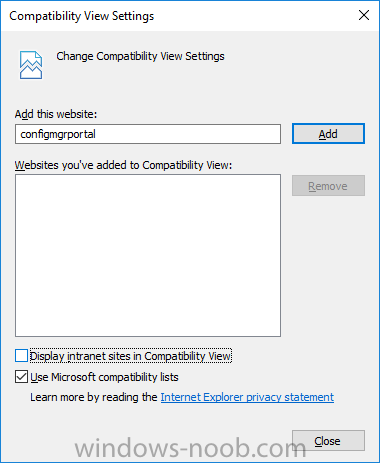
This is easily fixed with a change to Internet Explorer Compatibility view settings as shown here, remove the checkbox from display intranet sites in compatibility view.
Once done the page renders without any warnings and all looks good, but I’d recommend you use a high resolution for the portal (I used 1440×900 for this VM) otherwise objects may clunk together and be hard to read.
So what do we have here, well on the left side of the portal is the action pane, which has nodes to manage Computers, Users, Software, Task Sequences, MDT Roles (optional), Reports (requires the Reporting Services Point role installed and configured) and Events. Let’s take a look at these one by one.
Computers
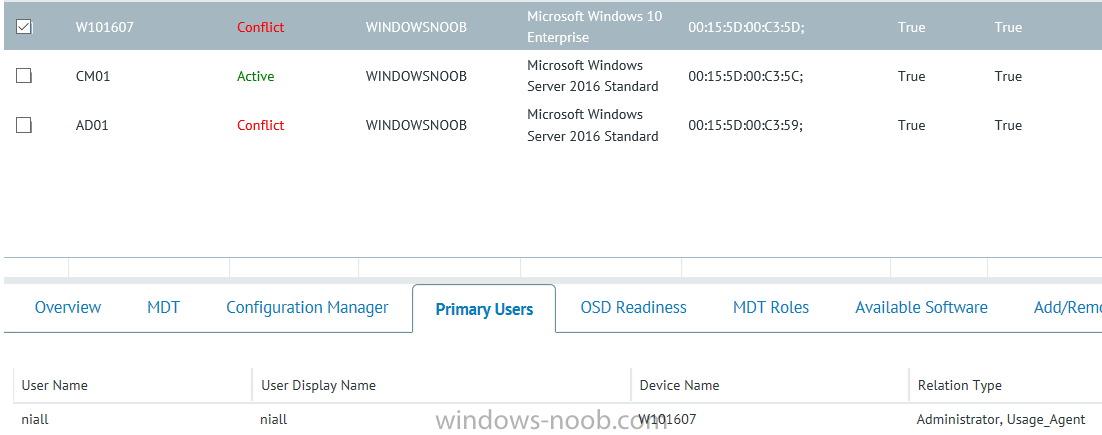
The ConfigMgr Portal by default, only computers with the client agent installed (but you can of course create a custom view to show those without a client agent installed). The center of the screen is split into two views, with the top showing computer objects and below are various tabs that can reveal information about the computer selected. That’s an important point, you need to select a computer in order to populate the tabs below with data. So for example if you want to see who is the primary user (UDA) of a computer, select it and click on the Primary Users tab.
You can even filter your results, so for example to search for all computer with Windows 10, enter that in the Operating System filter and press enter.
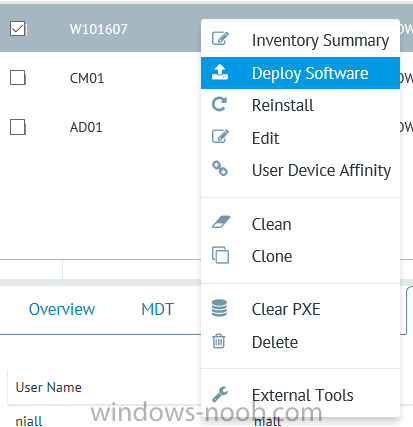
If you right click on a computer you get a right click menu filled with useful choices such as the ability to Deploy Software or Reinstall the computer.
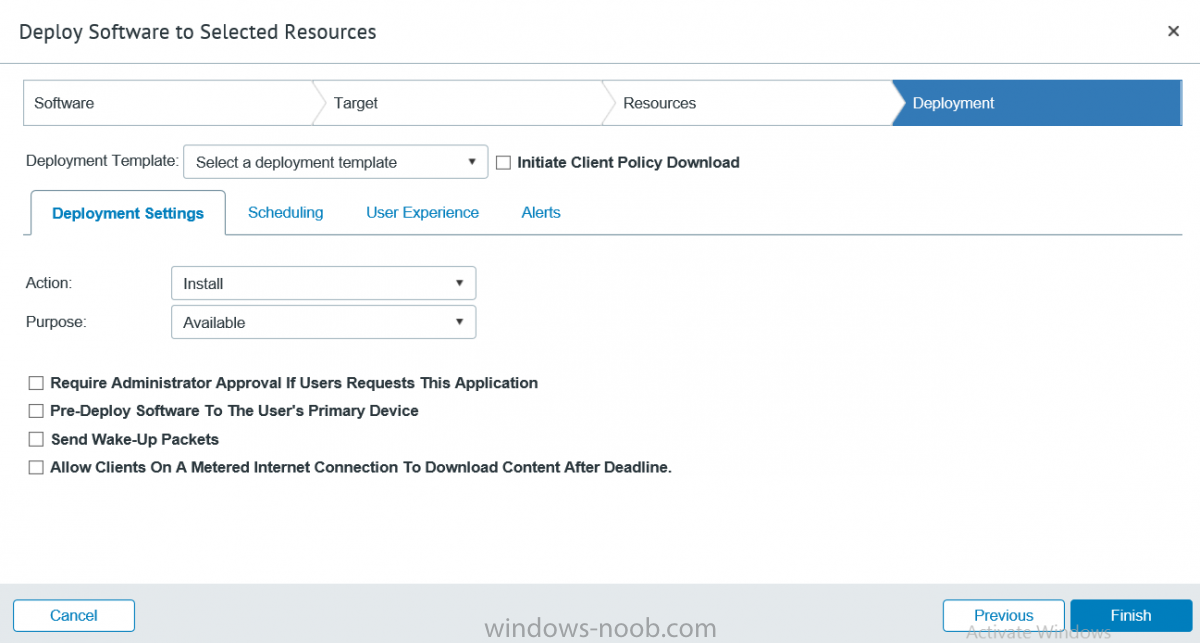
Deploying software to a computer using the portal is as easy as selecting the option from the right click menu and going through a quick and easy to understand wizard. You can even select ConfigMgr options like the purpose of the deployment (Required or Available) or choose to uninstall the software instead of installing it if that rocks your boat. The wizards are clean, modern looking and purposeful.
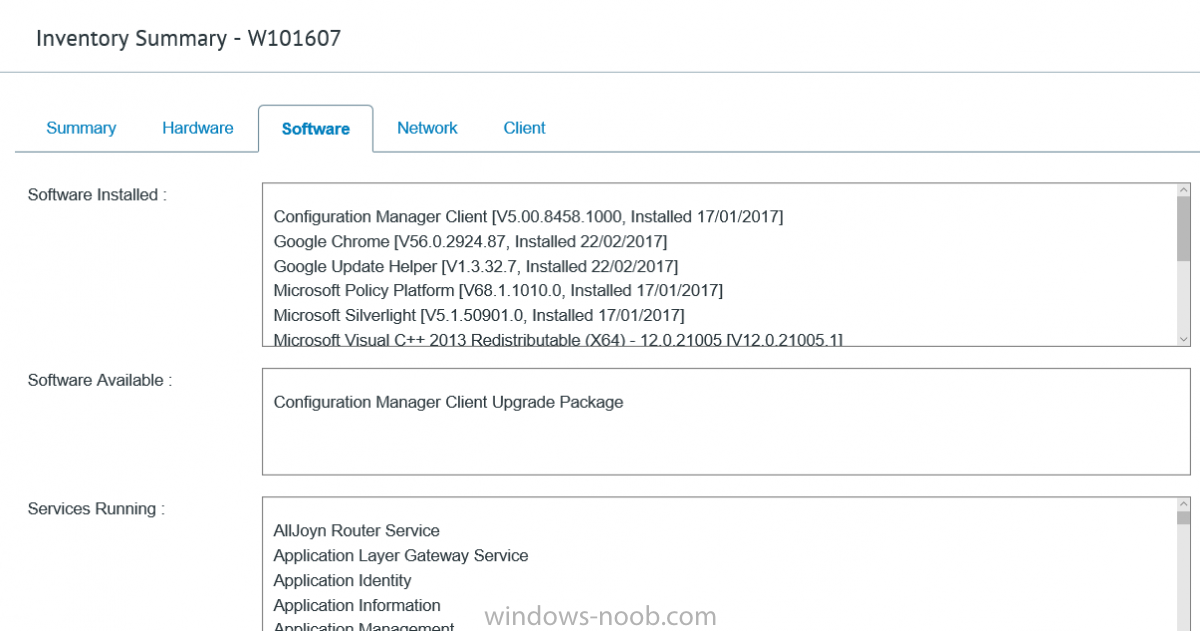
Another right click option, Inventory summary allows you to see what software was inventoried by the ConfigMgr client agent on the computer.
Users
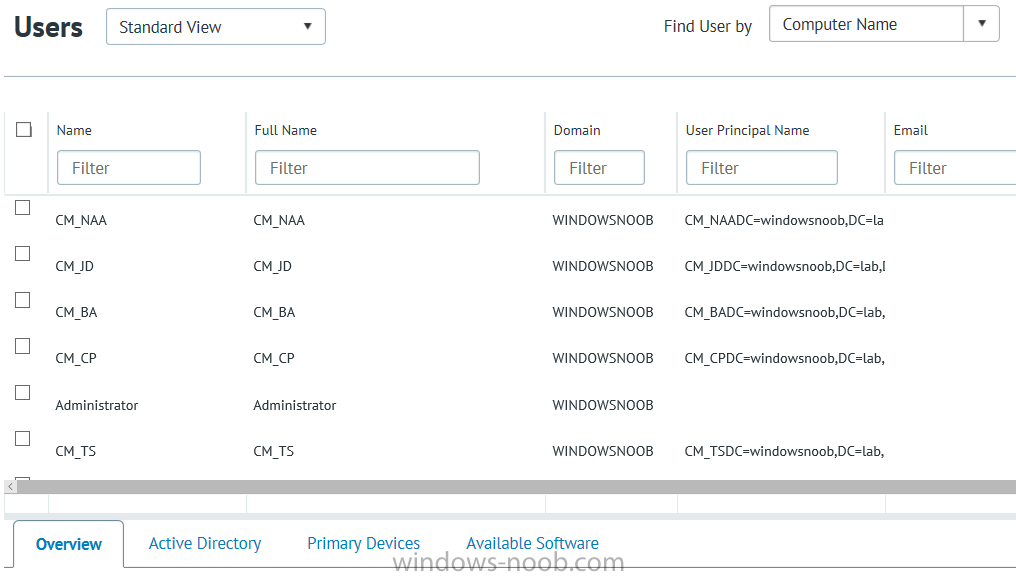
The Users node is for doing user related actions, and those options are clearly visible.
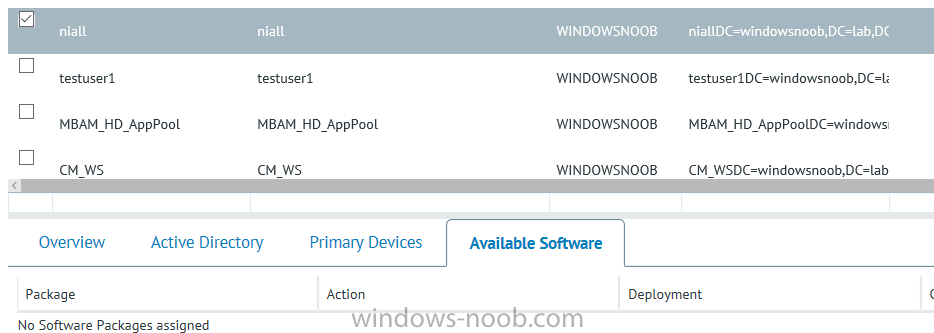
Once again the tabs don’t populate until you select a user, so go ahead and do that. Next click on Available Software to see what software has been deployed to this user. In this case you can see that no software packages are assigned to this user.
To deploy software to a user simply right click on the username and choose Deploy Software, as you see the options are less that we have for computers, but this is adequate for our needs.
Continue through that wizard until done. Once done you can verify that the software is indeed deployed to the user (it is in the ConfigMgr console, but doesn’t show up in the ConfigMgr Portal due to a known bug with this release explained in the release notes).
Software
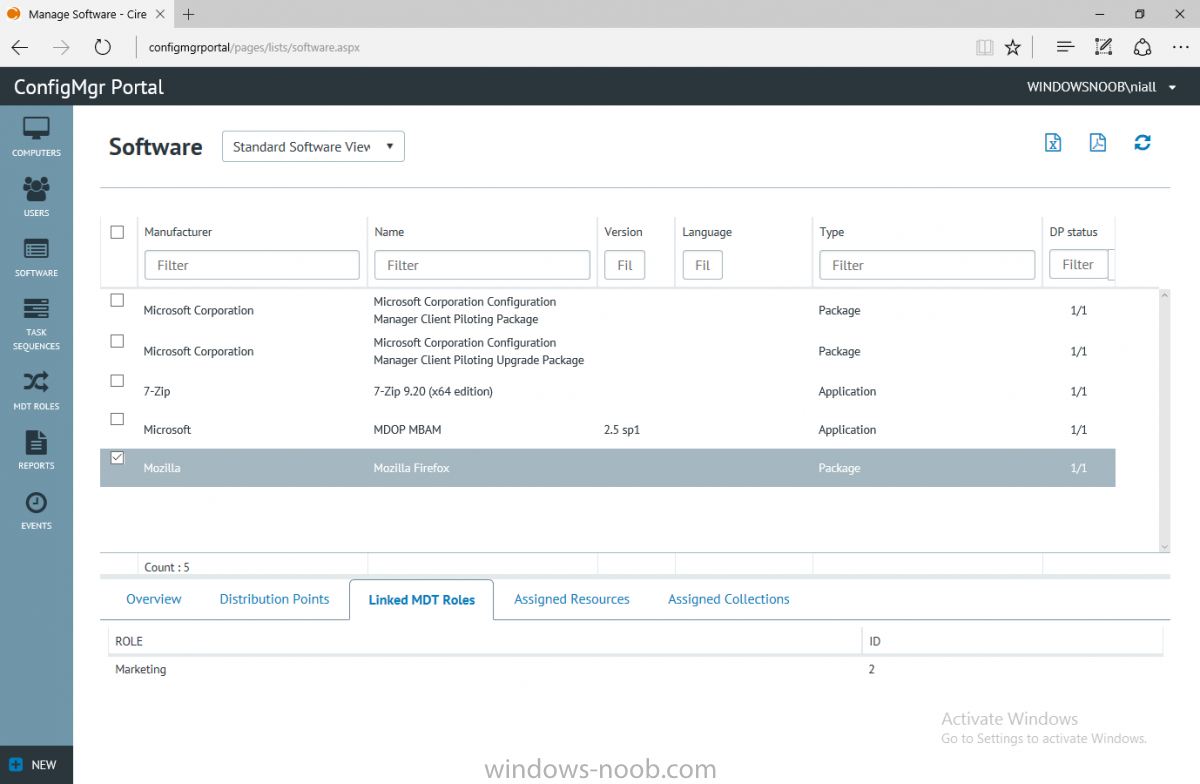
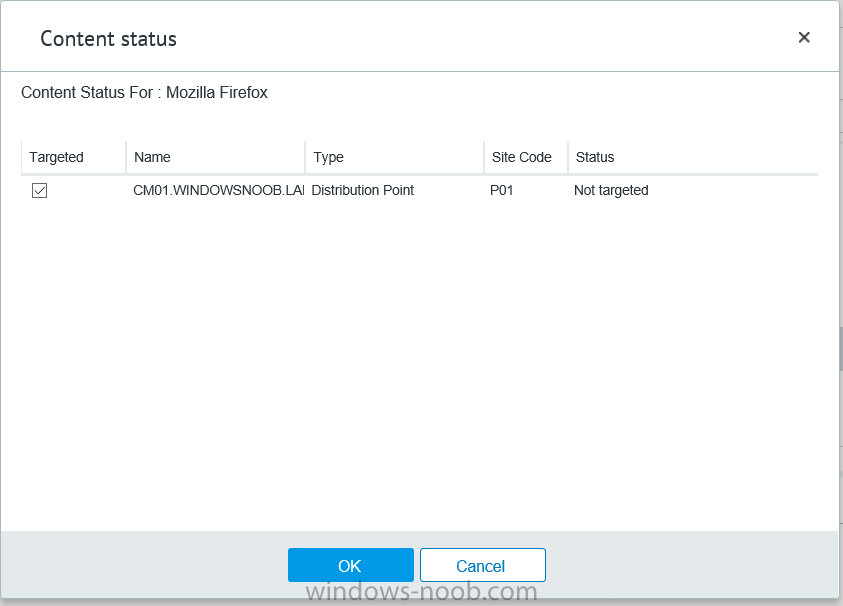
The software node lists all applications and packages you’ve linked to (via settings) in ConfigMgr. The tabs below allow you to get an Overview about the application or package itself, what distribution points it’s distributed to, whether it has any linked MDT Roles, and whether it’s assigned to any resources or collections.
You can also right click on a selected application to see what actions are available and they are shown below.
The wizards are again, easy to use and modern looking.
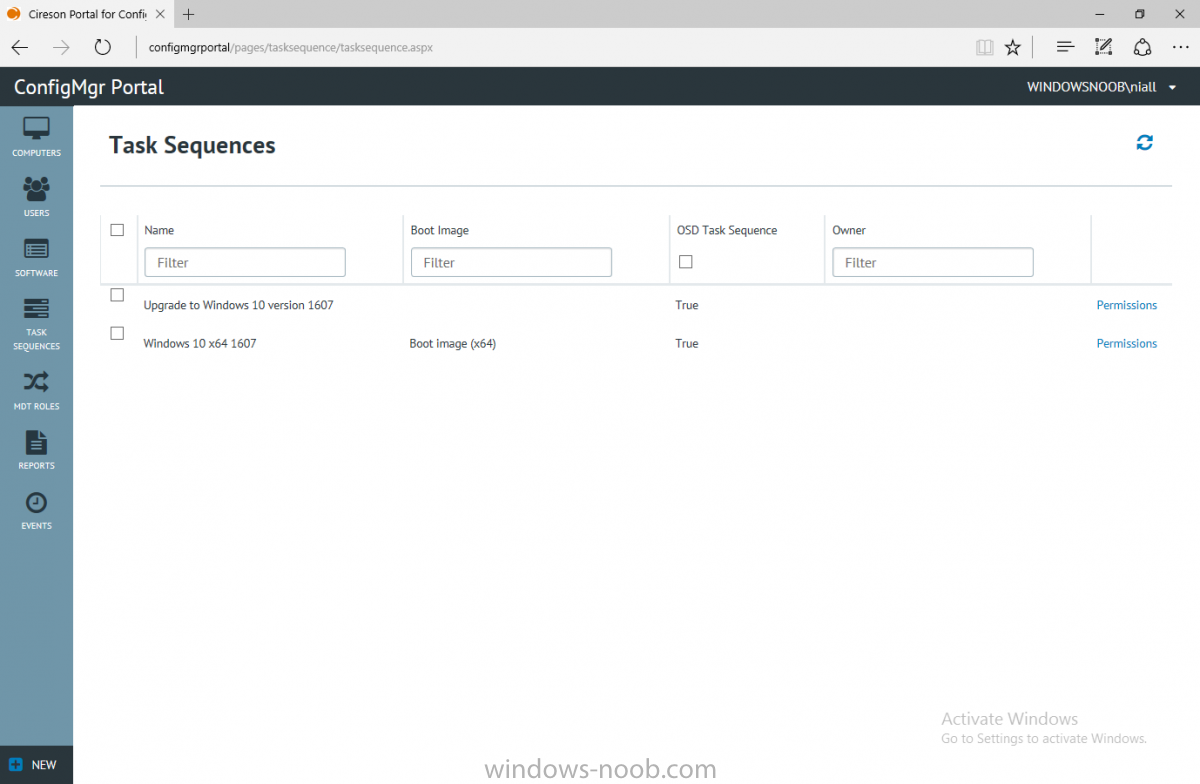
Task Sequences
Task sequences are usually used by ConfigMgr admins to deploy operating systems to computers but can also be used for custom tasks or application installations. The ConfigMgr Portal allows you to view, deploy and even edit (to a degree) task sequences.
The right click options offer you the ability to deploy, delete, edit or view the properties of the task sequence as you can see below.
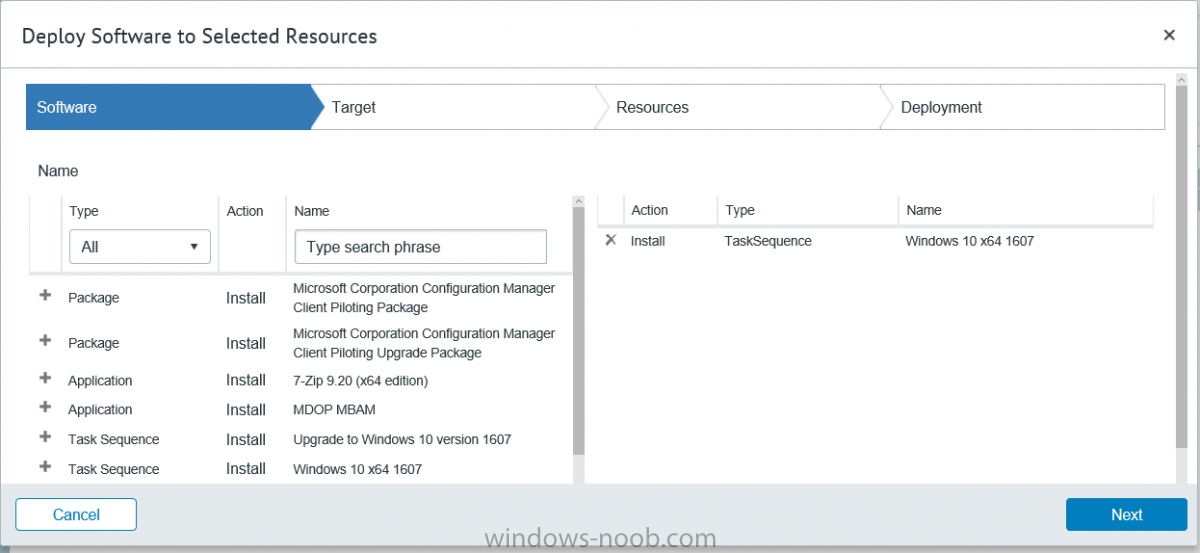
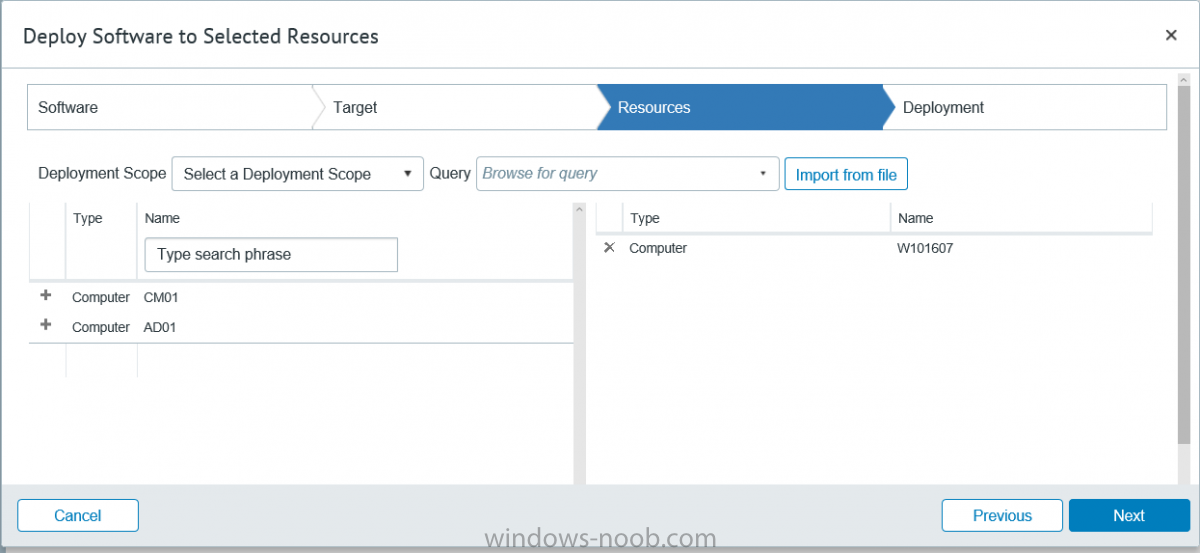
The deploy task sequence wizard is the same as for deploying other software and you have a few options to click through.
I like the fact that you can add resources during the deployment, so even if the target collection is empty you can add resources by clicking on the + beside the computer name.
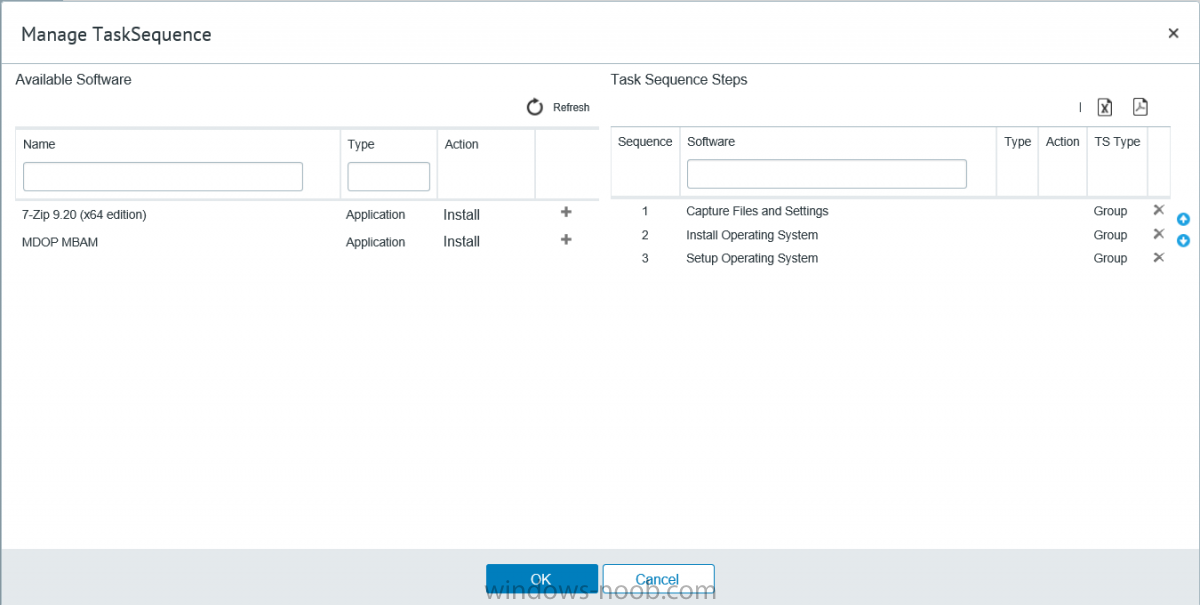
In the Edit task sequence function you can do basic tasks such as add applications or move groups up or down (change their order). It would be great if this functionality was improved in a later release of the portal.
MDT Roles
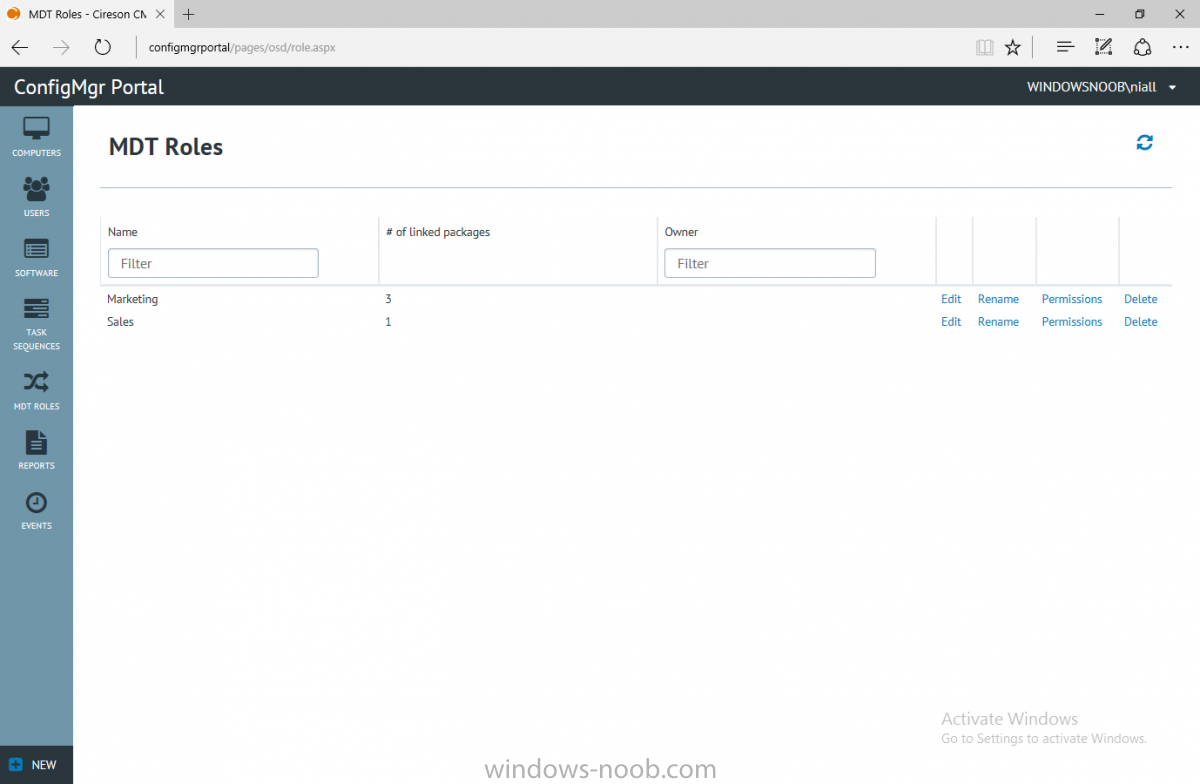
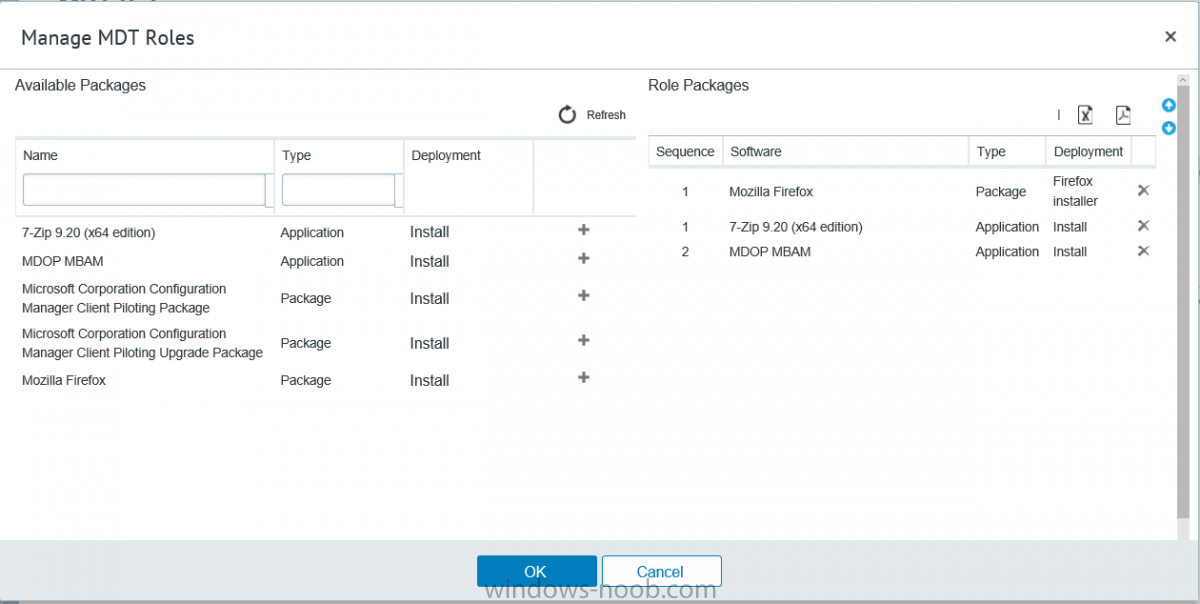
MDT roles allows you to edit applications or packages assigned to roles that were previously created you can’t create the roles here directly, but if you scroll down to the New button section you can do it there.
To edit a role click edit in the link on the right, strange that right click doesn’t offer the options here.
Reports
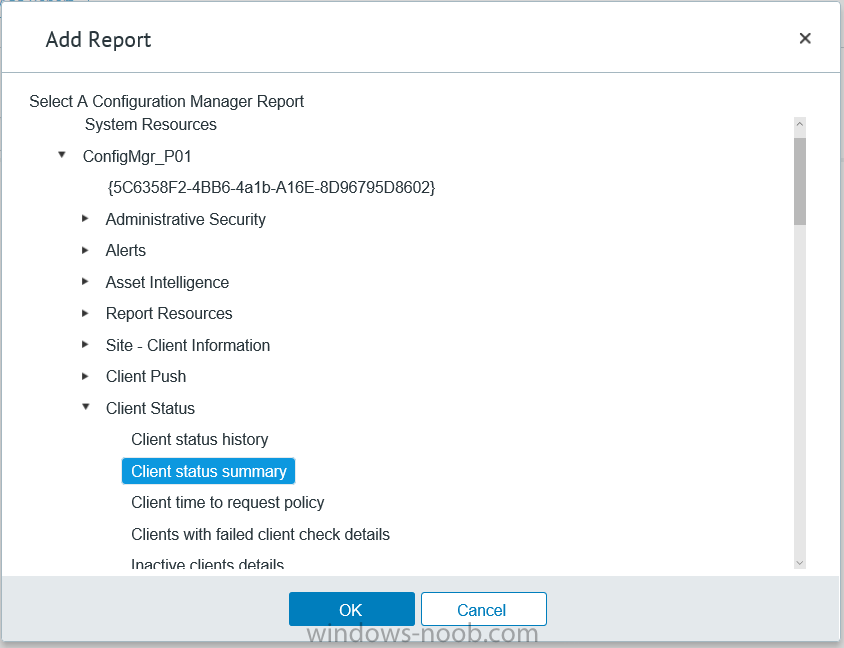
Reports gives you access to the reports section, as long as you’ve configured the connection to your Reporting Services Point role in settings. When you open the reports node for the first time, it’s blank and that might be confusing, it’s not that it doesn’t see your reports, you just need to link them here by clicking on the Add Report button.
Once done your added reports will be listed in Reports. It would be nice to multi-select reports here but I guess that’s a coming feature.
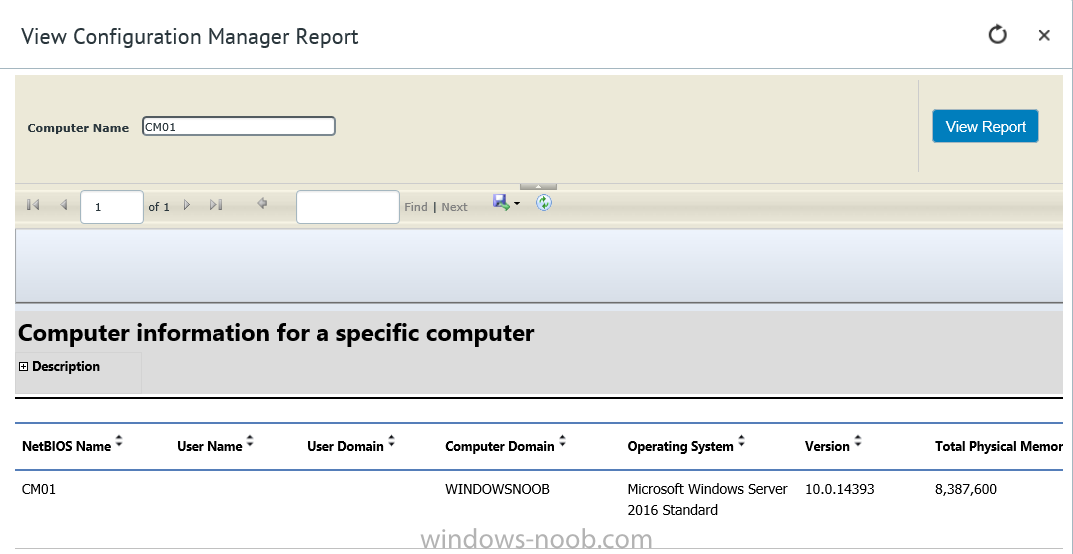
To view an added report click on View Report, again a right click action would be nice.
Reporting is a key feature in ConfigMgr so having this is essential, I look forward to the improvements that will no doubt come to this area.
Events
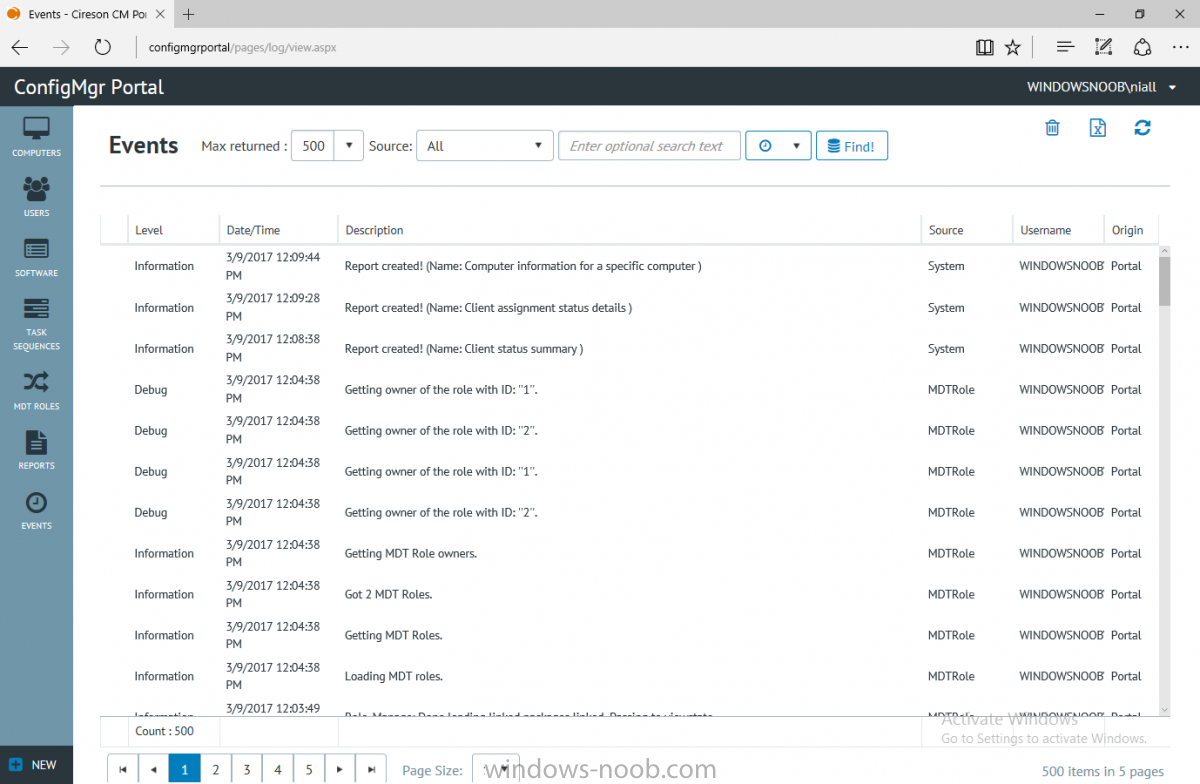
If you want to check on the status of the ConfigMgr Portal click on Events, and below you can see some of the info it logs.
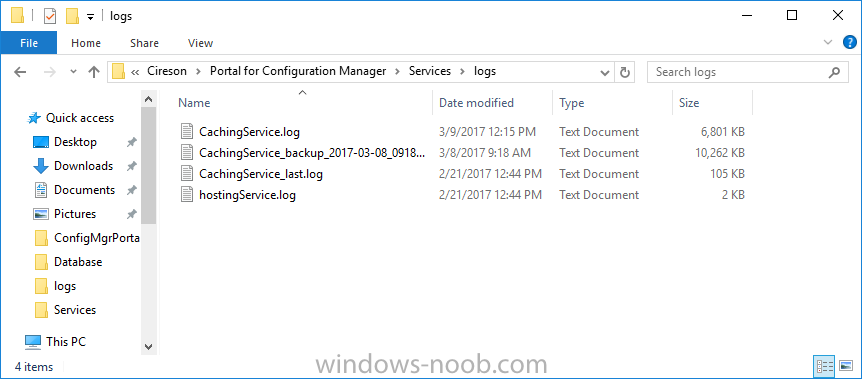
Speaking of logs you’ll find a bunch of them at the following location if you want to troubleshoot anything that doesn’t work as planned.
Program Files\Cireson\Portal for Configuration Manager\Services\logs\
New button
Lastly, there’s nice New button in the bottom left of the portal that gives you access to most of the functions. Click on it to get access to what it provides such as creating a new MDT role, or even creating a custom task sequence (with no steps).
And here is what that looks like
Summary
Using the Cireson ConfigMgr Portal was a joy, it’s intuitive, easy to use, visually clean and modern and you can clearly see the huge amount of work the Cireson team have put into this product to make it stand out from the crowd, I can definitely see people using this for help desks and other roles to ease the burden of ConfigMgr management.
You can also customize security roles in the portal (in settings, Security settings) to define what the user sees and has access to, pretty much like RBAC in ConfigMgr. I’m happy to recommend this, and with people like Wally Mead behind it, you know it’s going to be excellent.


