Introduction
Enabling BitLocker during New Computer scenarios has been a task organizations have been using for years now, indeed you’ve had the ability to automate it fully using FrontEnd’s such as this one. As Virtual technology (such as Microsoft Hyper-V Generation 2) has improved in leaps and bounds, so has the need to protect those assets.
Of course you can BitLocker the Hyper-v host but wouldn’t be nice to also BitLocker the virtual machines running on that host and do so using a task sequence in System Center 2012 R2 Configuration Manager. Up until now that’s been a manual experience but with the steps below, it’s semi-automated. I say semi because some user input is required in order to bypass the lack of TPM in a virtual machine.
Tip: Rather than create all these steps you can download the entire task sequence and scripts required in the CM12 UEFI BitLocker HTA which was updated with these changes, June 25th, 2015.
Step 1. Download the scripts.
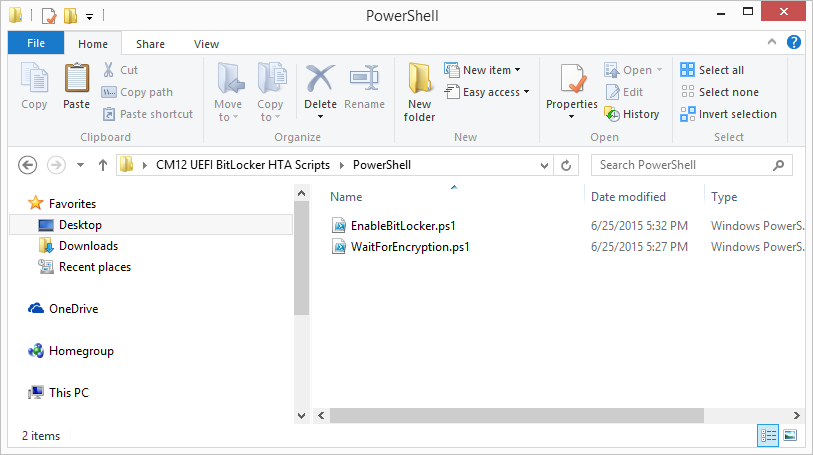
I’ve created a few PowerShell scripts which you can use to achieve this task.
 CM12 UEFI BitLocker HTA Scripts.zip 2.47KB
Extract the scripts to a folder on your ConfigMgr server.
Step 2. Create a Package for the scripts
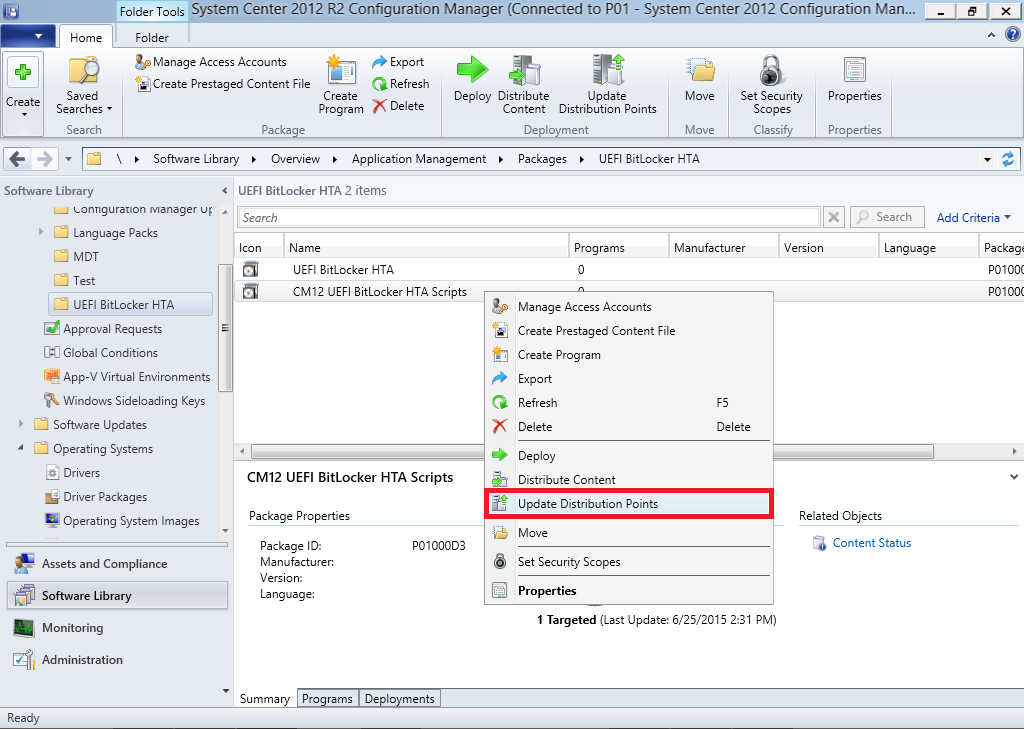
On the ConfigMgr server, create a new package called CM12 UEFI BitLocker HTA Scripts (or if you are already using the CM12 UEFI BitLocker HTA merge these files with the existing package and update it to your distribution points). Once the package is created, distribute it to the distribution points.
Step 3. Add steps to a deploy task sequence
In your deploy task sequence, add a new group by clicking on the Add drop down and select New Group.
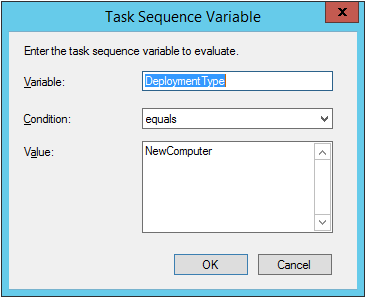
Give the group a new name called Configure and Enable BitLocker – NewComputer, click on the Options tab and select that the step runs if Task Sequence Variable DeploymentType = NewComputer as shown below.
Create another New Group called Set Encryption Algorithm
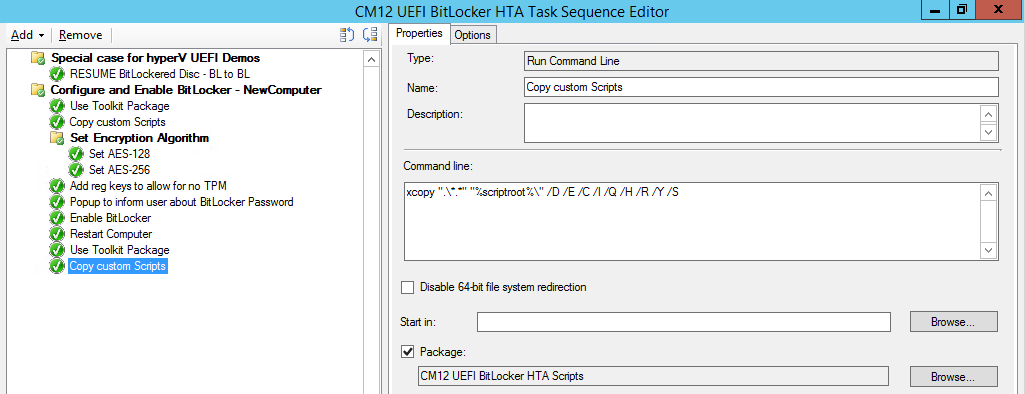
Next add a Use Toolkit Package step and directly after that create a new Run Command Line step to copy the scripts downloaded above to by doing as follows
Name: Copy Custom Scripts
Command Line: xcopy “.\*.*” “%scriptroot%\” /D /E /C /I /Q /H /R /Y /S
Package: CM12 UEFI BitLocker HTA Scripts
as shown here
Next create a Run Command Line step listed below
Name: Set AES-128
Command Line: reg.exe add “HKLM\Software\Policies\Microsoft\FVE” /v “EncryptionMethod” /t REG_DWORD /d 1 /f
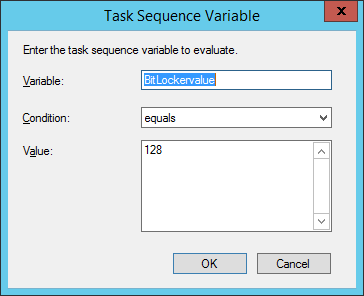
Set the corresponding options on those steps should be like so
- BitLockerValue = 128
Next create a Run Command Line step listed below
Name: Set AES-256
Command Line: reg.exe add “HKLM\Software\Policies\Microsoft\FVE” /v “EncryptionMethod” /t REG_DWORD /d 2 /f
Set the corresponding options on those steps should be like so
- BitLockerValue = 256
Next, create a new Run Command Line step outside of that group called Add reg keys to allow for no TPM and paste the following code into it, this code allows the Hyper-v Virtual Machine (Generation 2) to become bitlockered without a TPM and without having received Group Policy to do so.
cmd /c REG.exe ADD "HKEY_LOCAL_MACHINE\SOFTWARE\Policies\Microsoft\FVE" /v UseAdvancedStartup /t REG_DWORD /d 00000001 /f & cmd /c REG.exe ADD "HKEY_LOCAL_MACHINE\SOFTWARE\Policies\Microsoft\FVE" /v EnableBDEWithNoTPM /t REG_DWORD /d 00000001 /f & cmd /c REG.exe ADD "HKEY_LOCAL_MACHINE\SOFTWARE\Policies\Microsoft\FVE" /v UseTPM /t REG_DWORD /d 00000002 /f & cmd /c REG.exe ADD "HKEY_LOCAL_MACHINE\SOFTWARE\Policies\Microsoft\FVE" /v UseTPMPIN /t REG_DWORD /d 00000002 /f & cmd /c REG.exe ADD "HKEY_LOCAL_MACHINE\SOFTWARE\Policies\Microsoft\FVE" /v UseTPMKEY /t REG_DWORD /d 00000002 /f & cmd /c REG.exe ADD "HKEY_LOCAL_MACHINE\SOFTWARE\Policies\Microsoft\FVE" /v UseTPMKeyPIN /t REG_DWORD /d 00000002 /f
as shown below
Next, create a new Run Command Line to popup a message box to inform the user about the coming BitLocker cmd prompt, name the step Popup to inform user about BitLocker Password. In the step, paste in the following line, note that this line depends on you copying the custom scripts previously from the
cscript.exe "%scriptroot%\BitLocker\BitLocker_Password_prompt.wsf"
The line above basically pops up a message and waits until the user clicks ok to continue.
Next we Enable BitLocker using ServiceUI and PowerShell, via a Run Command Line step as specified below:
Name: Enable BitLocker
Command Line: %deployroot%\tools\x64\ServiceUI.exe -process:TSProgressUI.exe %SYSTEMROOT%\System32\WindowsPowerShell\v1.0\powershell.exe -NoProfile -ExecutionPolicy bypass -File “%scriptroot%\PowerShell\EnableBitLocker.ps1”
On the options tab, select Continue on Error as there is no checking in the script to verify the passwords entered, (maybe coming in a later version…)
Next we add a Restart Computer step as the computer needs to ‘set’ Encryption in motion and it needs to prompt for the password you entered above, the restart computer step should restart to the Currently installed default Operating System
After restarting the computer, we need to add a Use Toolkit Package step, directly followed by a Copy Custom Scripts step as we did in the start of these modifications:
and finally we add the Wait For Encryption to complete step which is another PowerShell script which first hides the task sequence progress and then waits for encryption to complete operations. This step is a Run Command Line step as specified here:
Name: Wait for Encryption to complete
Command Line: %deployroot%\tools\x64\ServiceUI.exe -process:TSProgressUI.exe %SYSTEMROOT%\System32\WindowsPowerShell\v1.0\powershell.exe -NoProfile -ExecutionPolicy bypass -File “%scriptroot%\PowerShell\WaitForEncryption.ps1”
That’s it, save the changes and start testing the task sequence.
Step 4. Deploy a new virtual machine
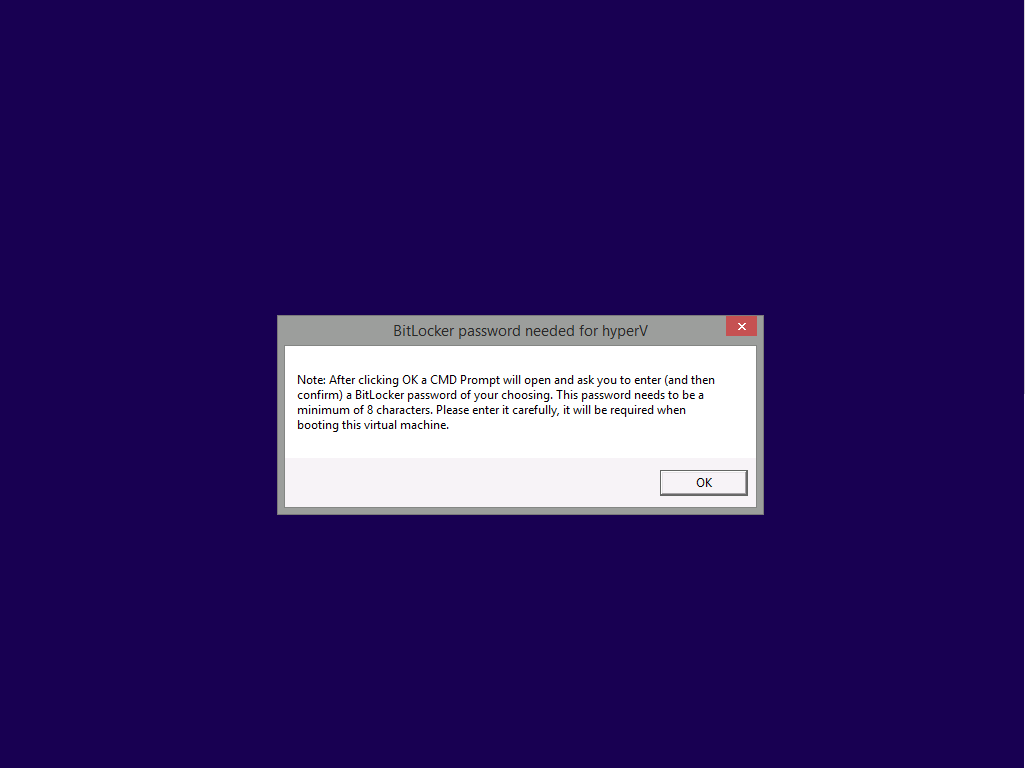
On a Hyper-v Generation 2 virtual machine, PXE boot and start the CM12 UEFI BitLocker HTA task sequence, after it installs the operating system it will stop with a prompt shown below:
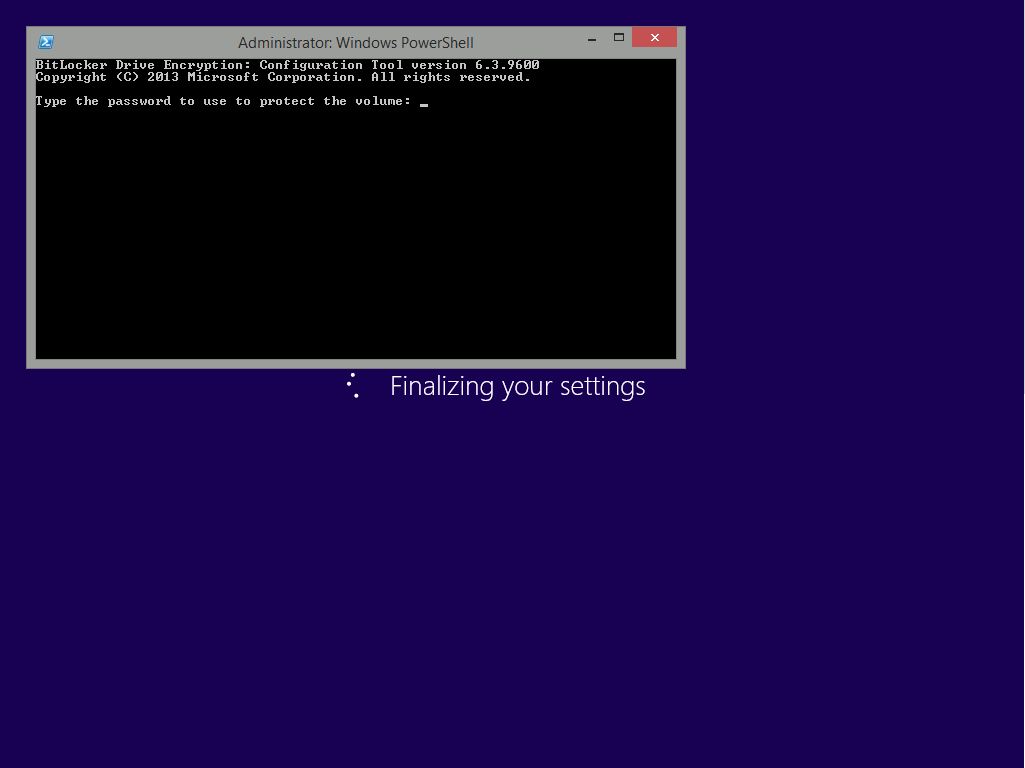
After carefully reading the prompt, click OK and the next phase begins..the task sequence progress window will appear briefly then disappear, an Adminstrative PowerShell cmd prompt will appear and it will prompt you to enter a BitLocker Password as shown below
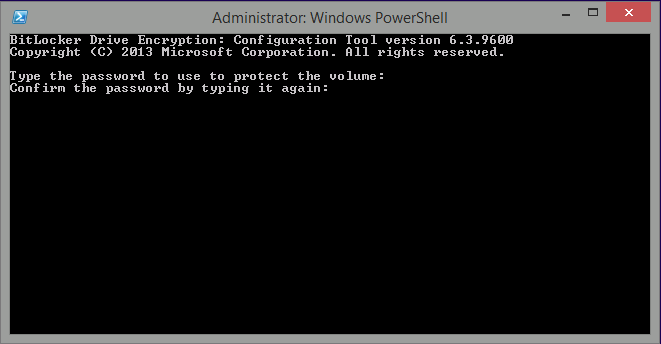
enter the BitLocker password and press enter, you’ll be asked to confirm the password
Note: While entering the password, no characters will appear in the cmd prompt, so enter it carefully !
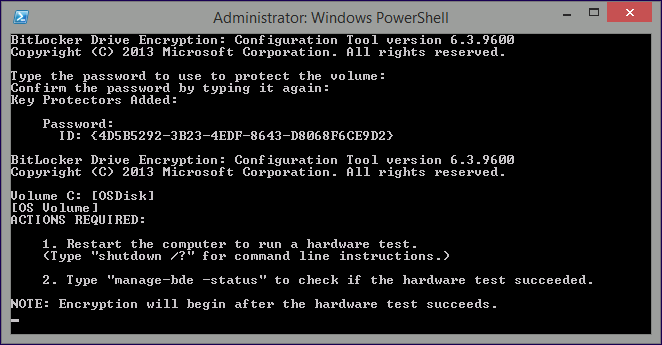
after some moments, the following will appear confirming your entries and informing you that the Password protector has been set, shortly after (5 seconds later) it will restart automatcially
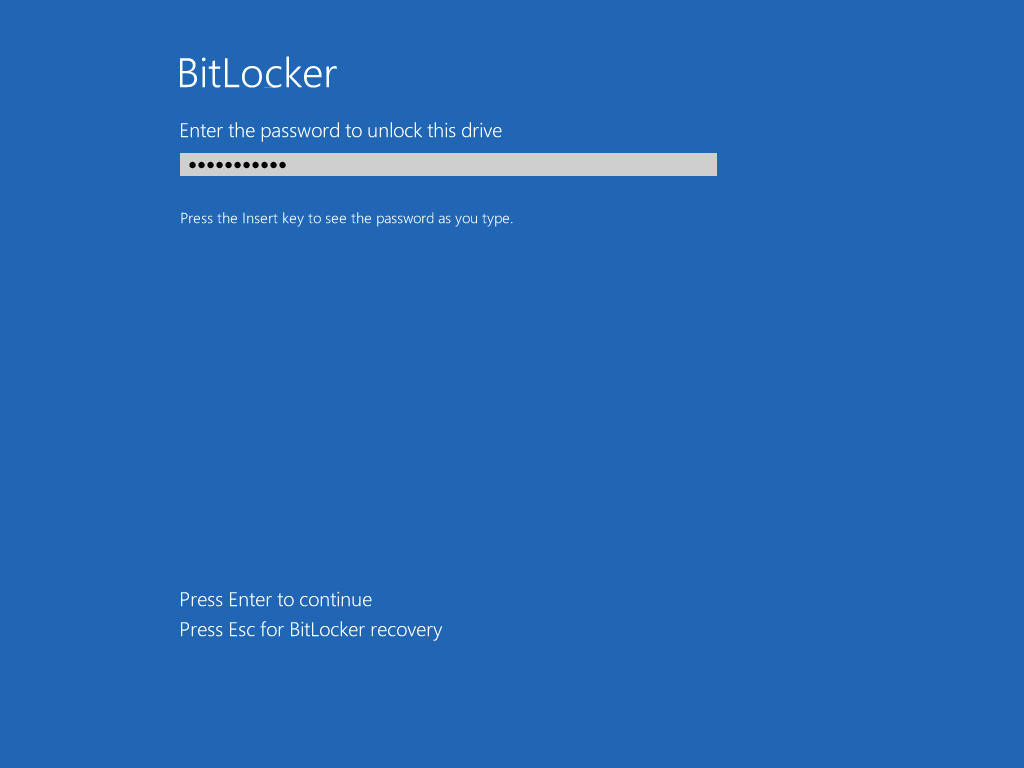
and now, you enter the BitLocker password in your Hyper-v Virtual machine, this is necessary as there is no TPM to store the password.
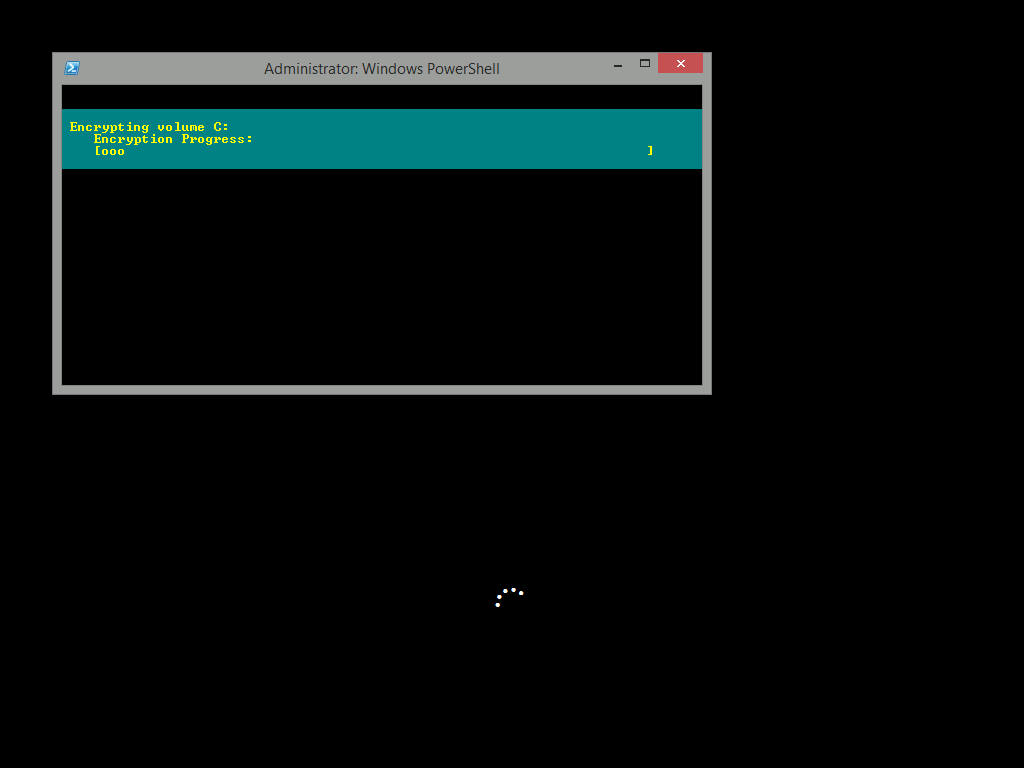
after entering the password correctly the vm will continue with the task sequence and start encrypting the drive ! in addition, the second PowerShell script will kick into action and wait for the task sequence to finish encrypting the drive
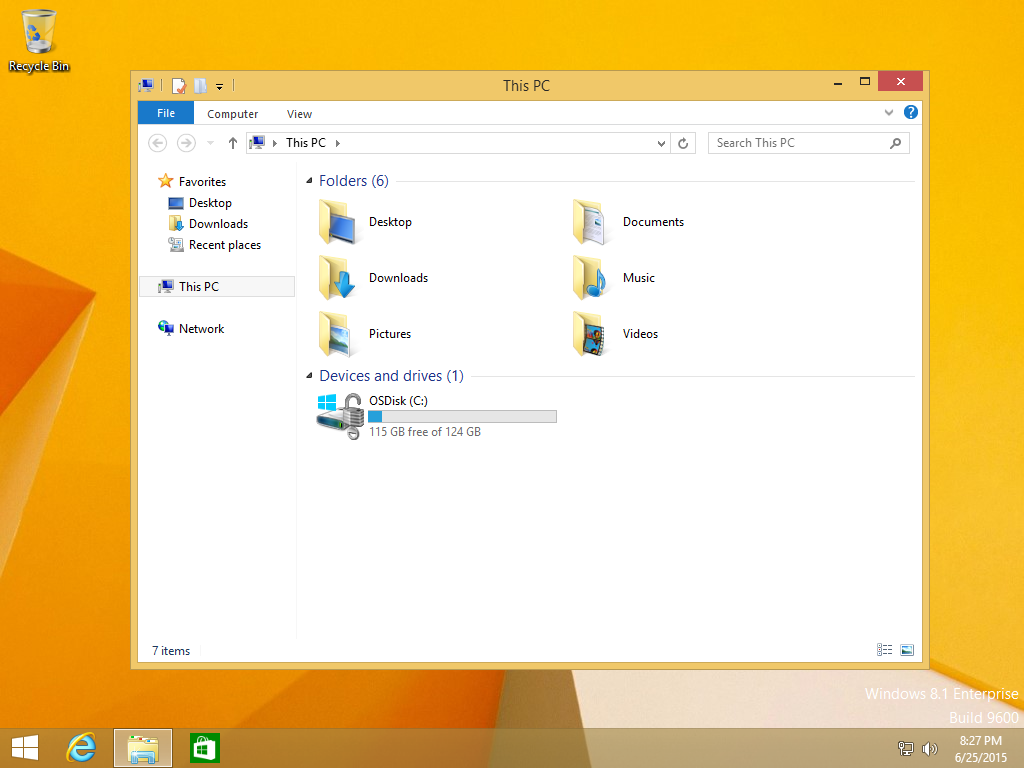
and after completing that successfully, the task sequence finishes and you can login to review the BitLocker state.
Note: Security comes with a price tag, and in this case, that is inconvenience due to a lack of a TPM. As the computer is now BitLockered, it will prompt for a password on every reboot unless your suspend BitLocker before the reboot, therefore if you want to deploy anything to your virtual machine that needs a reboot, suspend Bitlocker using the following command:
manage-bde -protectors -disable c:
cheers
niall


