Introduction
In Part 1 of this mini series we integrated Windows Intune with System Center 2012 R2 Configuration Manager. In Part 2 we added Support for iOS devices (Iphone, iPad). In this part we learn the difference between App Package for iOS (*.ipa file) and applications from the Apple App Store. We learn how to deploy them to iOS devices and use compliance settings to set requirements so that the applications are available to the user based on the iPhone or Ipad operating system version, in addition we also check device Ownership information and can deploy the application based on those requirements.
Step 1. Create some Folders for our modern applications
This step is optional but recommended, download the following powershell scripts and exctract them, we will use them to create some folders to organise where you create your modern apps. If you don’t like the layout i’ve chosen for you then edit the Folders_modern_applications.xml to your liking in notepad. This script (CreateFolders.ps1) will create folders under the Applications node (folder type=6000) in Software Library .
 powershell scripts.zip 7.15KB
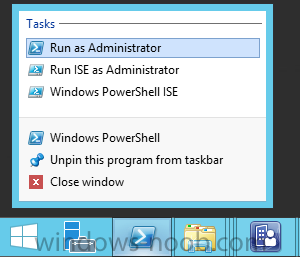
Open a powershell cmd prompt as administrator
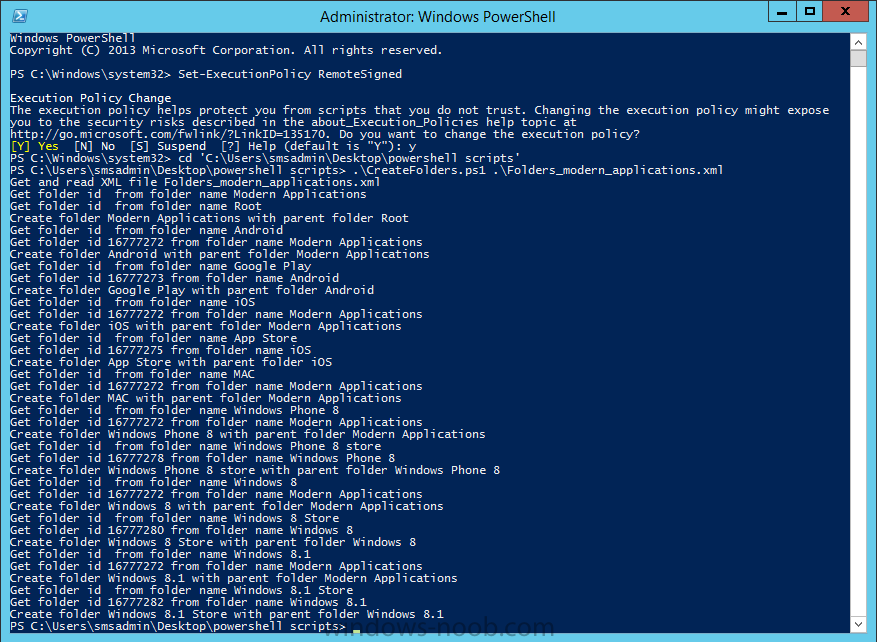
change the execution policy to run this script, answer yes when prompted
Set-ExecutionPolicy RemoteSigned
change to the directory you extracted the scripts and then run the command below to automatically create our folder structure
.\CreateFolders.ps1 .\Folders_modern_applications.xml
the output should like like the following screenshot
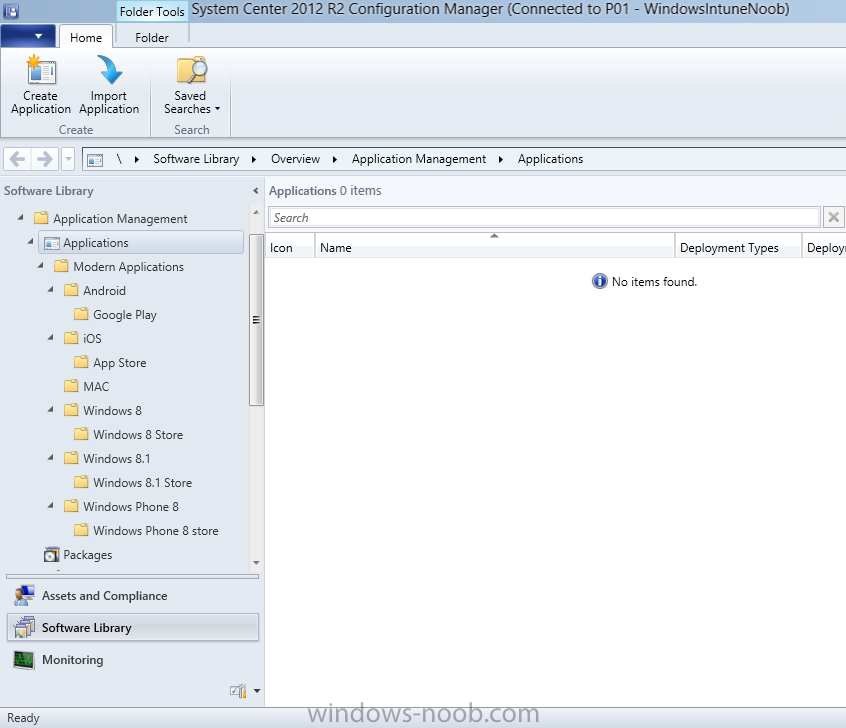
and in the Configuration Manager console, you should now see the following (refresh the console)
Step 2. Adding IPA applications.
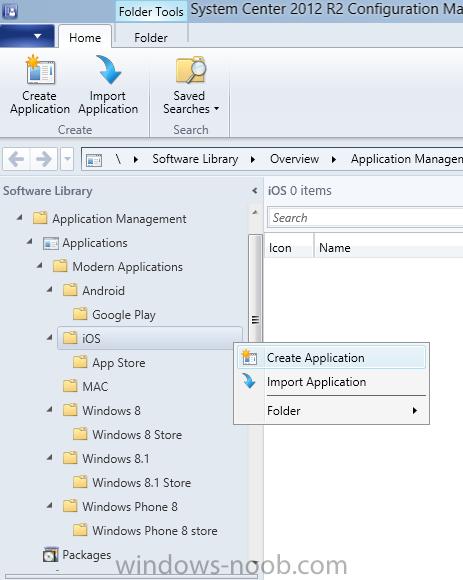
You’ll need to have an Apple developer license to create Apple developing proprietary, in-house iOS apps that you can distribute using Configuration Manager. Assuming you do, right click on the iOS folder shown below and choose Create Application
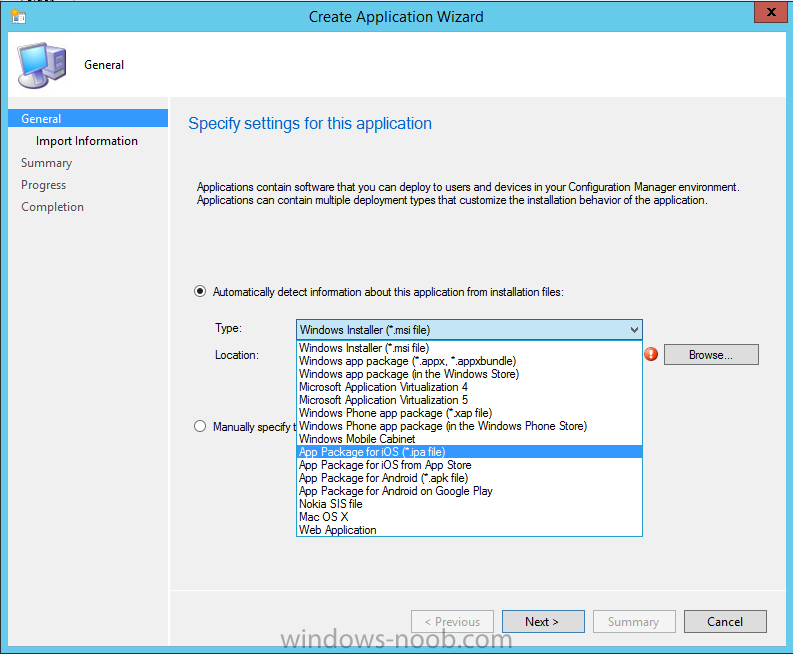
select App Package for iOS (*.ipa file)
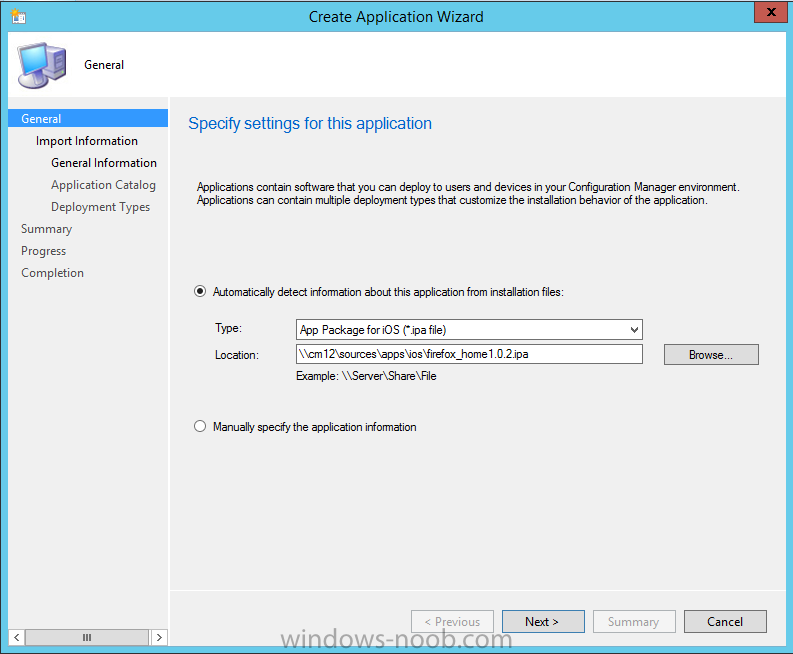
and browse to your in-house iOS app that you’ve created
and continue through the wizard.
Note: I cannot show the rest of the wizard as I get plist errors because I do not have an Apple Developer License and do not have access to an in-house IPA file due to licensing restrictions.
Assuming you have a developers license and have IPA apps, you’ll be able to deploy them to your Windows Intune Users collection created in Part 1 of this series.
Step 3. Adding iOS app packages from the Apple App Store.
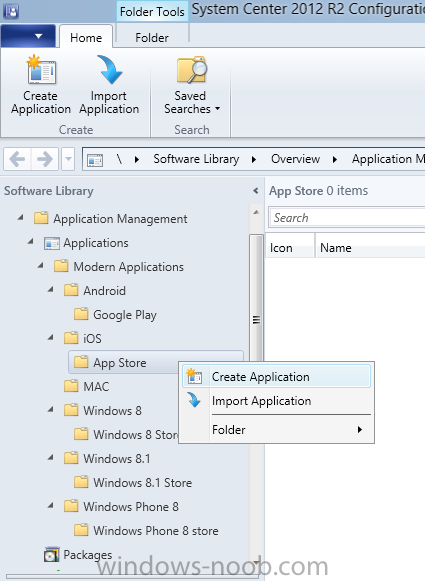
In the Configuration Manager console, right click on the App Store folder shown below and choose Create Application
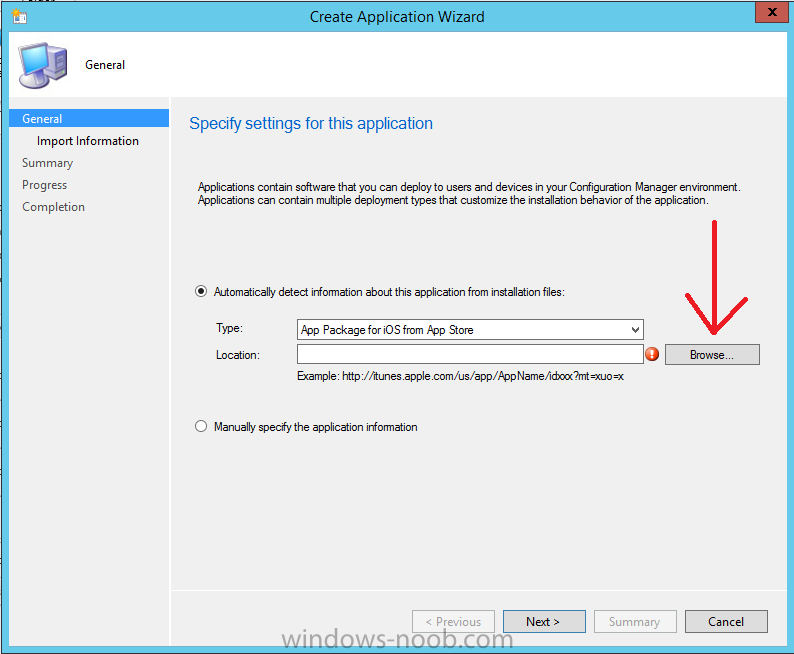
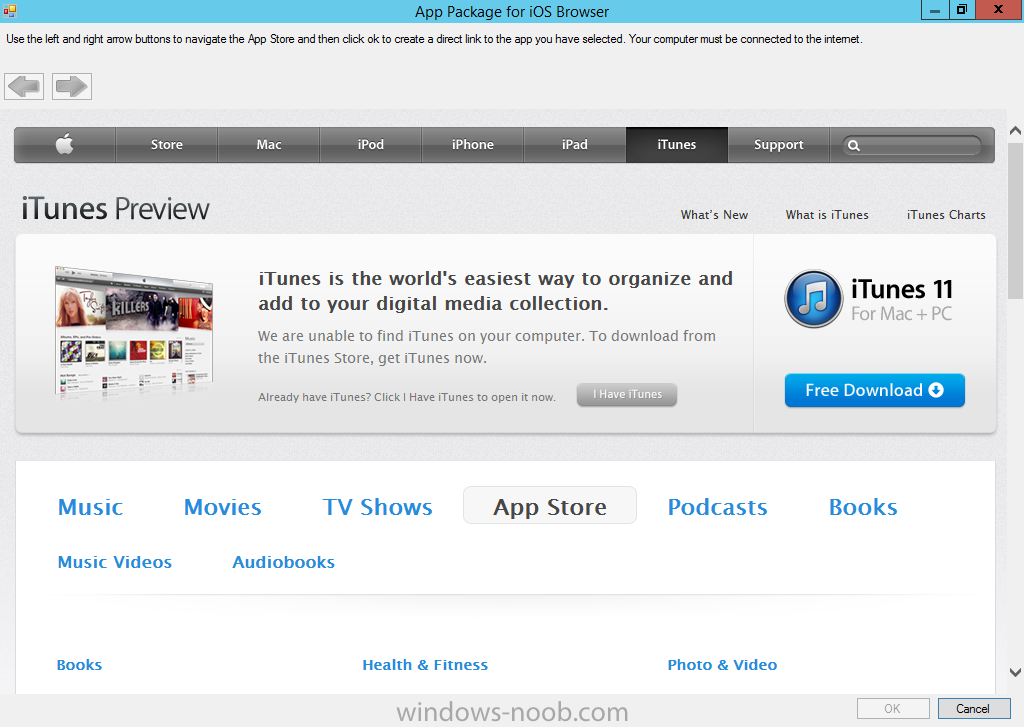
You’ll need an internet connect for this step, in the drop down menu choose App Package for iOS from App Store and click on Browse
the Apple App Store appears,
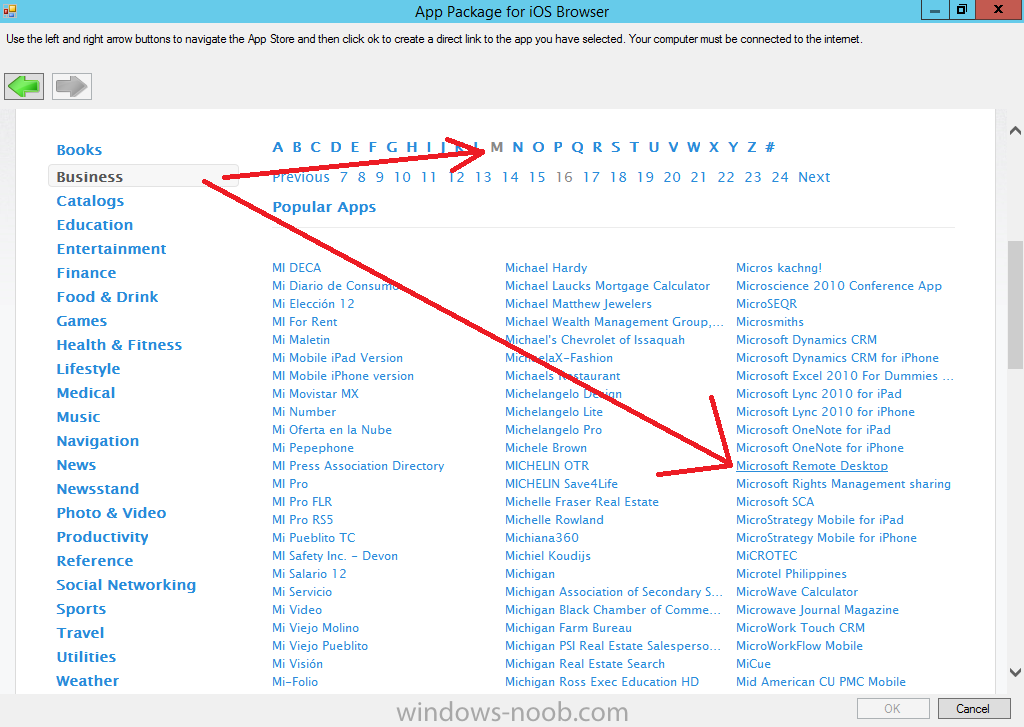
Select Business from the index on the left, then click on the letter M in the alphabet and select Microsoft Remote Desktop on page 16 or so.
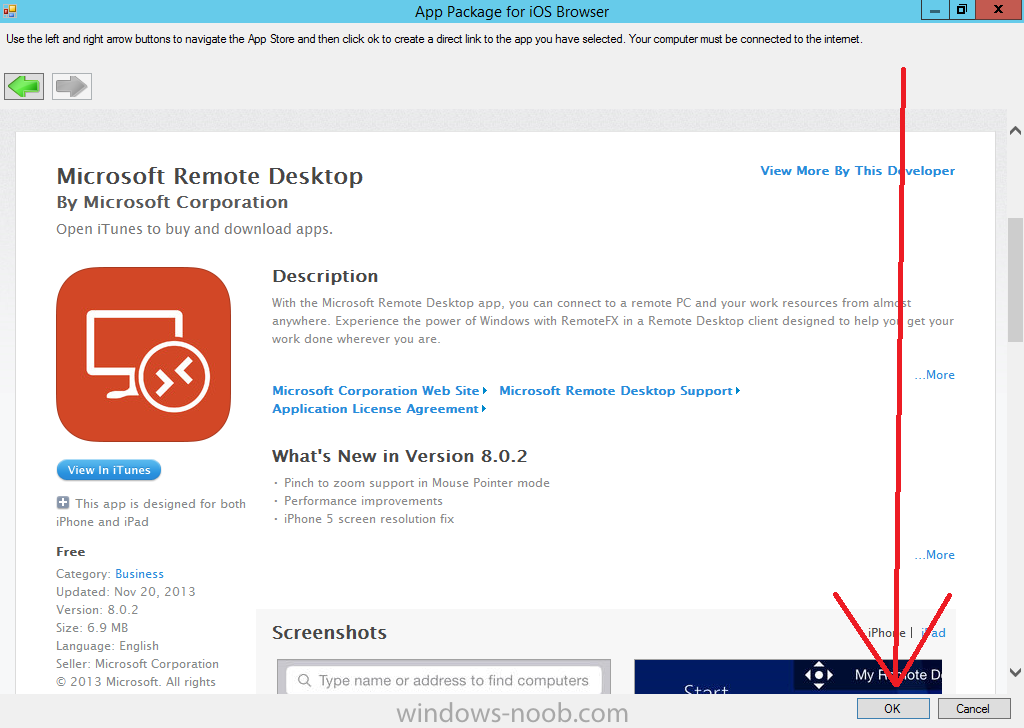
finally click on OK when ready
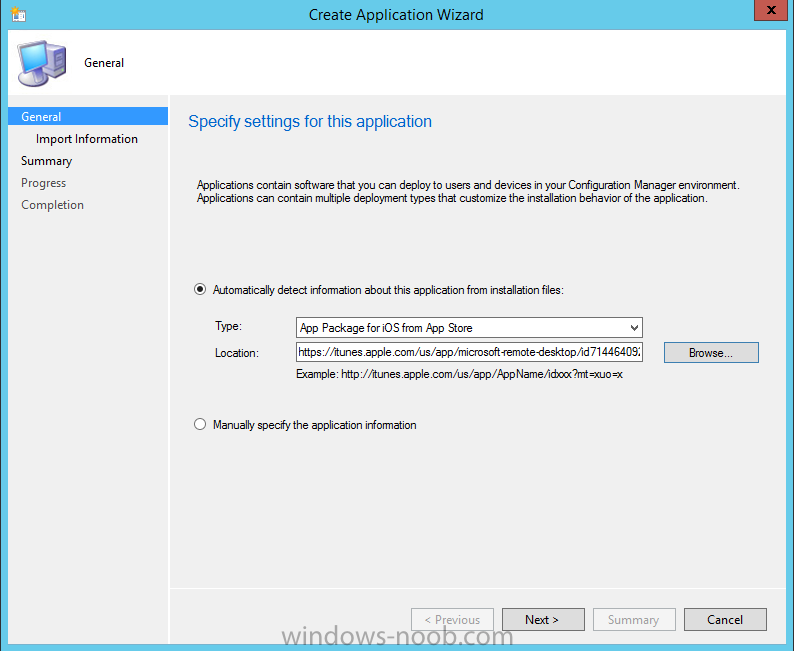
The application url appears in our wizard in the location field
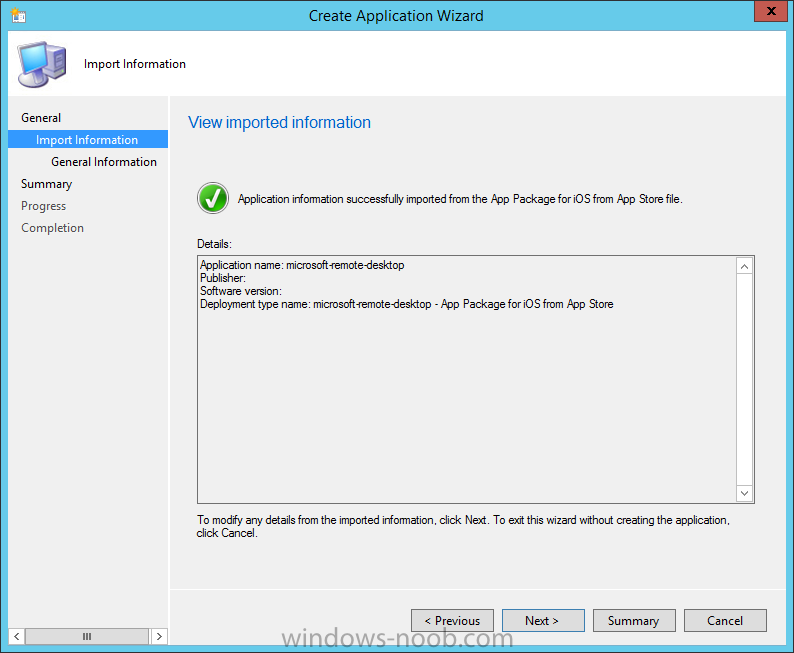
after clicking on next the app package is added
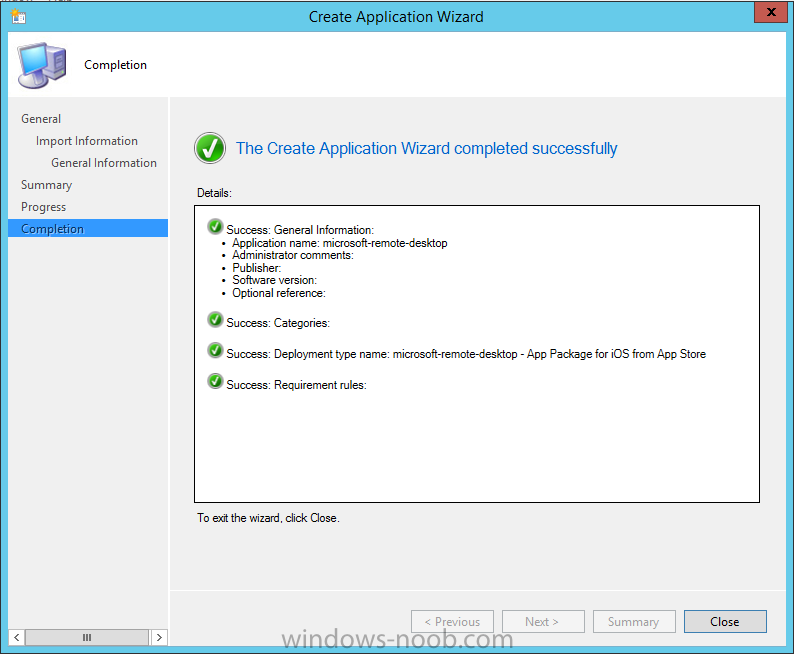
Continue through the wizard until completion.
Step 4. Deploy the application
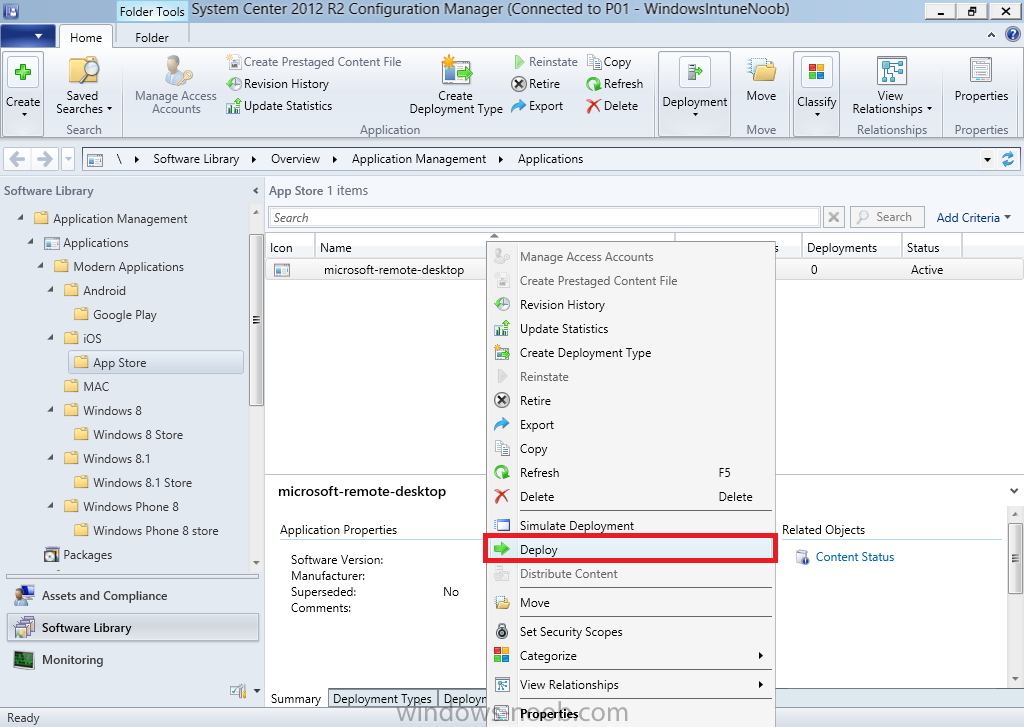
Right click the newly added application and choose Deploy
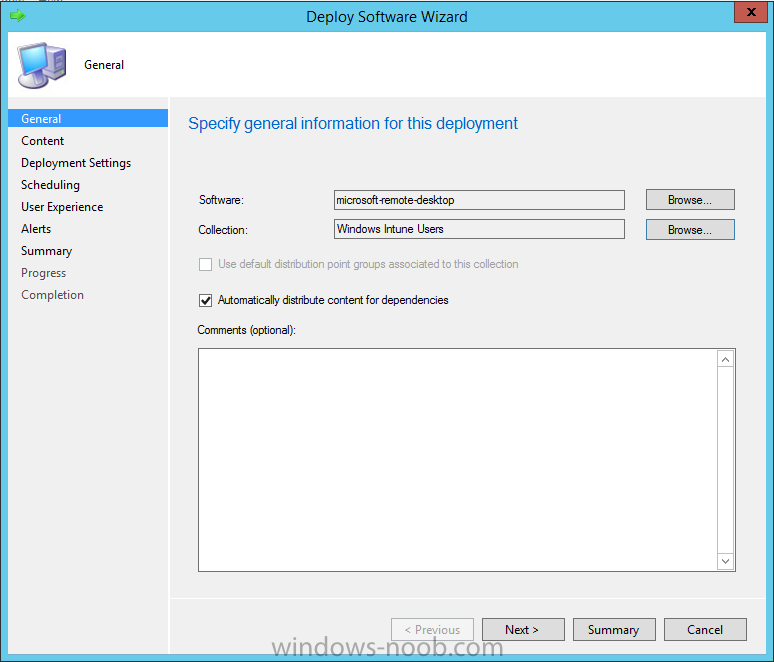
when the Deploy Software Wizard appears select the Windows Intune Users collection by clicking on browse
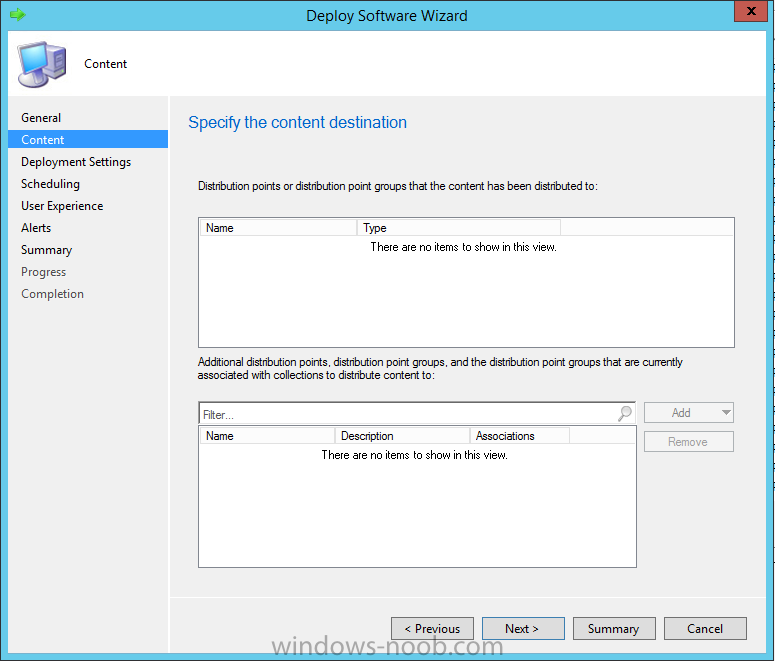
for the specifiy the content destination step , there is no content (as it’s in the App Store) so click next
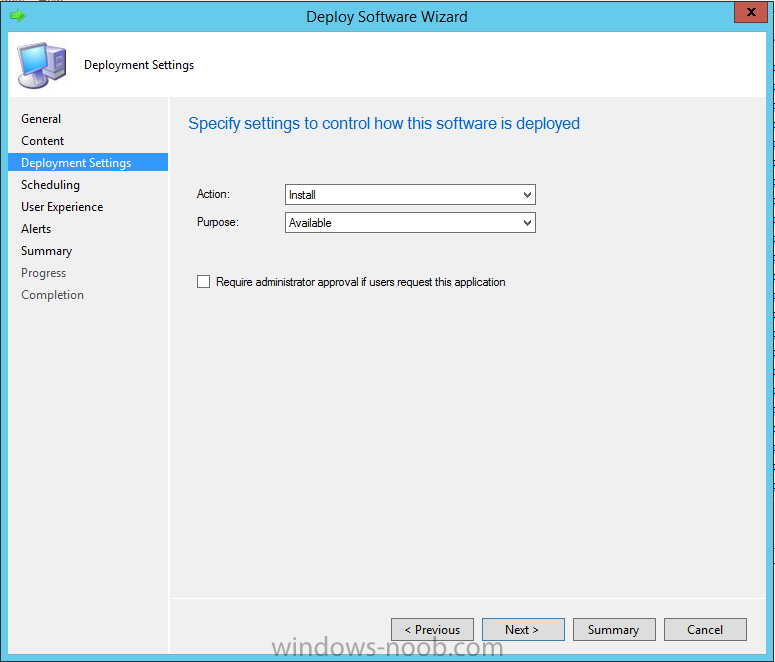
Select Available as the purpost (we want to give the users a choice)
Note: Devices that run Windows RT, iOS and Android now support a deployment purpose of Required. This allows you to deploy apps to devices according to a configured schedule – see Technet.
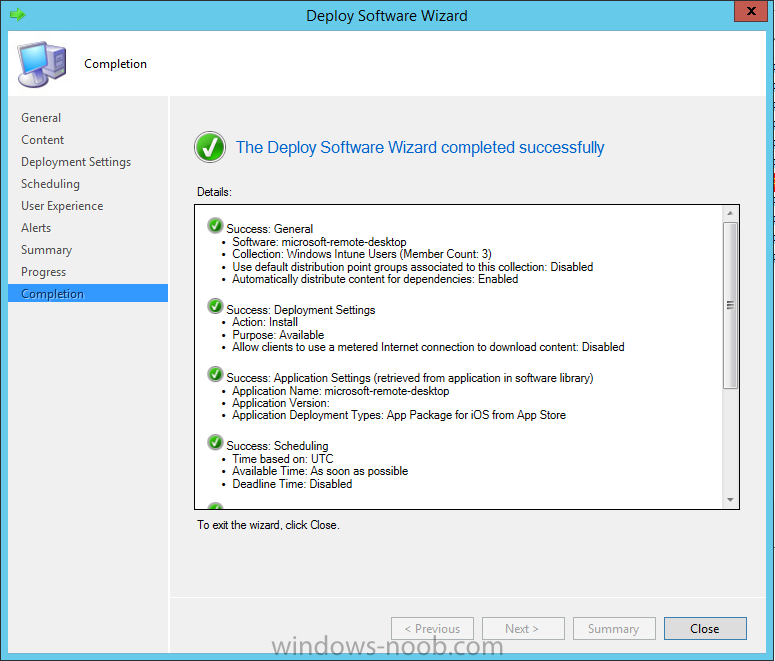
continue through the wizard until completion
Step 5. Edit the Deployment Type
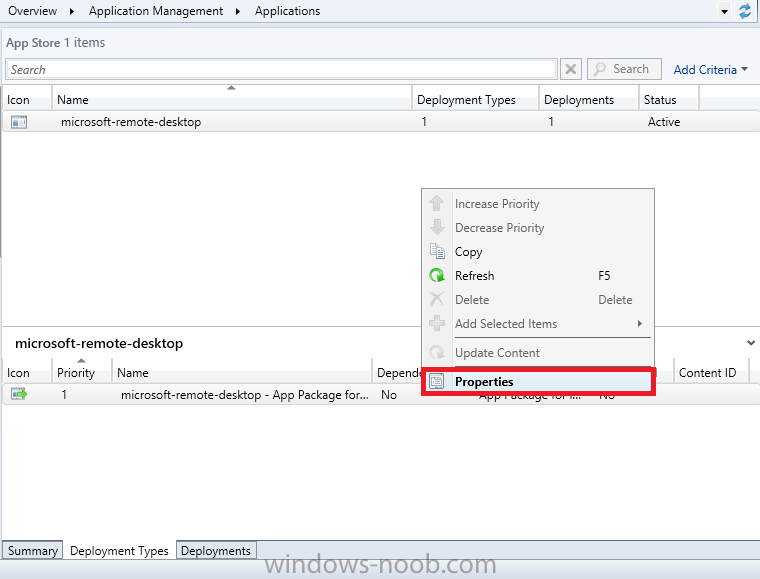
click on the Deployment Types tab as shown below, select the app and right click, choose Properties
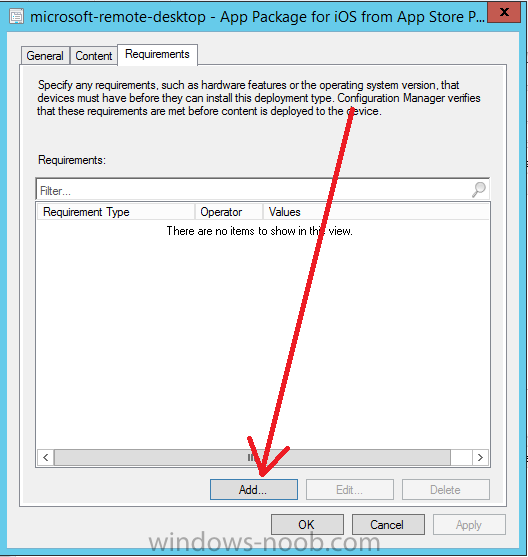
Click on the Requirements tab and click on Add
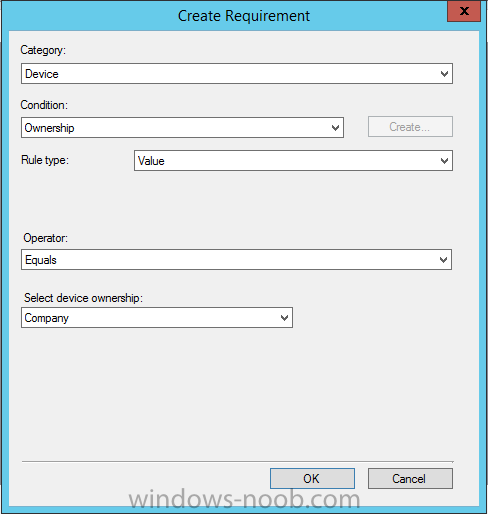
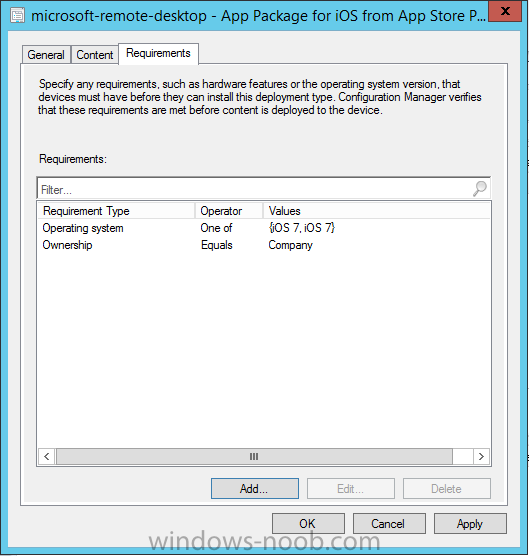
if required select your chosen iOS operation system (iPhone or iPad), then click on ok, next click on Add again and in the Condition drop down select Ownership, set the value to Company (the default setting of mobile devices is Personal).
click on Apply then OK.
Step 6. Verify the end user experience on an iOS device
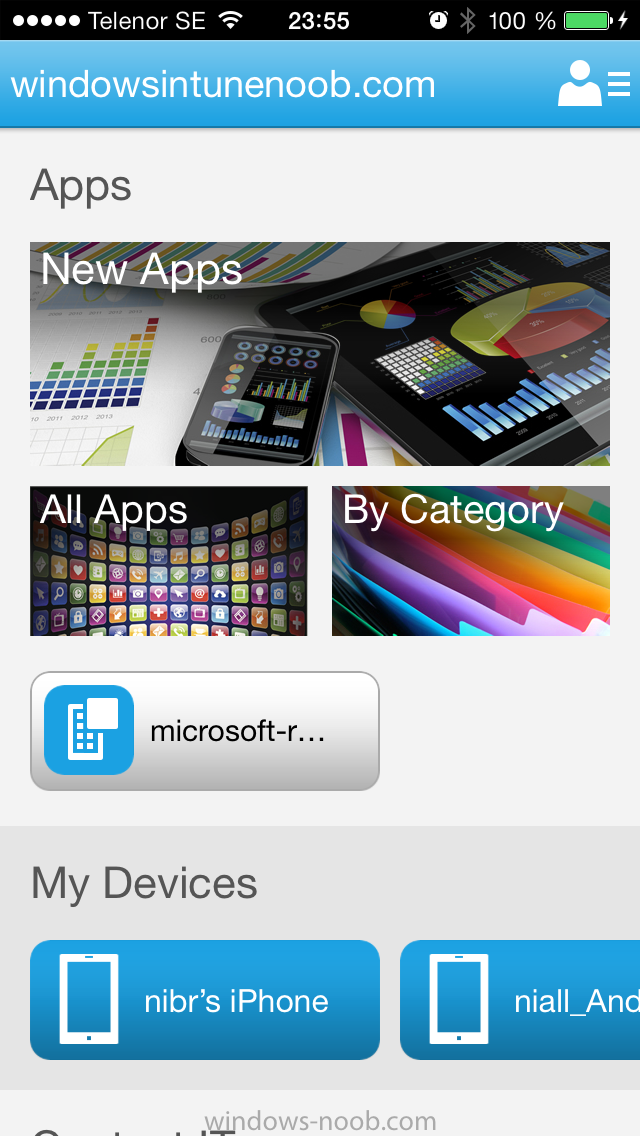
Login to the Company Portal (which we installed in Part 2) on a iOS device that has already had it’s Ownership set to Company and which iOS version matches what you set in the requirements above.
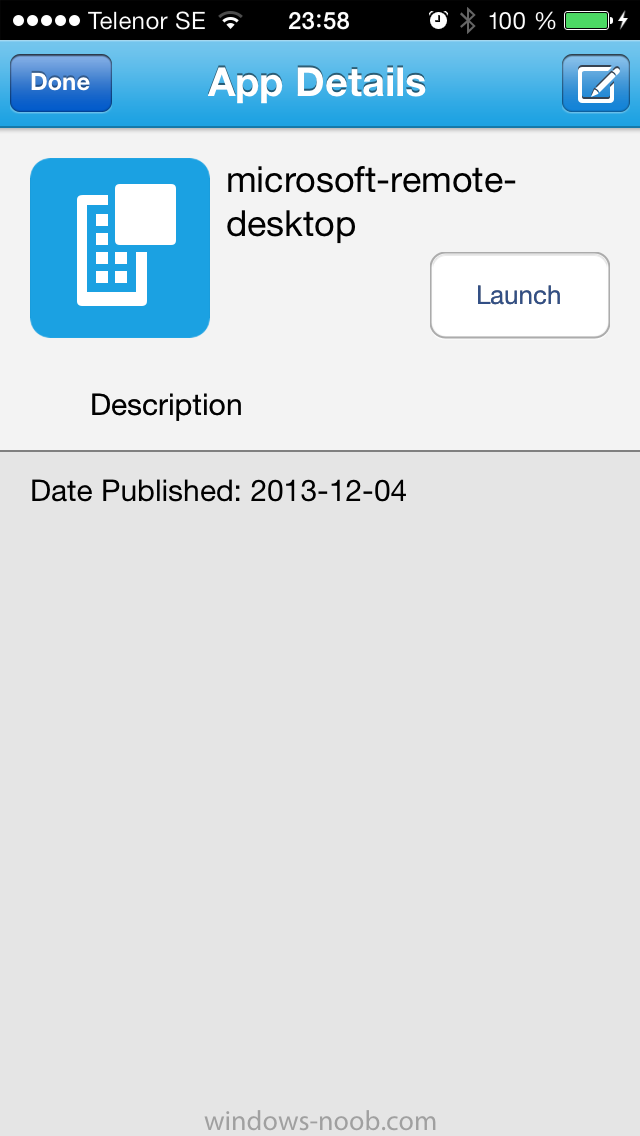
Click on the Microsoft Remote Desktop app that appears in the Company Portal
and click on Launch
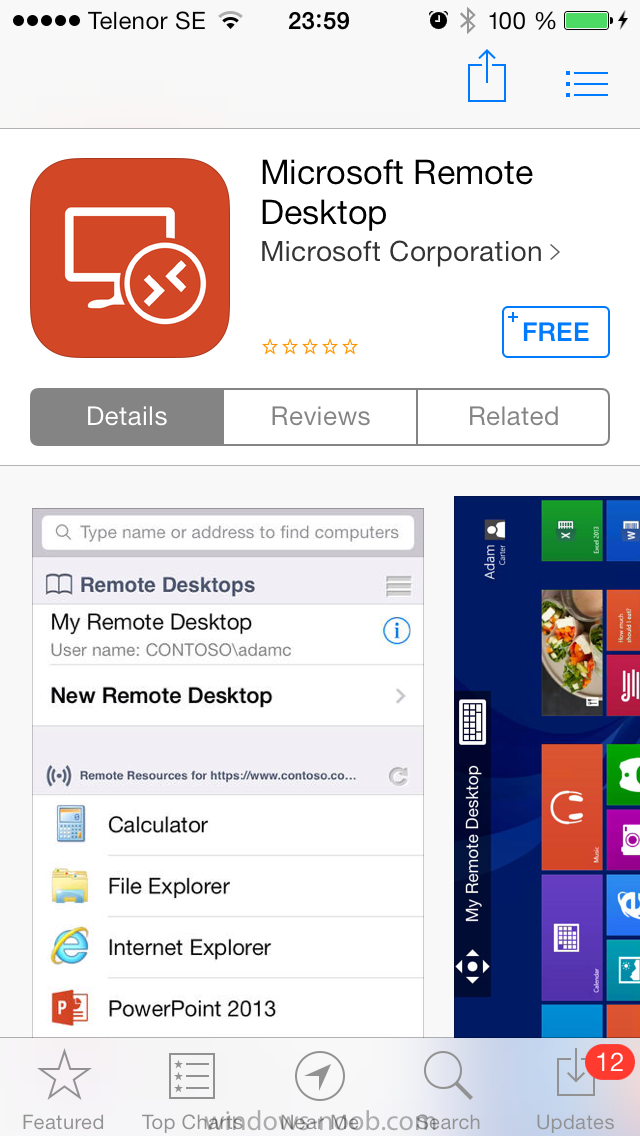
The application shows in the Apple App Store,
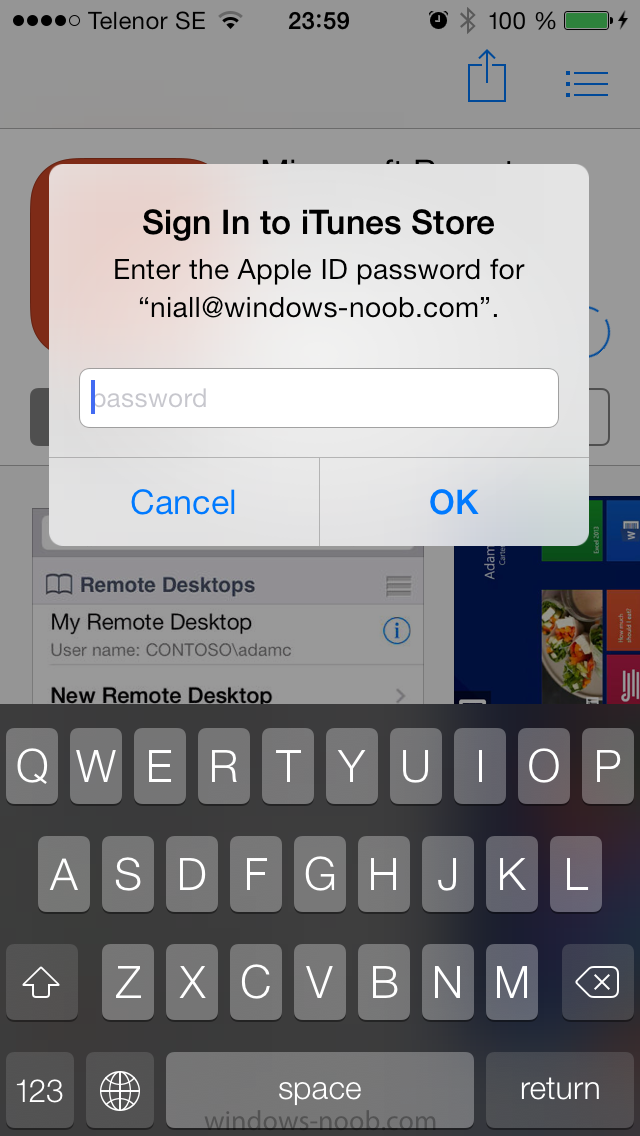
install it as you would any app from the app store, you’ll be prompted for your Apple ID at this point.
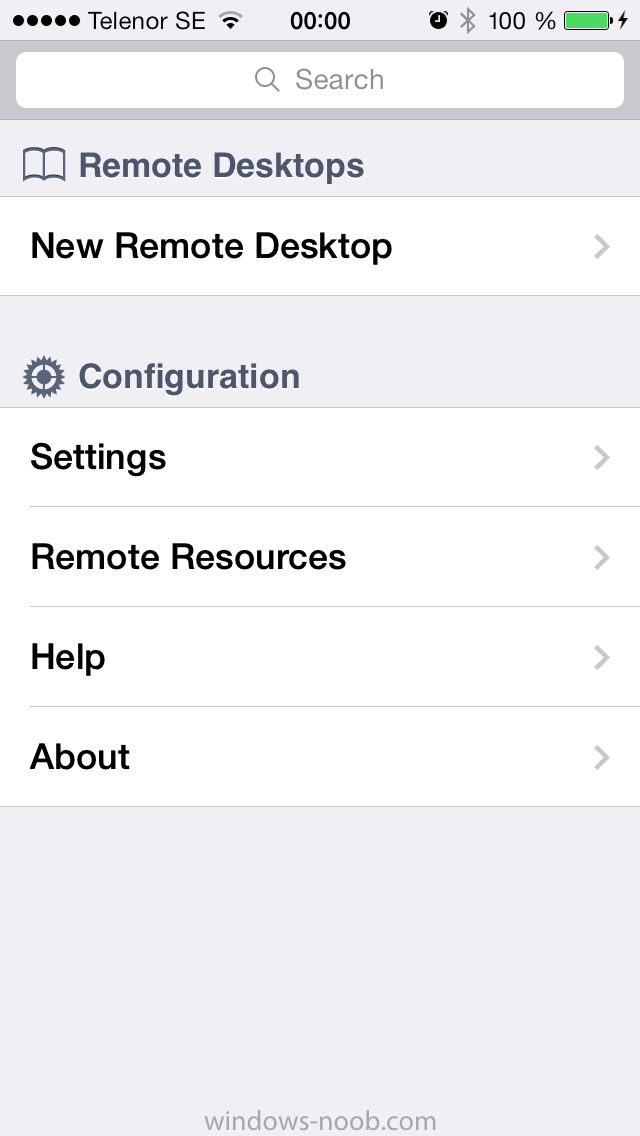
After logging in and installing the app it is now installed on your iOS device, success !
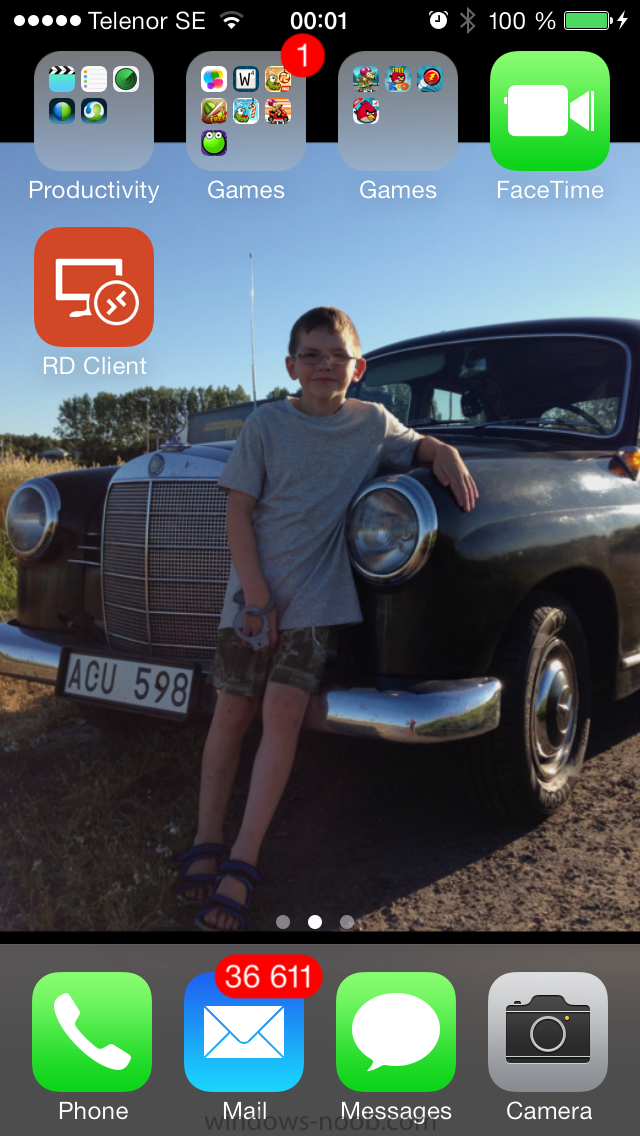
and there’s a shortcut to it on your device
Recommended reading
- CM12 in a Lab – How can I manage modern devices using System Center 2012 R2 Configuration Manager ? – Part 1
- CM12 in a Lab – How can I manage modern devices using System Center 2012 R2 Configuration Manager ? – Part 2
Summary
In this part we’ve seen how to target iOS applications to company owned iOS devices such as iPads and iPhones with a specific version of the iOS operating system all through System Center 2012 R2 Configuration Manager.


