Introduction
In Part 1 of this mini series we integrated Windows Intune with System Center 2012 R2 Configuration Manager. In this part we will add Support for iOS devices (Iphone, iPad). Many companies today have users with company or personal owned iPhones with one or more iPads so being able to manage these devices and offer them application choice via a Company Portal is a good thing.
In order for iOS devices to check for policy, they need to be contacted by the Apple Push Notification service (APNs). Each company needs an APNs certificate to allow Windows Intune to contact Apple to make this request. When a new policy is created, Intune then contacts Apple for those devices, the devices then check the Intune service for new policy.
Users can enroll iOS devices by using the iOS company portal app which was made available in the App store on November 19th 2013. The Windows Intune company portal app can be installed on iOS devices as of iOS 6. The company portal app will allow users to perform the following actions:
- Change or reset passwords.
- Download and install company apps.
- Enroll, unenroll, or wipe company content from their devices.
Step 1. Create an APNs Certificate Request
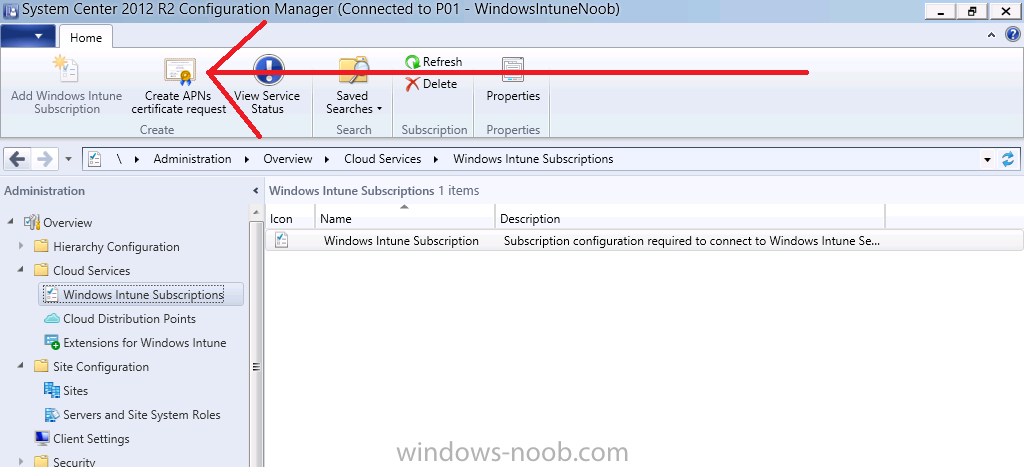
Before adding iOS enrollment support we first need to complete a few steps to enable our iOS devices to talk to Windows Intune. In the console click on Create APNs certificate request.
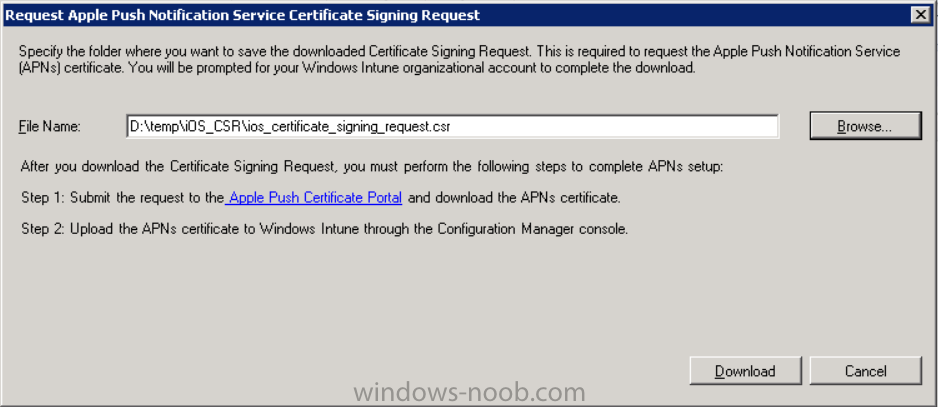
You’ll be prompted where to store the Certificate Signing Request, give it an appropriate path and file name such as in the example below,
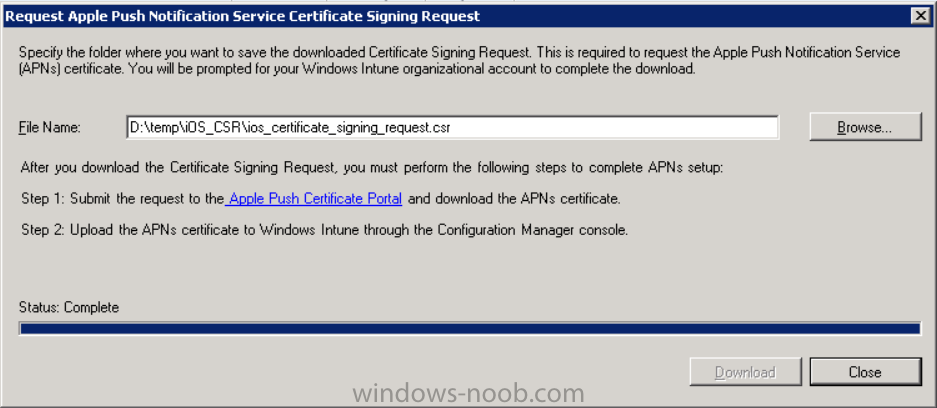
then click on Download and enter your Windows Intune credentials when prompted. Once the download is complete click on close.
Step 2. Submit the request to the Apple Push Notification service portal.
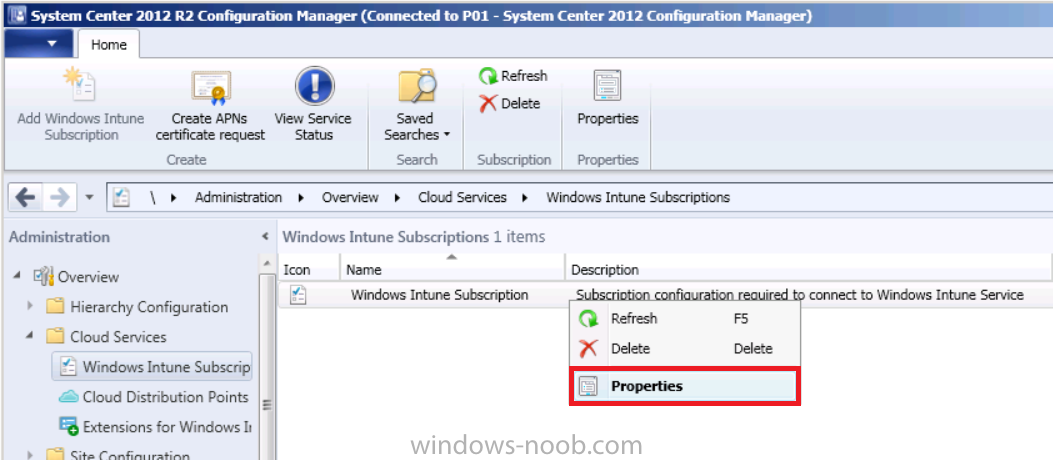
In the Configuration Manager console, browse to Cloud services in Administration, select your Windows Intune Subscription and right click it, choose properties.
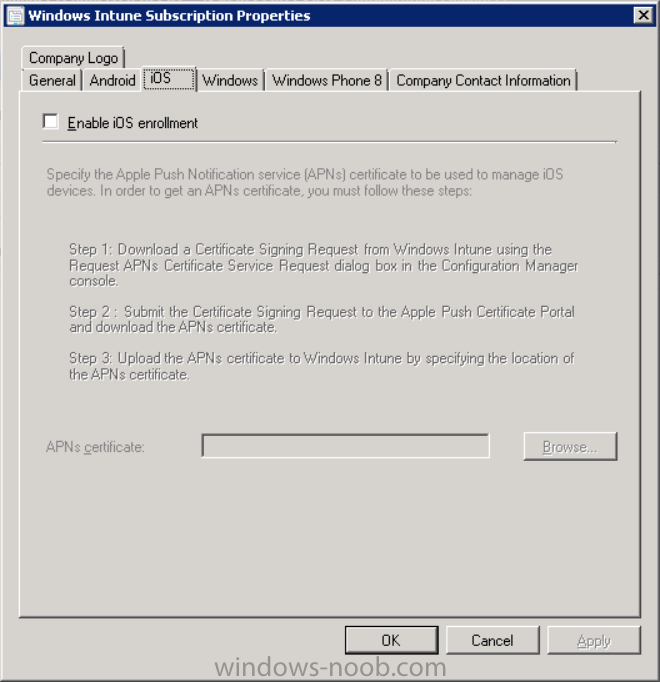
the brings up the Windows Intune Subscription properties, click on the iOS tab.
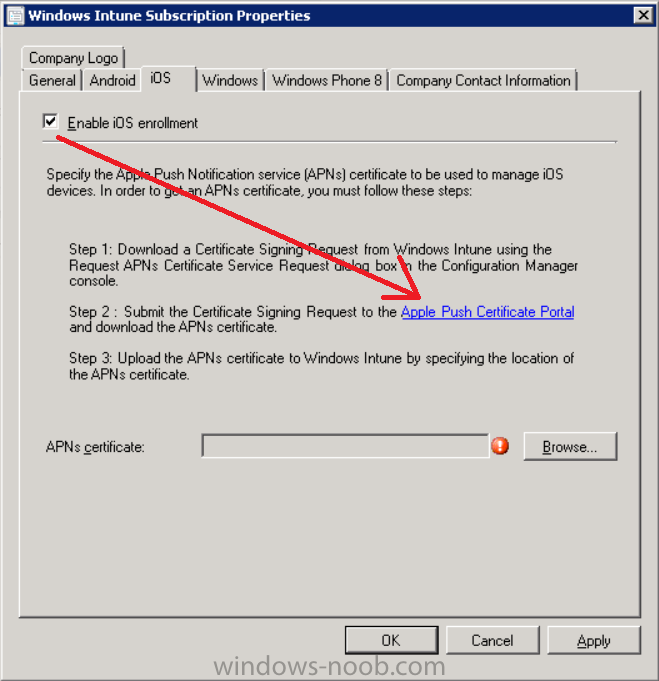
Place a checkmark in Enable iOS enrollment and then click on the Apple Push Certificate Portal link as shown in the example below:
Note: Please use something other than Internet Explorer for the steps below otherwise you may have issues with the certificate PEM files from Apple. Instead use FireFox or Chrome for these steps. You have been warned !
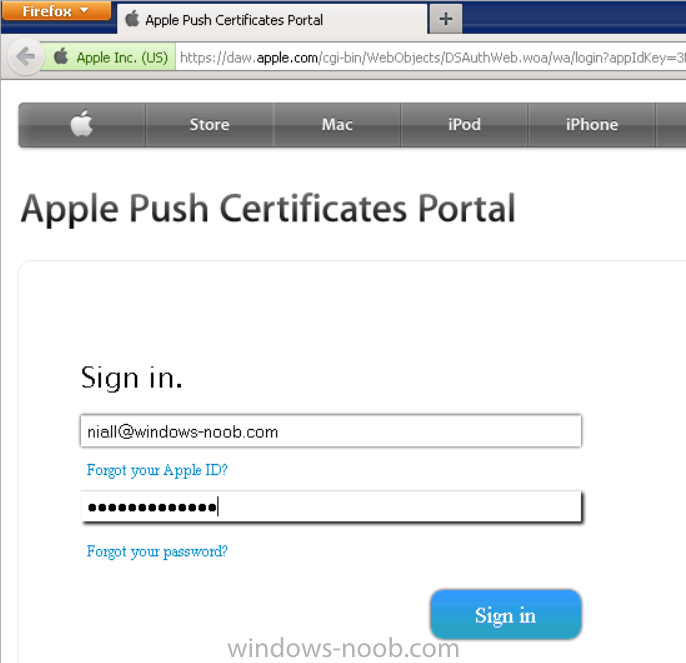
sign in with your Apple ID to the Apple Push Certificates Portal,
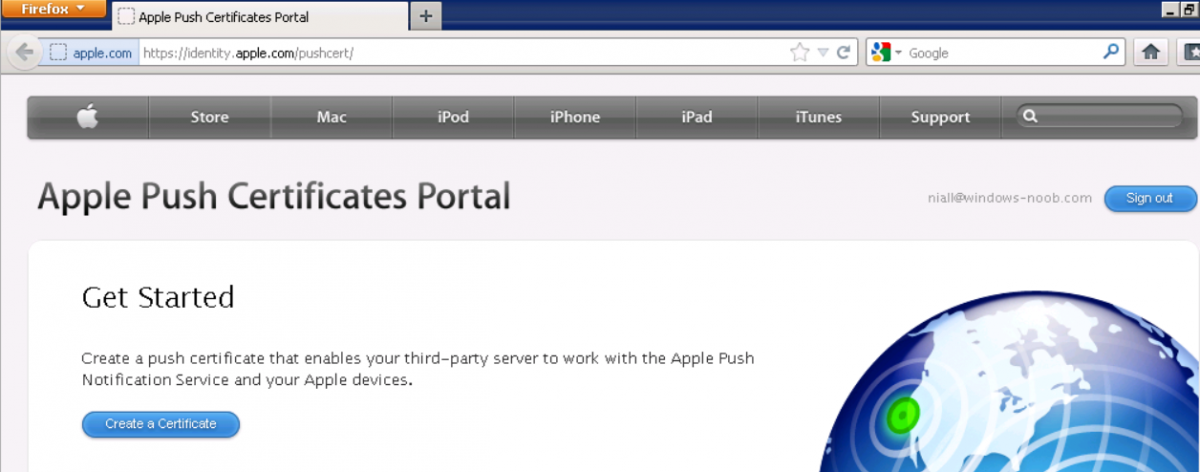
once logged in to the Apple site, click on Create a Certificate
Agree to the terms and conditions if you want to continue and click on Accept
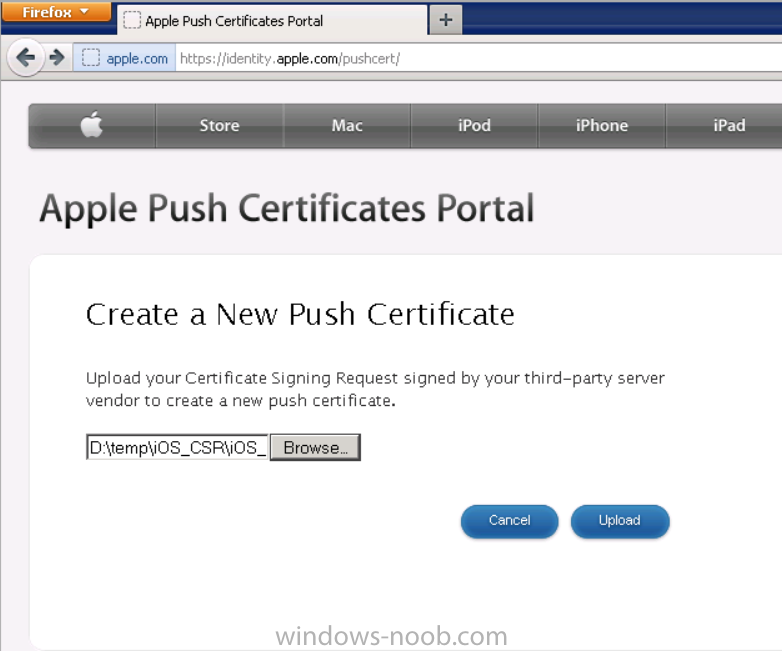
Browse to the certificate signing request file you saved in the steps above and click on Upload
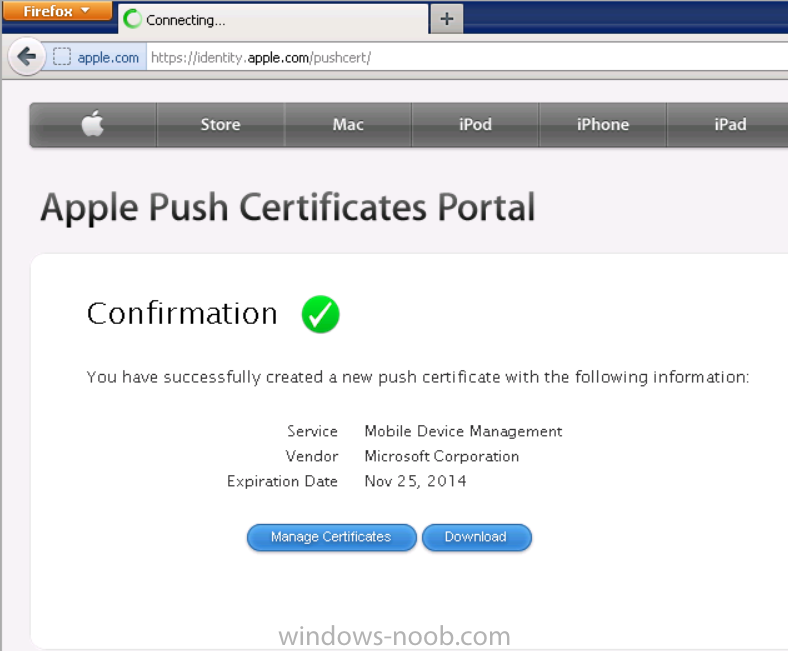
Once it’s done creating your certificate you should receive a confirmation like the example below, however if you did not – make sure to read my note above about Internet Explorer.
Tip: Notice the expiration date, it is one year from the day you created the certificate. You’ll have to repeat the process of creating a new certificate one year from now to continue managing iOS devices.
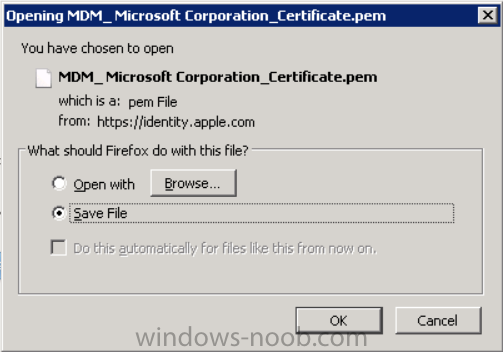
Click on Download to download the PEM file (if it’s not a PEM file read my NOTE above) and then save the PEM file
Copy the newly downloaded PEM file to somewhere useful like D:\temp\iOS_New_Push_Certificate\.
Step 3. Add the APNs Certificate
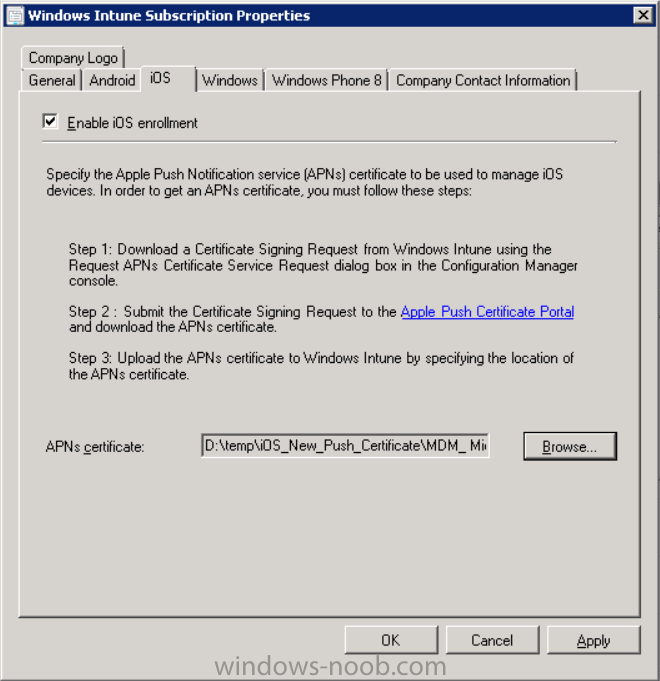
Back in the Enable iOS Enrollment Wizard, browse to the PEM file above
and click on Apply then OK. Close the wizard.
Step 4. Enroll an iOS device
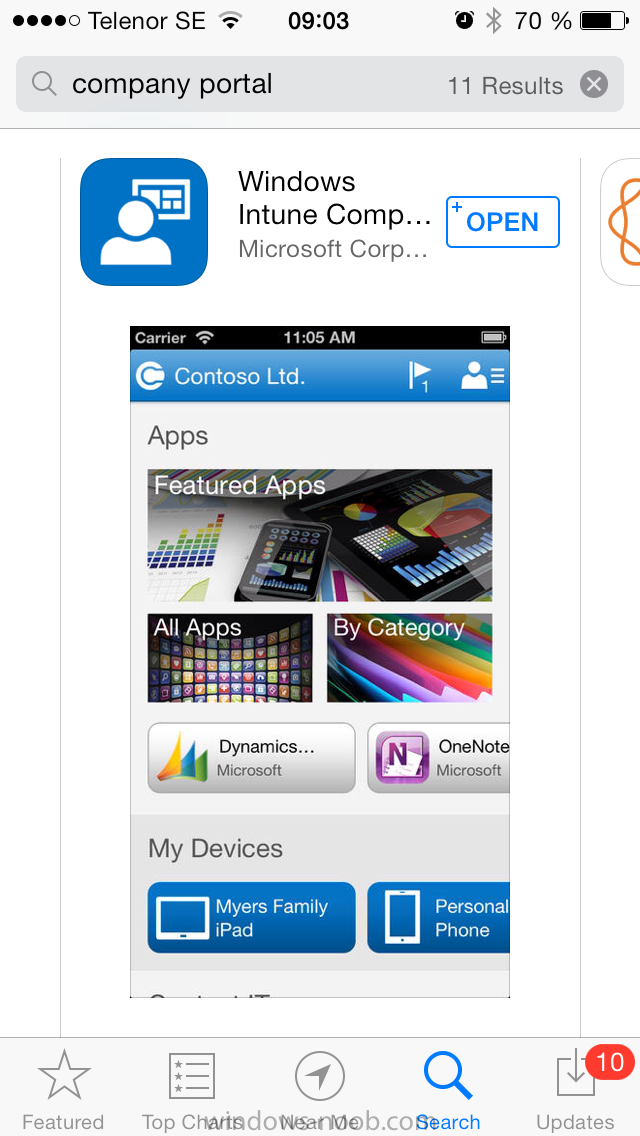
On an iOS device open the Apple App Store., search for Company Portal, select the Windows Intune Company Portal from the list of available apps
Install it by clicking on Open/Install.
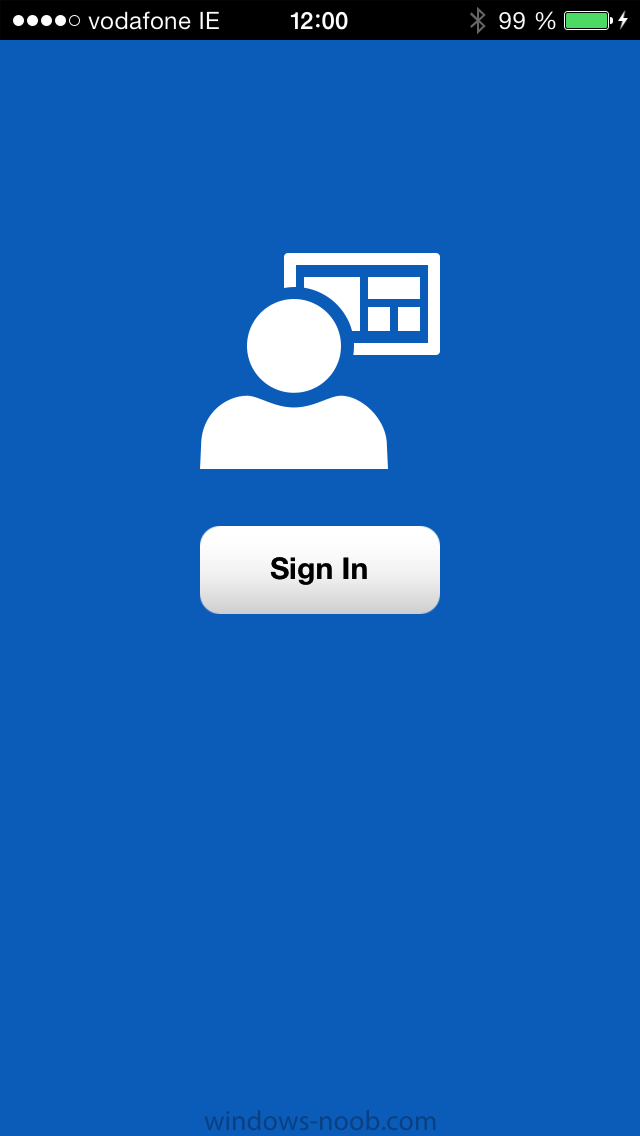
Once installed locate the app on your device and click on it.
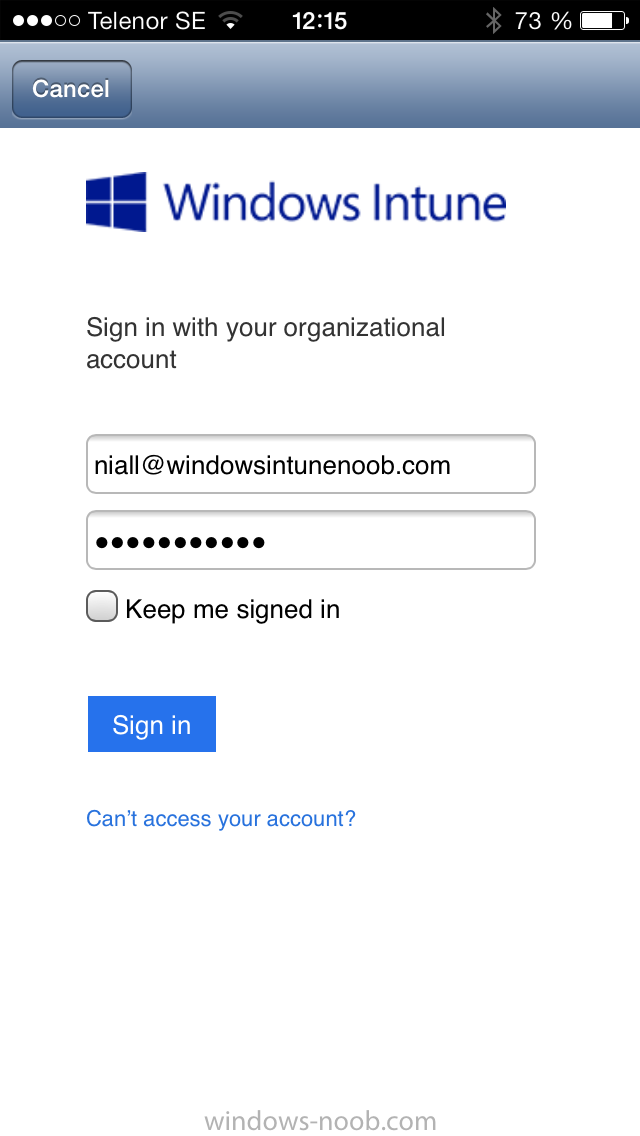
Enter your public domain Intune credentials (or Active Directory credentials if you setup ADFS)
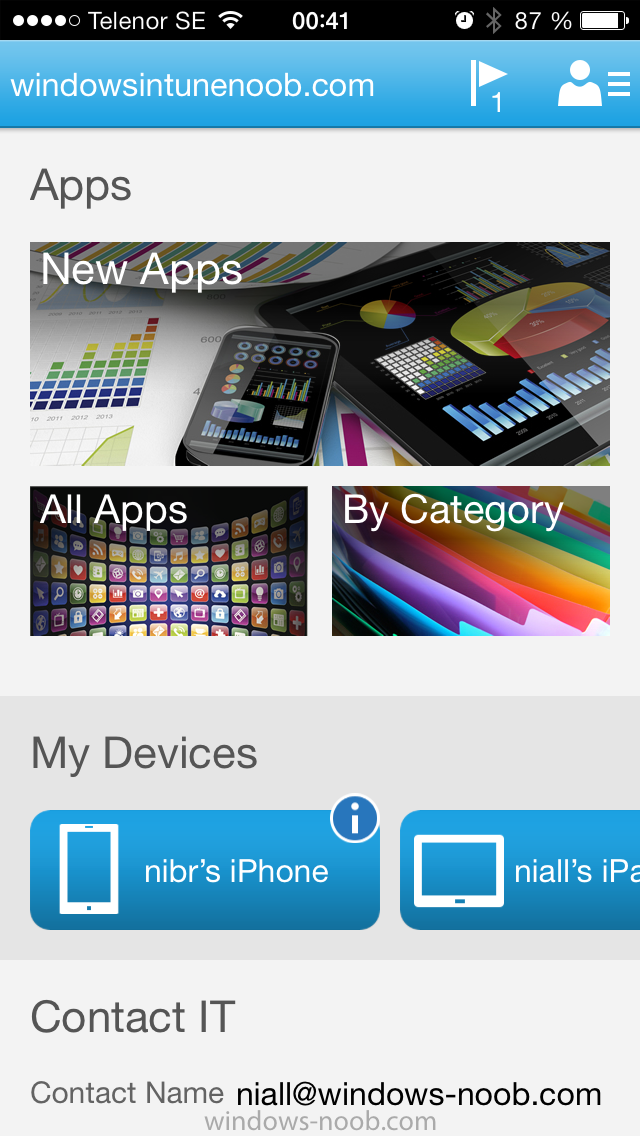
Click on sign in and you will be presented with the company portal.
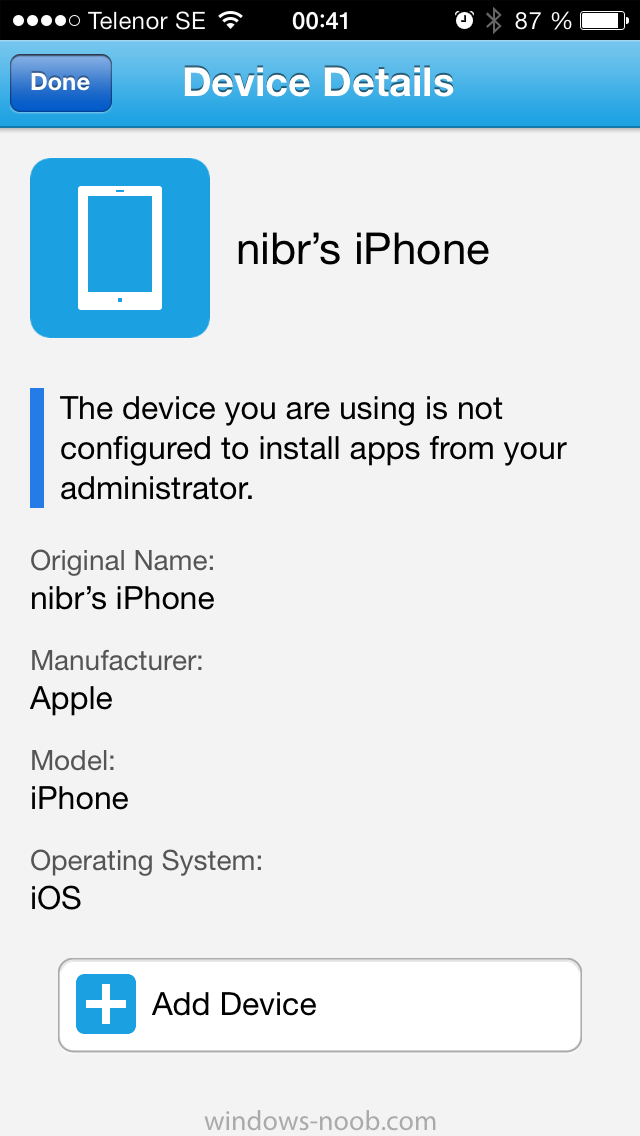
Notice the ‘i’ beside my phone device, that means it is not enrolled yet. Click on the device to start the enrollment procedure
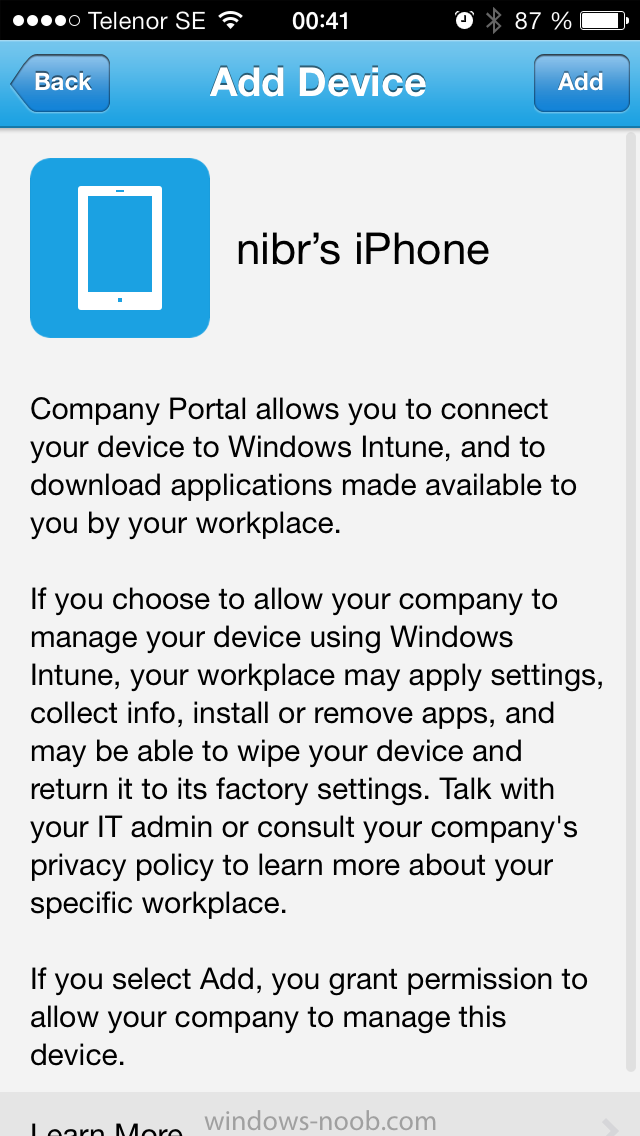
Click on Add Device, You will be presented with information about the portal, click on Add in the top right corner.
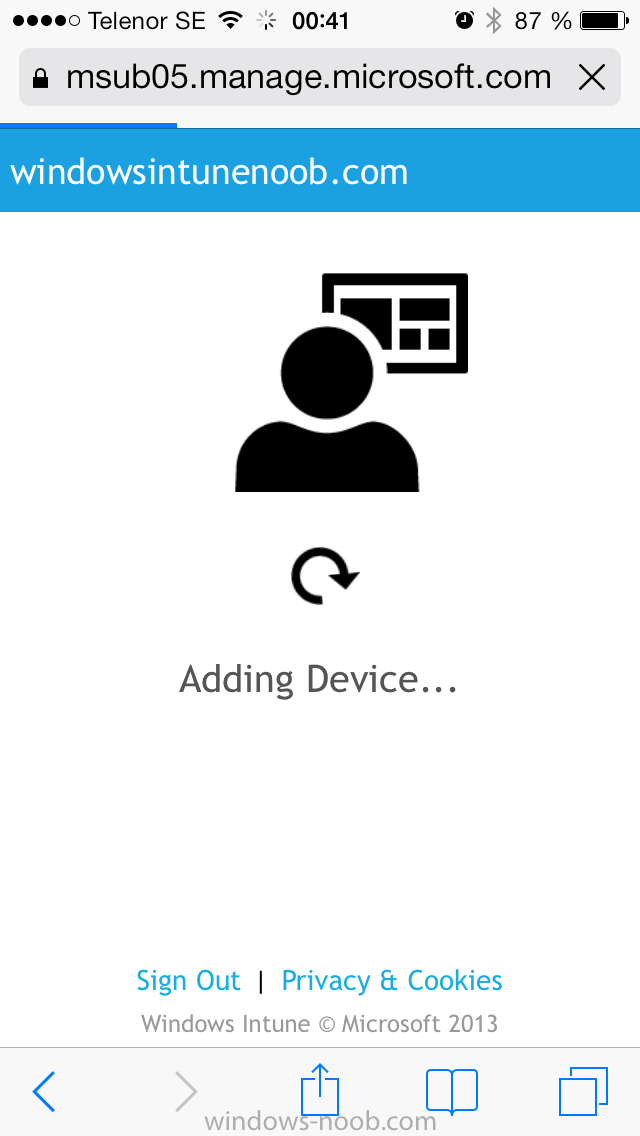
the device get’s enrolled to Windows Intune.
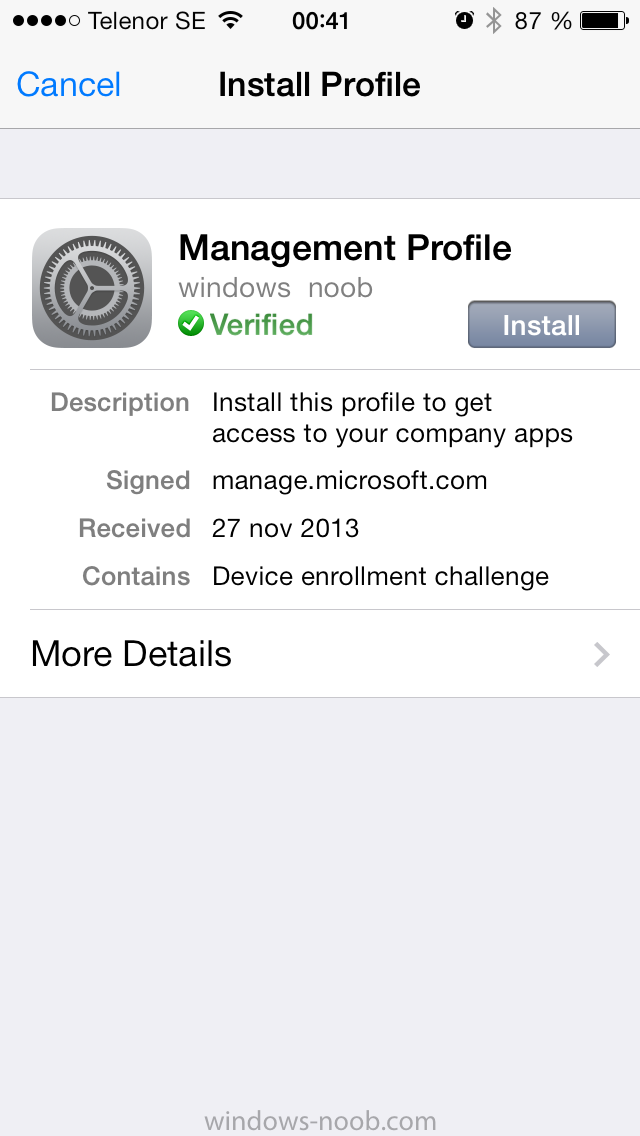
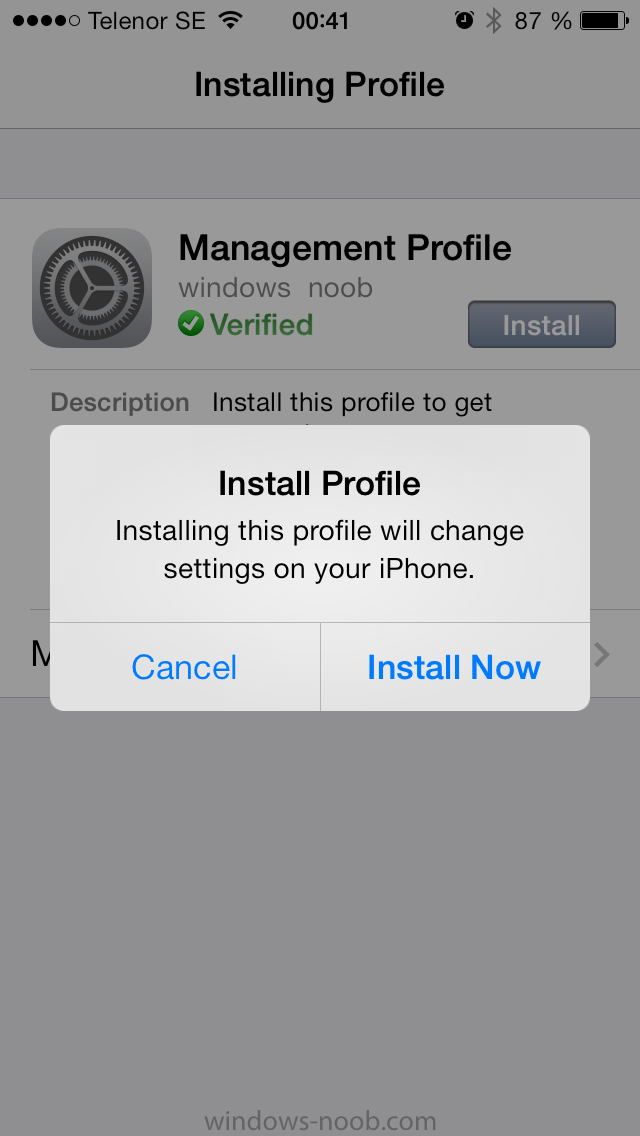
You’ll get prompted to install the MDM Profile, click on Install
then click on Install Now…
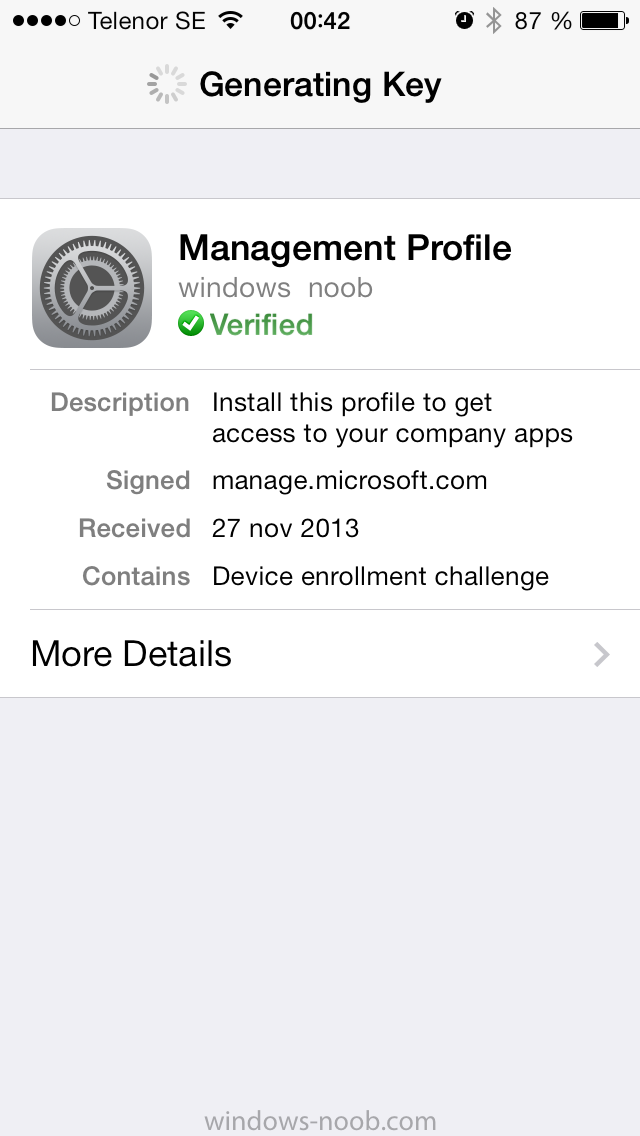
and off it goes…
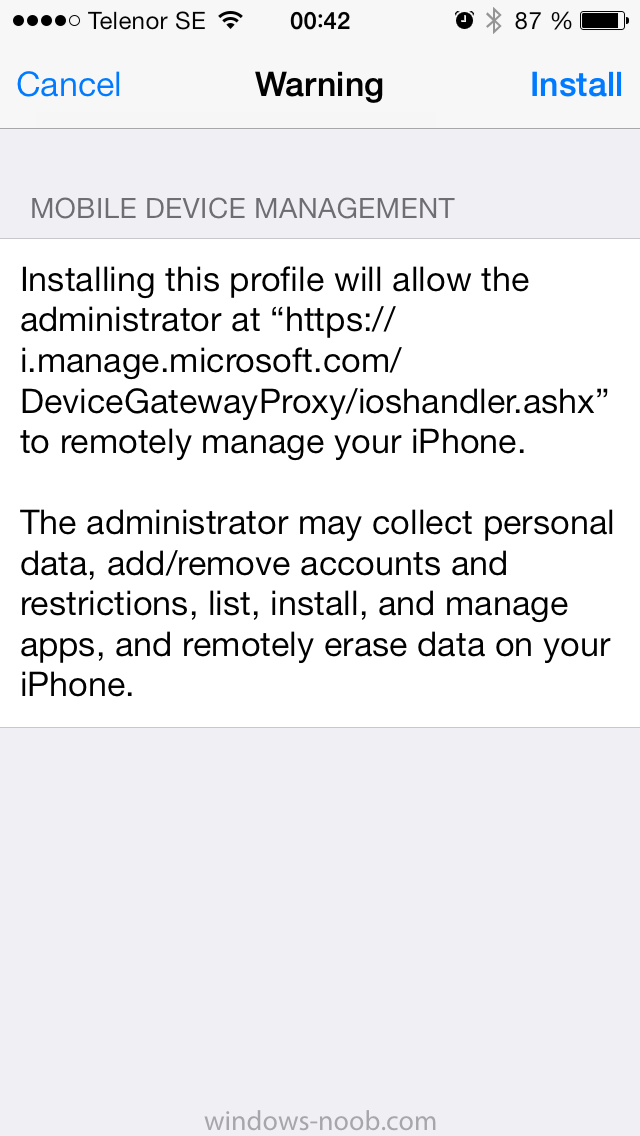
you’ll again get prompted to click on Install (with a warning about what the administrator can do with your phone)
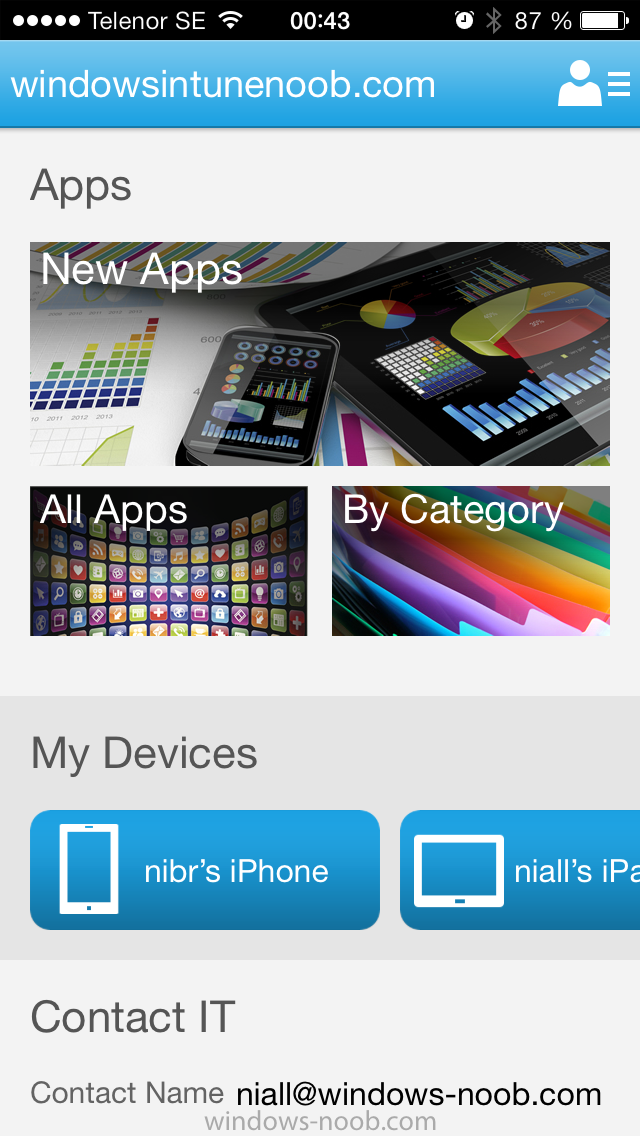
and if all goes well your device will be successfully enrolled.
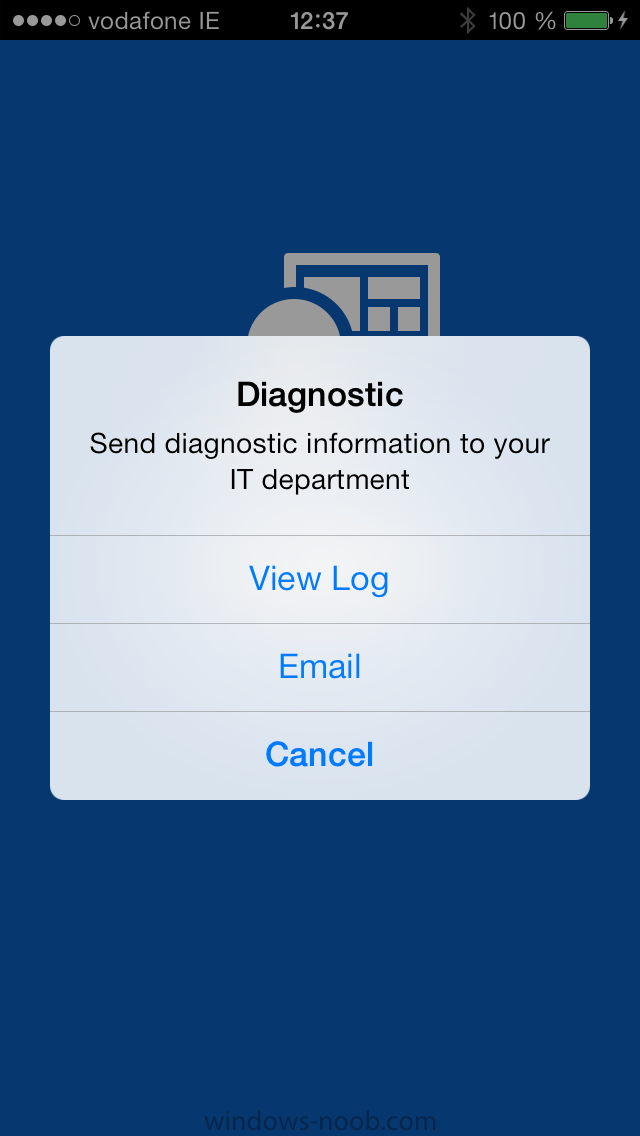
Tip: If you have any problems with the enrollment, shake the phone/ipad while the company portal is open and you’ll see the following screen, this allows you to troubleshoot via viewing the log file or you can email the log file.
Step 5. A quick look at the features.
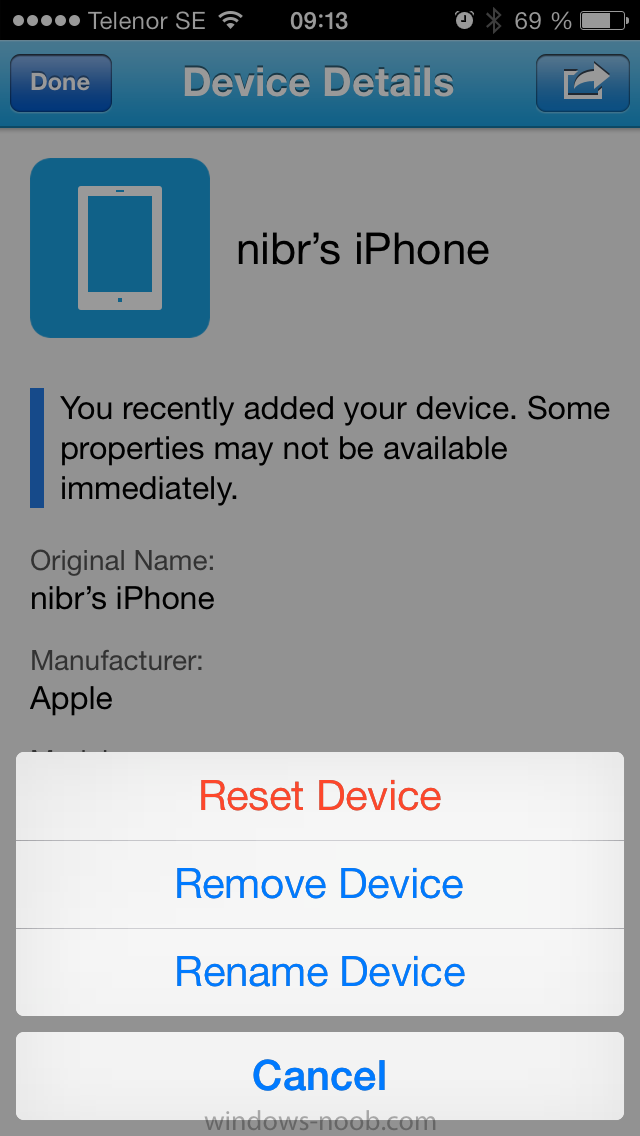
In the company portal you can now review what features are available on this device by clicking on the device name , on the phone itself you can do the following from the portal
- reset
- rename
- remove
as shown below
and of course you can select to install apps from the app store (we havn’t added any yet, that is coming in the next part of this series).
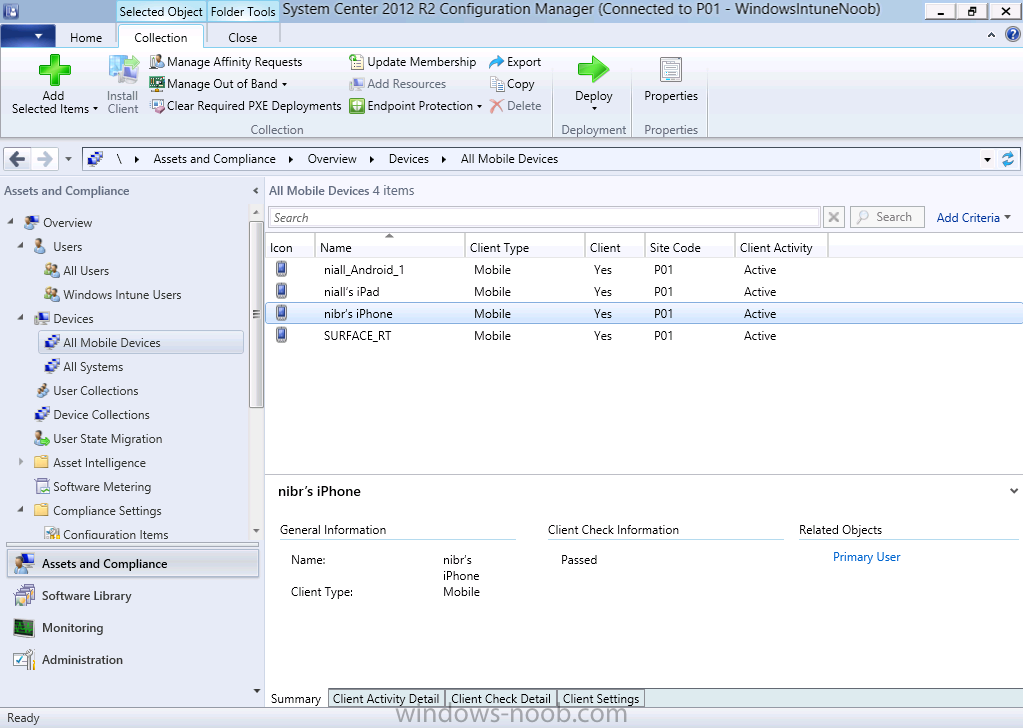
In the Configuration Manager console browse to Assets and Compliance, your device should be listed there in the All Mobile Devices collection.
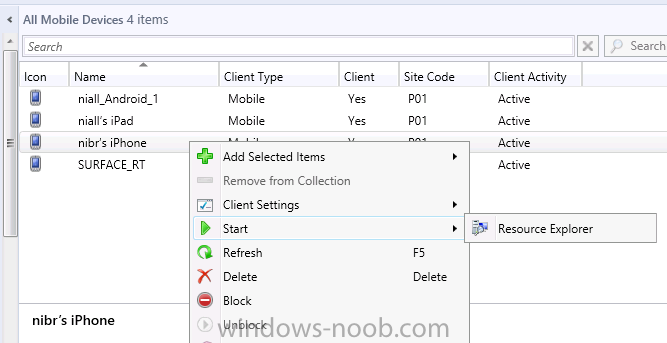
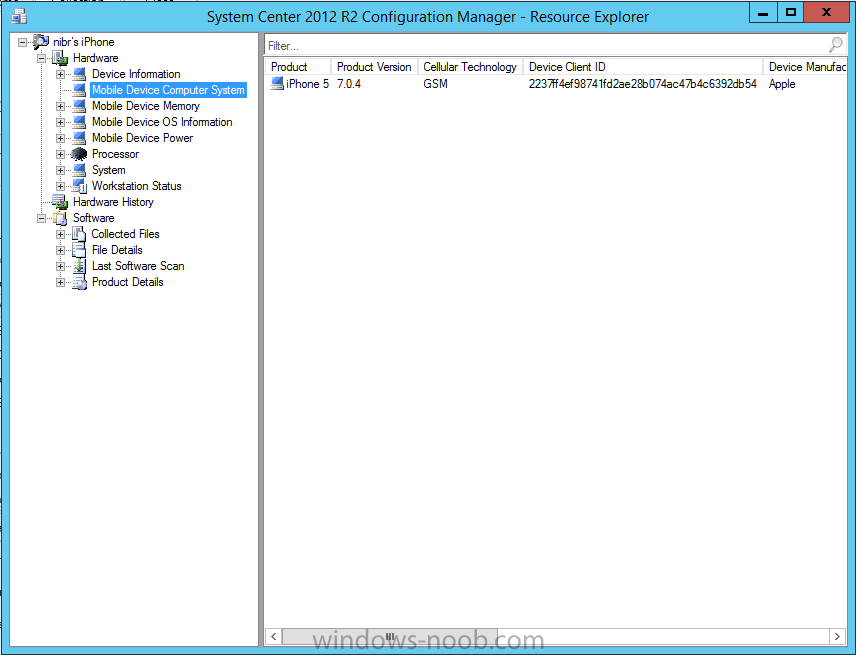
right click the device and choose Start, Resource Explorer
and you’ll get to see what details have been captured from your iOS device, cool !
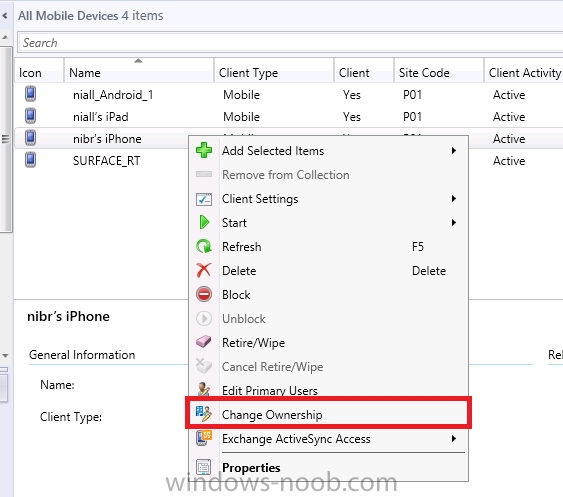
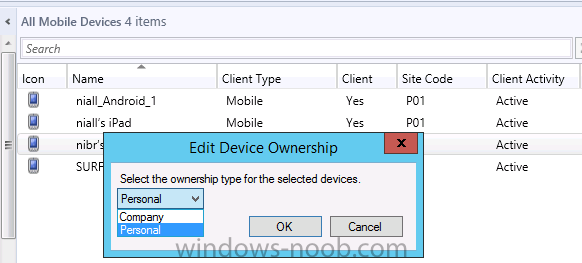
you can also define the ownership of the device as there are new Global Conditions set up to allow you to target software/settings to devices based on ownership. Right click the device and choose Device Ownership
choose Personal or Company from the options available.
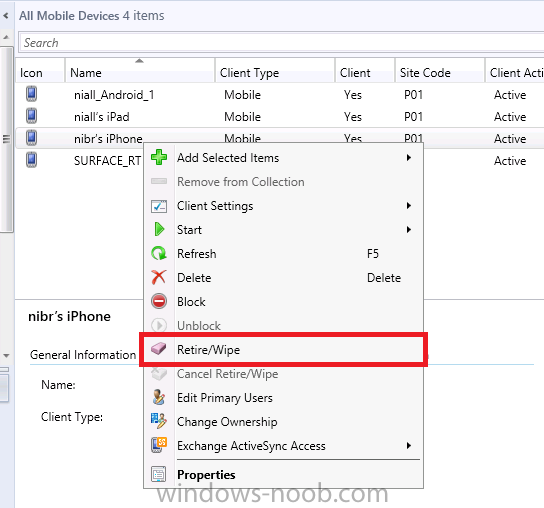
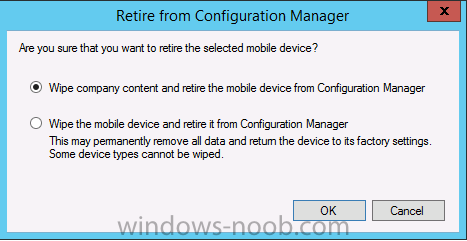
And we can also do selective wipe/retire via the Retire/Wipe menu
This pops up a new menu describing the two choices available to you.
Related reading
- How can I manage modern devices using System Center 2012 R2 Configuration Manager ? – Part 1
- James Bannan, an awesome Configuration Manager MVP – http://www.jamesbannanit.com/
- James and Peter demoing BYOD – Unifying BYOD Management with Windows Intune and Configuration Manager 2012 – http://channel9.msdn…and/2013/WCL309
- What’s New in System Center 2012 R2 Configuration Manager – http://technet.micro…y/dn236351.aspx
- How to Manage Mobile Devices by Using Configuration Manager and Windows Intune http://technet.micro…e10#BKMK_RTcert
- Support Tool for Windows Intune Trial Management of Window Phone 8 – http://www.microsoft…s.aspx?id=39079
- Set up Windows Intune Direct Management for Windows Phone 8 Mobile Devices – http://technet.micro…y/jj733640.aspx
- How to: Edit DNS records – A, CNAME, MX, TXT, and SRV https://help.hover.c…-MX-TXT-and-SRV
- Configuring Configuration Manager SP1 to manage mobile devices using Windows Intune- http://blogs.technet…ows-intune.aspx
- Deploying and Configuring Mobile Device Management Infrastructure – http://channel9.msdn…MS/2013/UD-B309
- Windows Intune Company Portal App – http://blogs.technet…-available.aspx
Summary
We’ve learned how to successfully enroll iOS devices using the Windows Intune Company Portal available from the Apple App Store. Once enrolled the devices appear in Configuration Manager and can be managed.
That’s all for now, In our next part we will learn how to add applications for iOS devices in our Company Portal. Until next time, adios!
cheers
niall


