

Introduction
4 years ago in a previous blog post I looked at accessing Windows 365 Cloud PC’s from Linux using 3 different distros, namely:
- LinuxMint
- Ubuntu
- Fedora
I talked about the general usability, and discussed using Microsoft Office apps on the Cloud PC, which all worked great. I also mentioned Teams audio calls and noticed that there was little noticeable lag, but I also found issues with video playback within Teams calls where the camera was used due to the fact that there was no native Windows app within Linux, so no optimization could take place.
Time has moved on, but I felt it was a very good time to return to the topic as Windows 365 has matured and I’ve been using Linux daily now for months. I’m currently using an Ubuntu based distro called ZorinOS and to be honest, I love it.
First things first, let’s talk about ZorinOS and why I chose it to use on a daily use laptop. My Lenovo T570 laptop, while old, worked very well with Windows 11, but it wasn’t perfect. For example, when docked to my docking station, only 2 of the three monitors would display at full resolution (2560×1440), and the third rendered at a lower max resolution, which meant moving content from one monitor to another never looked right. That wasn’t terrible but it was annoying.
Installation
I read great things about ZorinOS and decided I’d give it a try, but to be honest, I guess I was intending to return to Windows if it didn’t work out so I removed the Windows 11 nVme disk in the Lenovo and installed ZorinOS on a fresh new nvme disk.
You can download ZorinOS from here, I chose the free version (Core) it was 3.5GB is size.
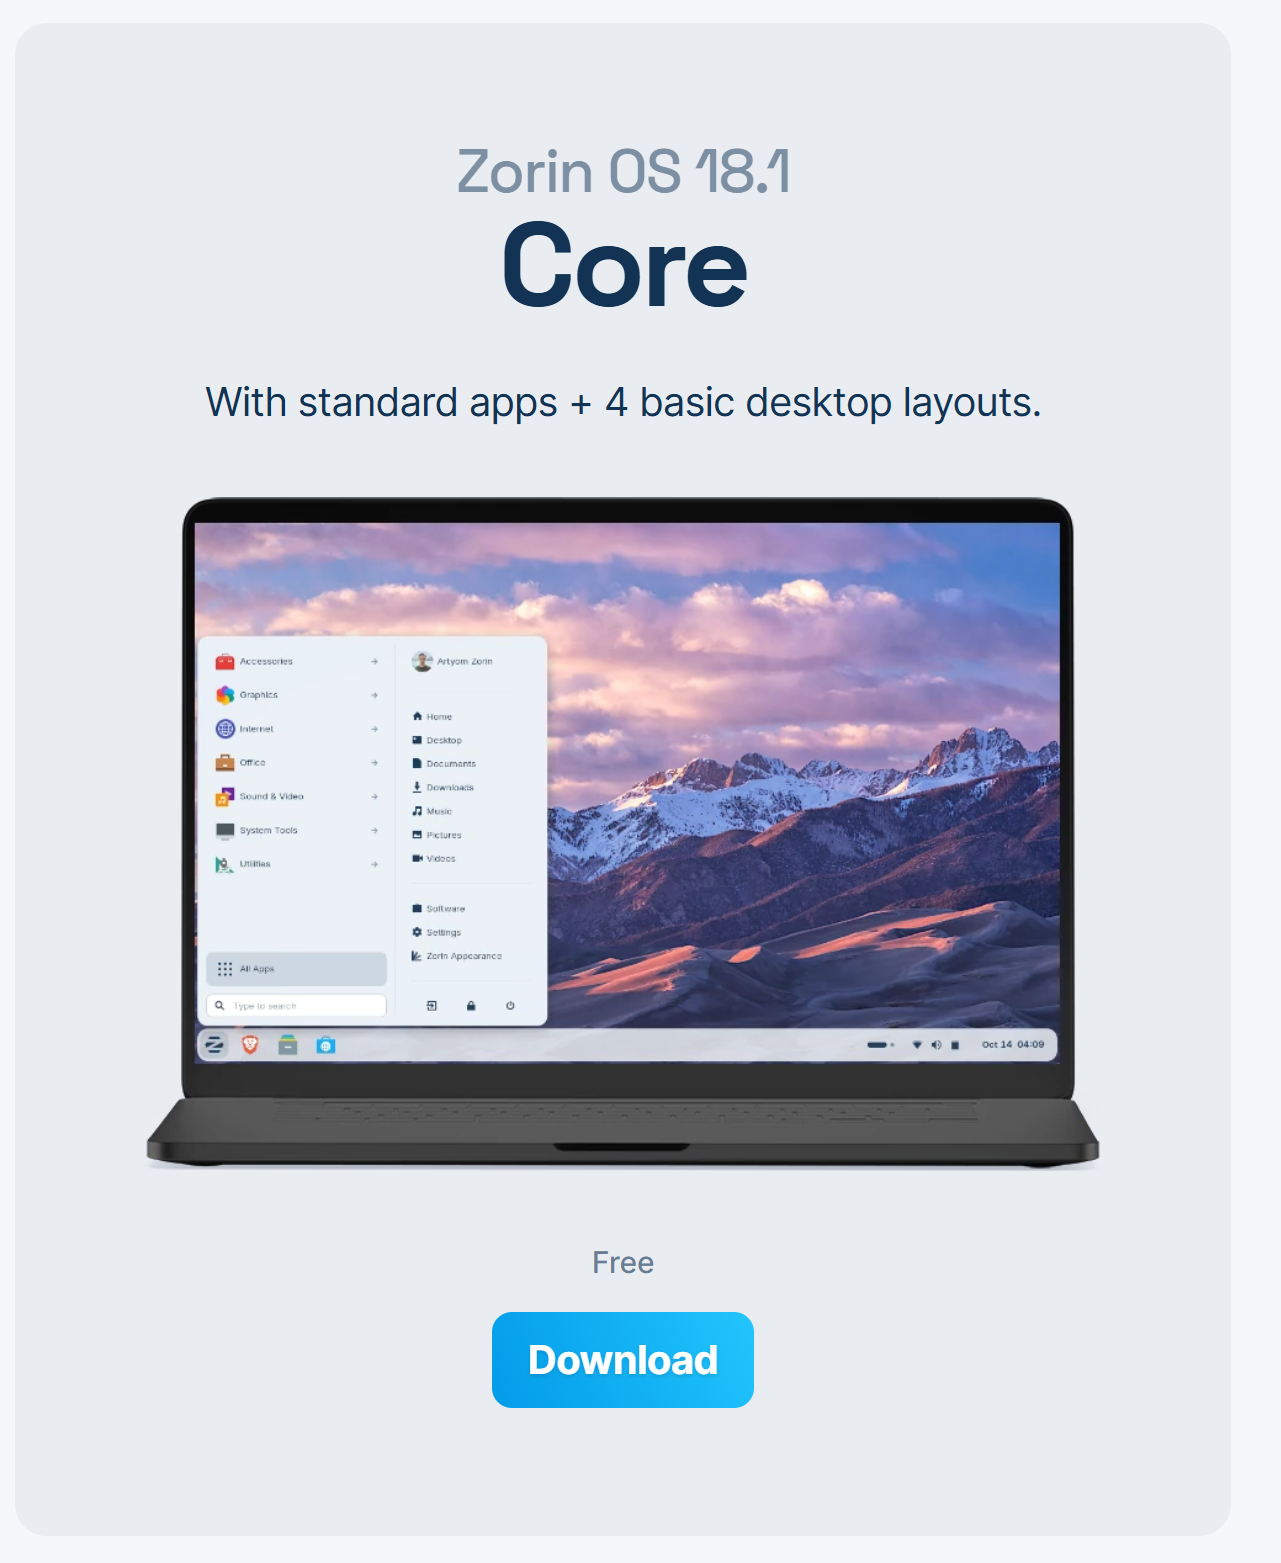
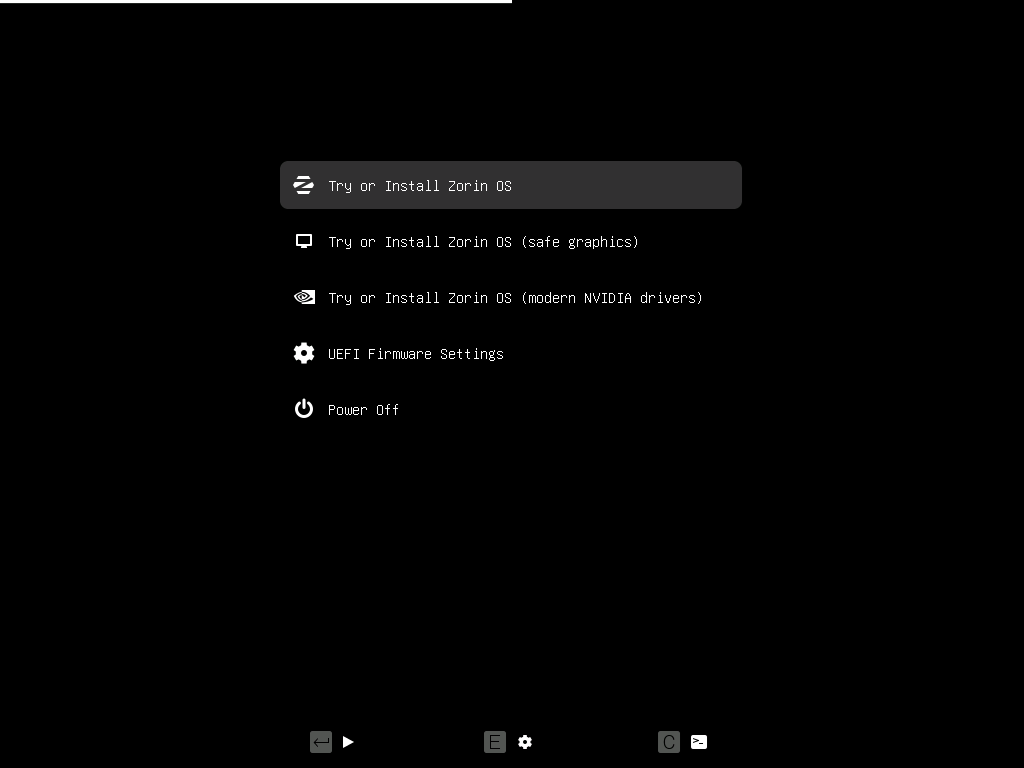
The installation was quick and easy, and you even get the ability to try it before installing. I installed it on my old i7 based Lenovo T570, with 32GB of RAM. The installation was easy and quick and using ZorinOS as a Windows user, is intuitive and easy.
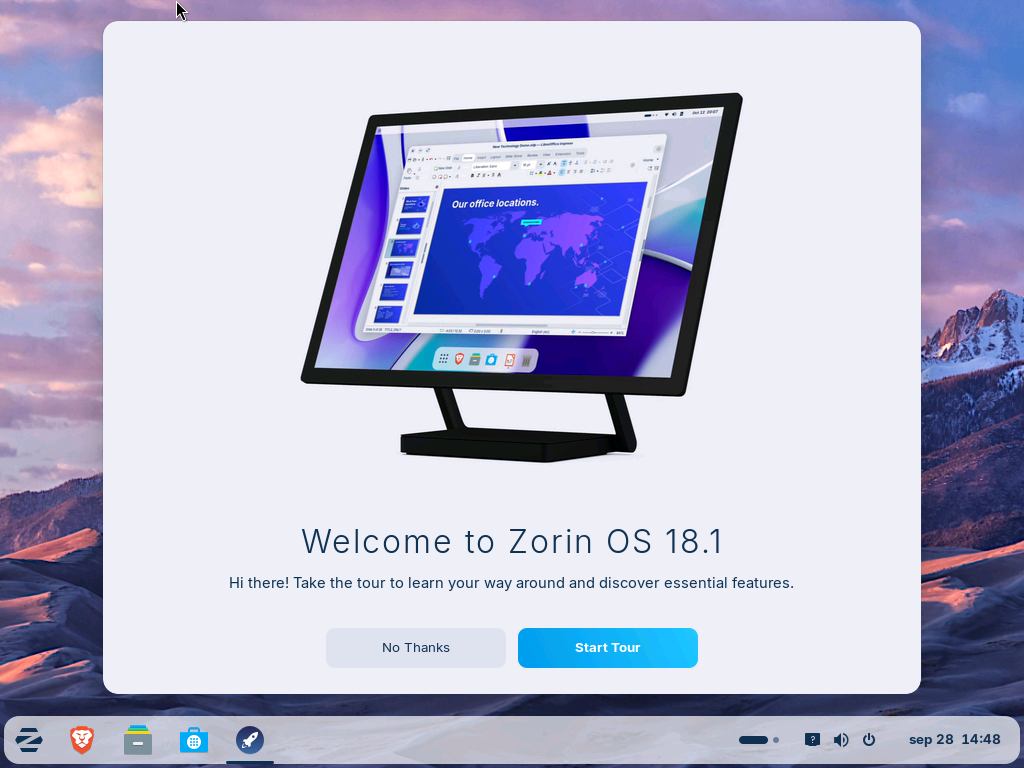
 After the installation was complete, I got to the desktop, and was greeted with a welcome message. Nice and clean.
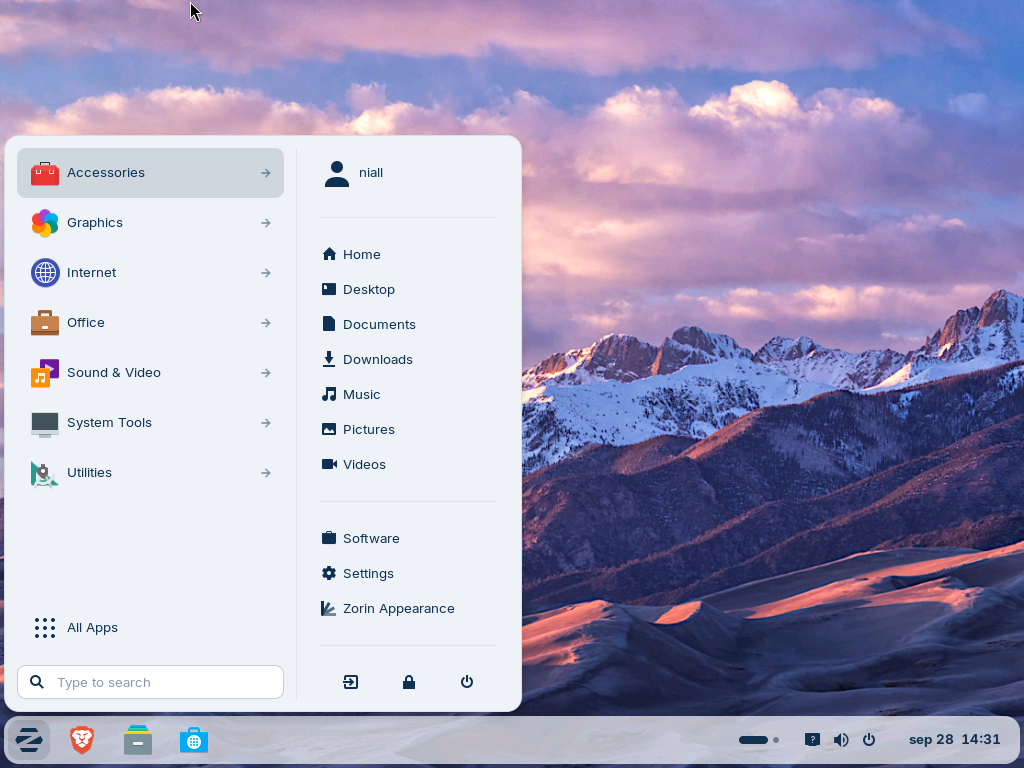
The preinstalled OS comes with a start menu (Z), the Brave web browser, a file manager and a software installer (snap software app store), that’s it.
The start menu is clean and easy to understand, so Windows users will have no problem adapting to this OS.
Once I figured out the display settings it rendered all 3 monitors at their correct resolution, an instant win!
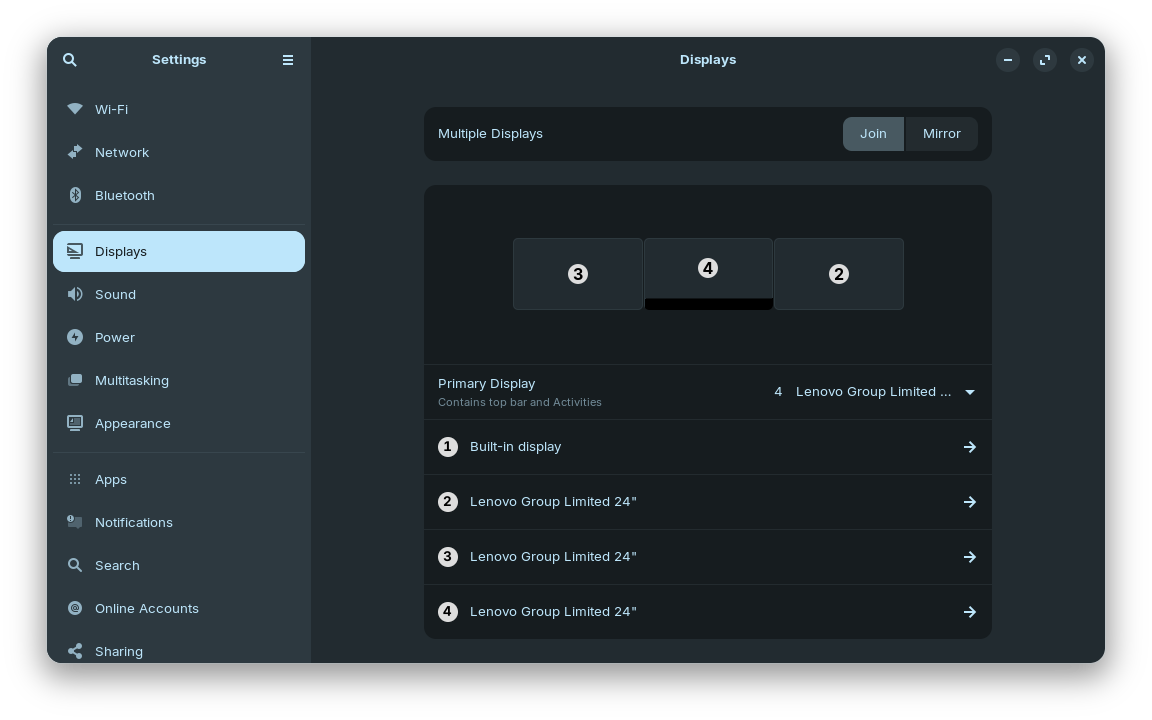
ZorinOS comes with preinstalled software and makes it easy to install additional software, such as web browsers, or Teams for Linux or accessing remote servers via RDP using the Reminna app. I can do it all. In fact it even offers Steam so you can play games from your Steam Library just like on a Windows computer, I was definitely impressed.
Teething problems?
All went well for a few days, until I started seeing crashes, like system lockups. That wasn’t fun as on the third crash, it crashed so bad (or rather I was impatient and hard powered off) that I had to do filesystem repairs and lots of troubleshooting to get it back and running again. Copilot was very helpful in this regard, and eventually the troubleshooting pointed out that perhaps it wasn’t Linux that was the issue, but that the nvme disk itself was at fault.
I then copied the installed and configured OS from the suspect drive to the original nvme disk that was in the T570 and I haven’t had one crash on the device since then.
Months of stability. It’s been perfect.
To prove that it was indeed the disk, I put the suspect disk back in the computer, formatted it, installed Windows 11 and guess what, it crashed, big time, loads of errors in event viewer for the disk.
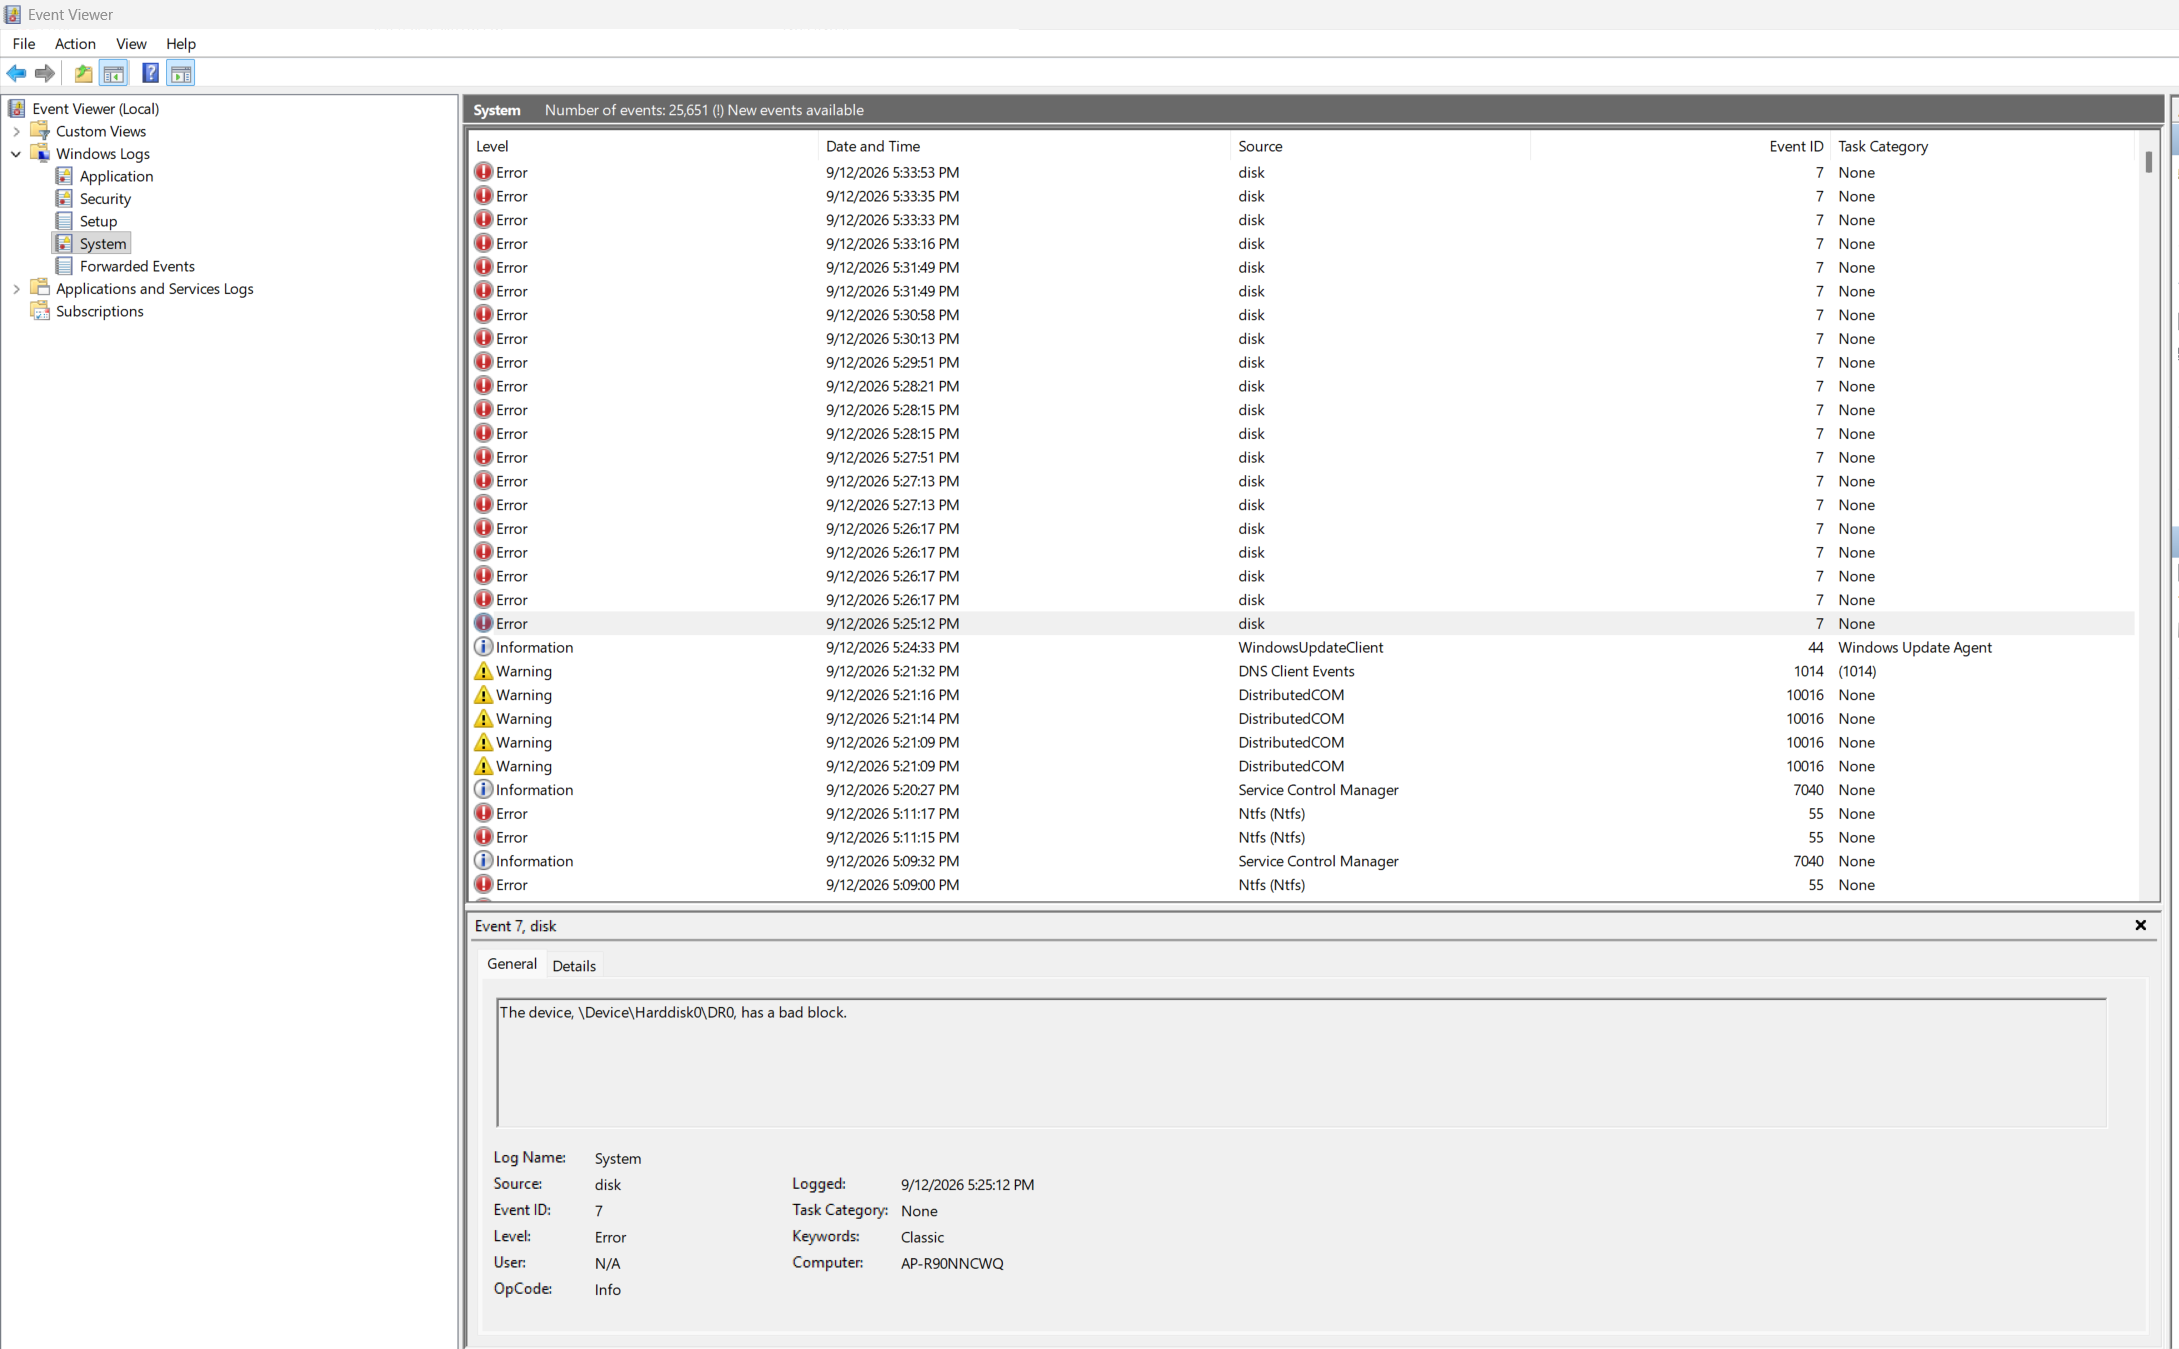
Even with firmware updates applied, the disk is still unreliable no matter if it’s running Windows or Linux. I wanted to mention the initial crashing, as I did have teething issues and posted about it on Twitter back in July, but again, since replacing the disk it’s been plain sailing.
Using Windows 365
Now that I felt very comfortable with this Linux distro, I wanted to access my Cloud PC’s, both personal and work. That was easy using the preinstalled web browser, Brave browser. Just browse to https://windows365.microsoft.com and the Windows app appears in the web browser.
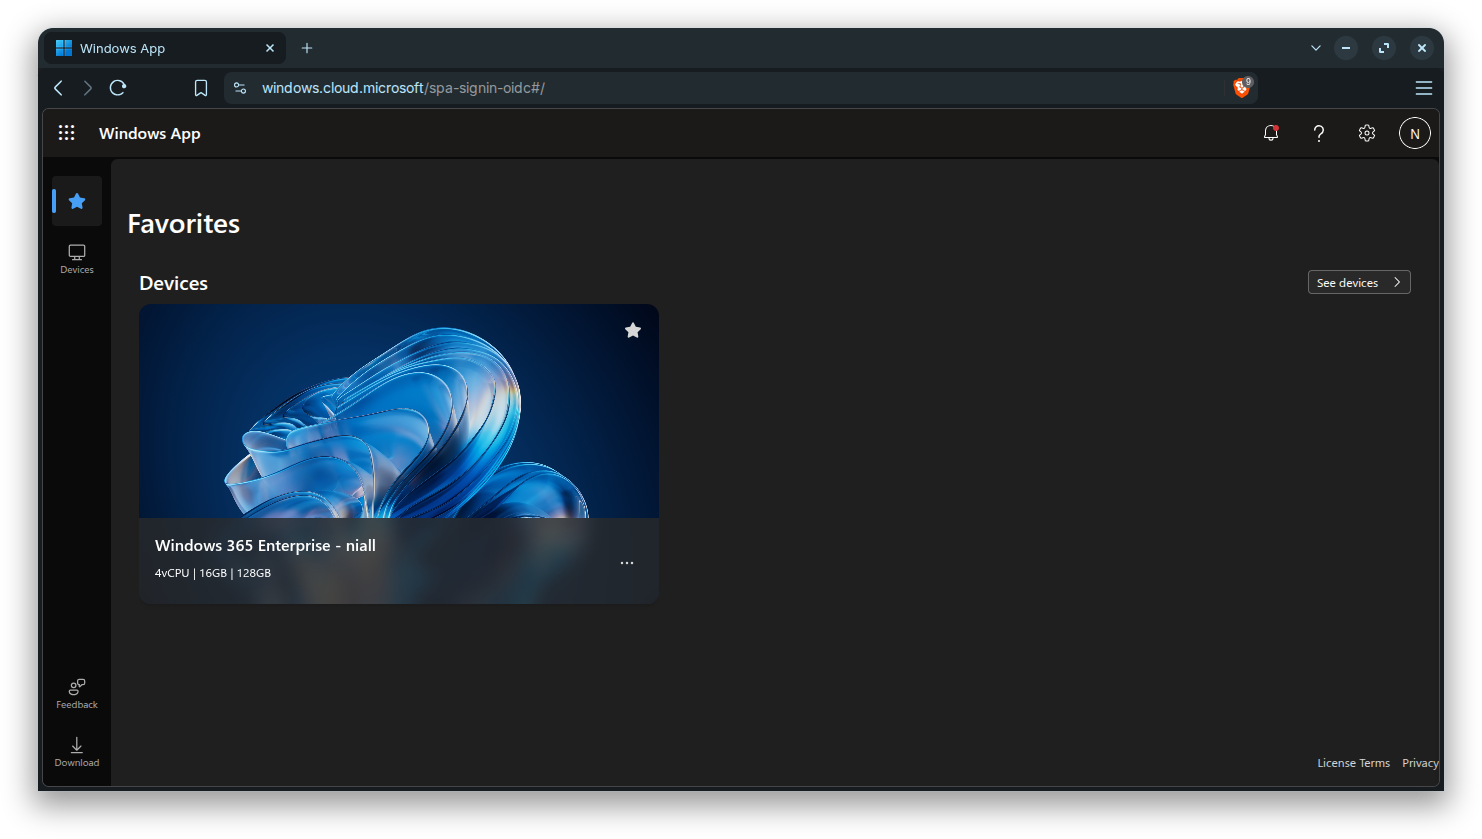
It’s actually very, very good, but when accessing a Cloud PC you do get a message that the browser is not supported, but to be honest I’ve not seen any issues or downsides to using the Brave web browser for Cloud PC access.
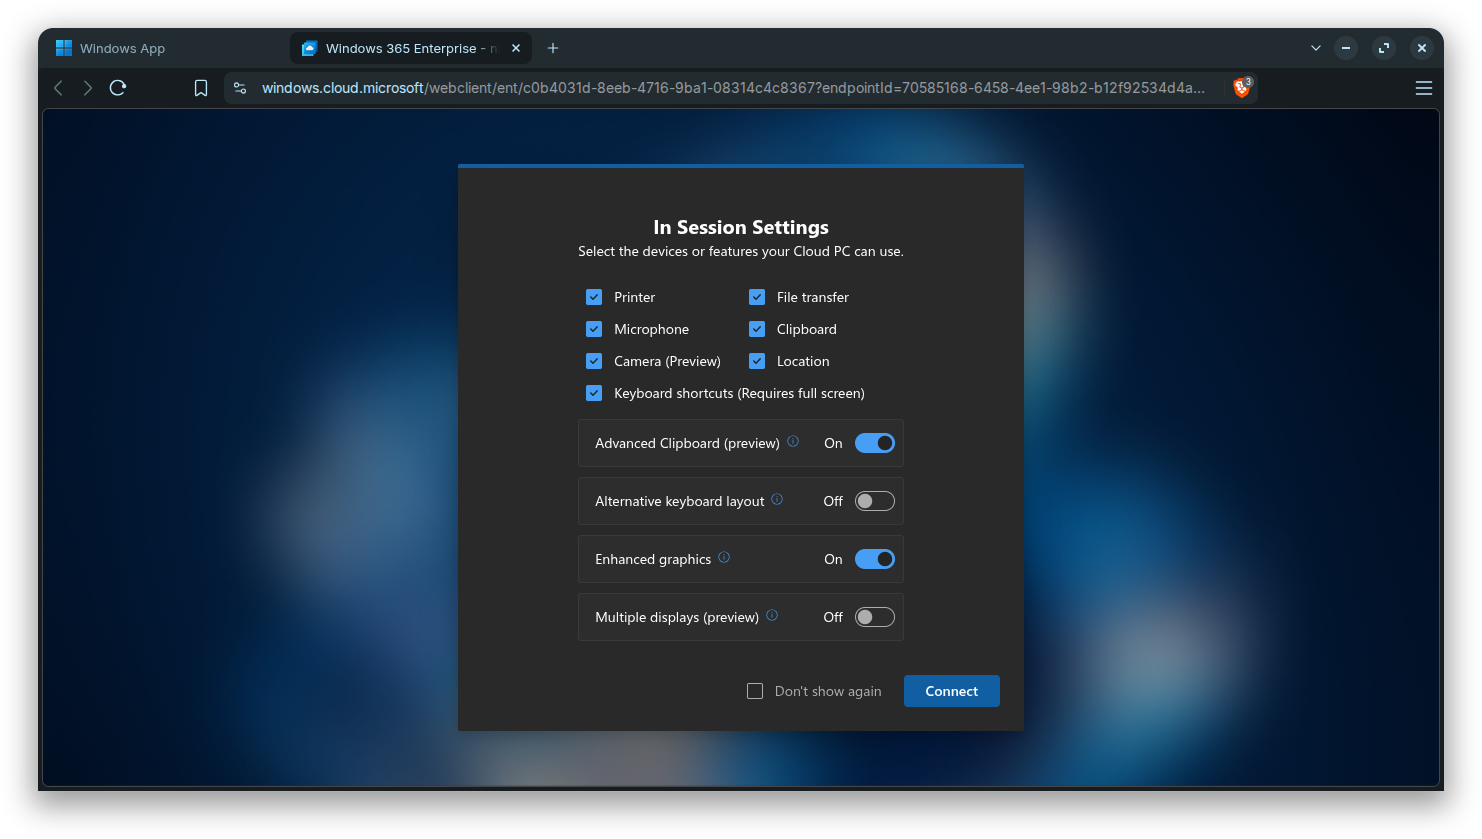
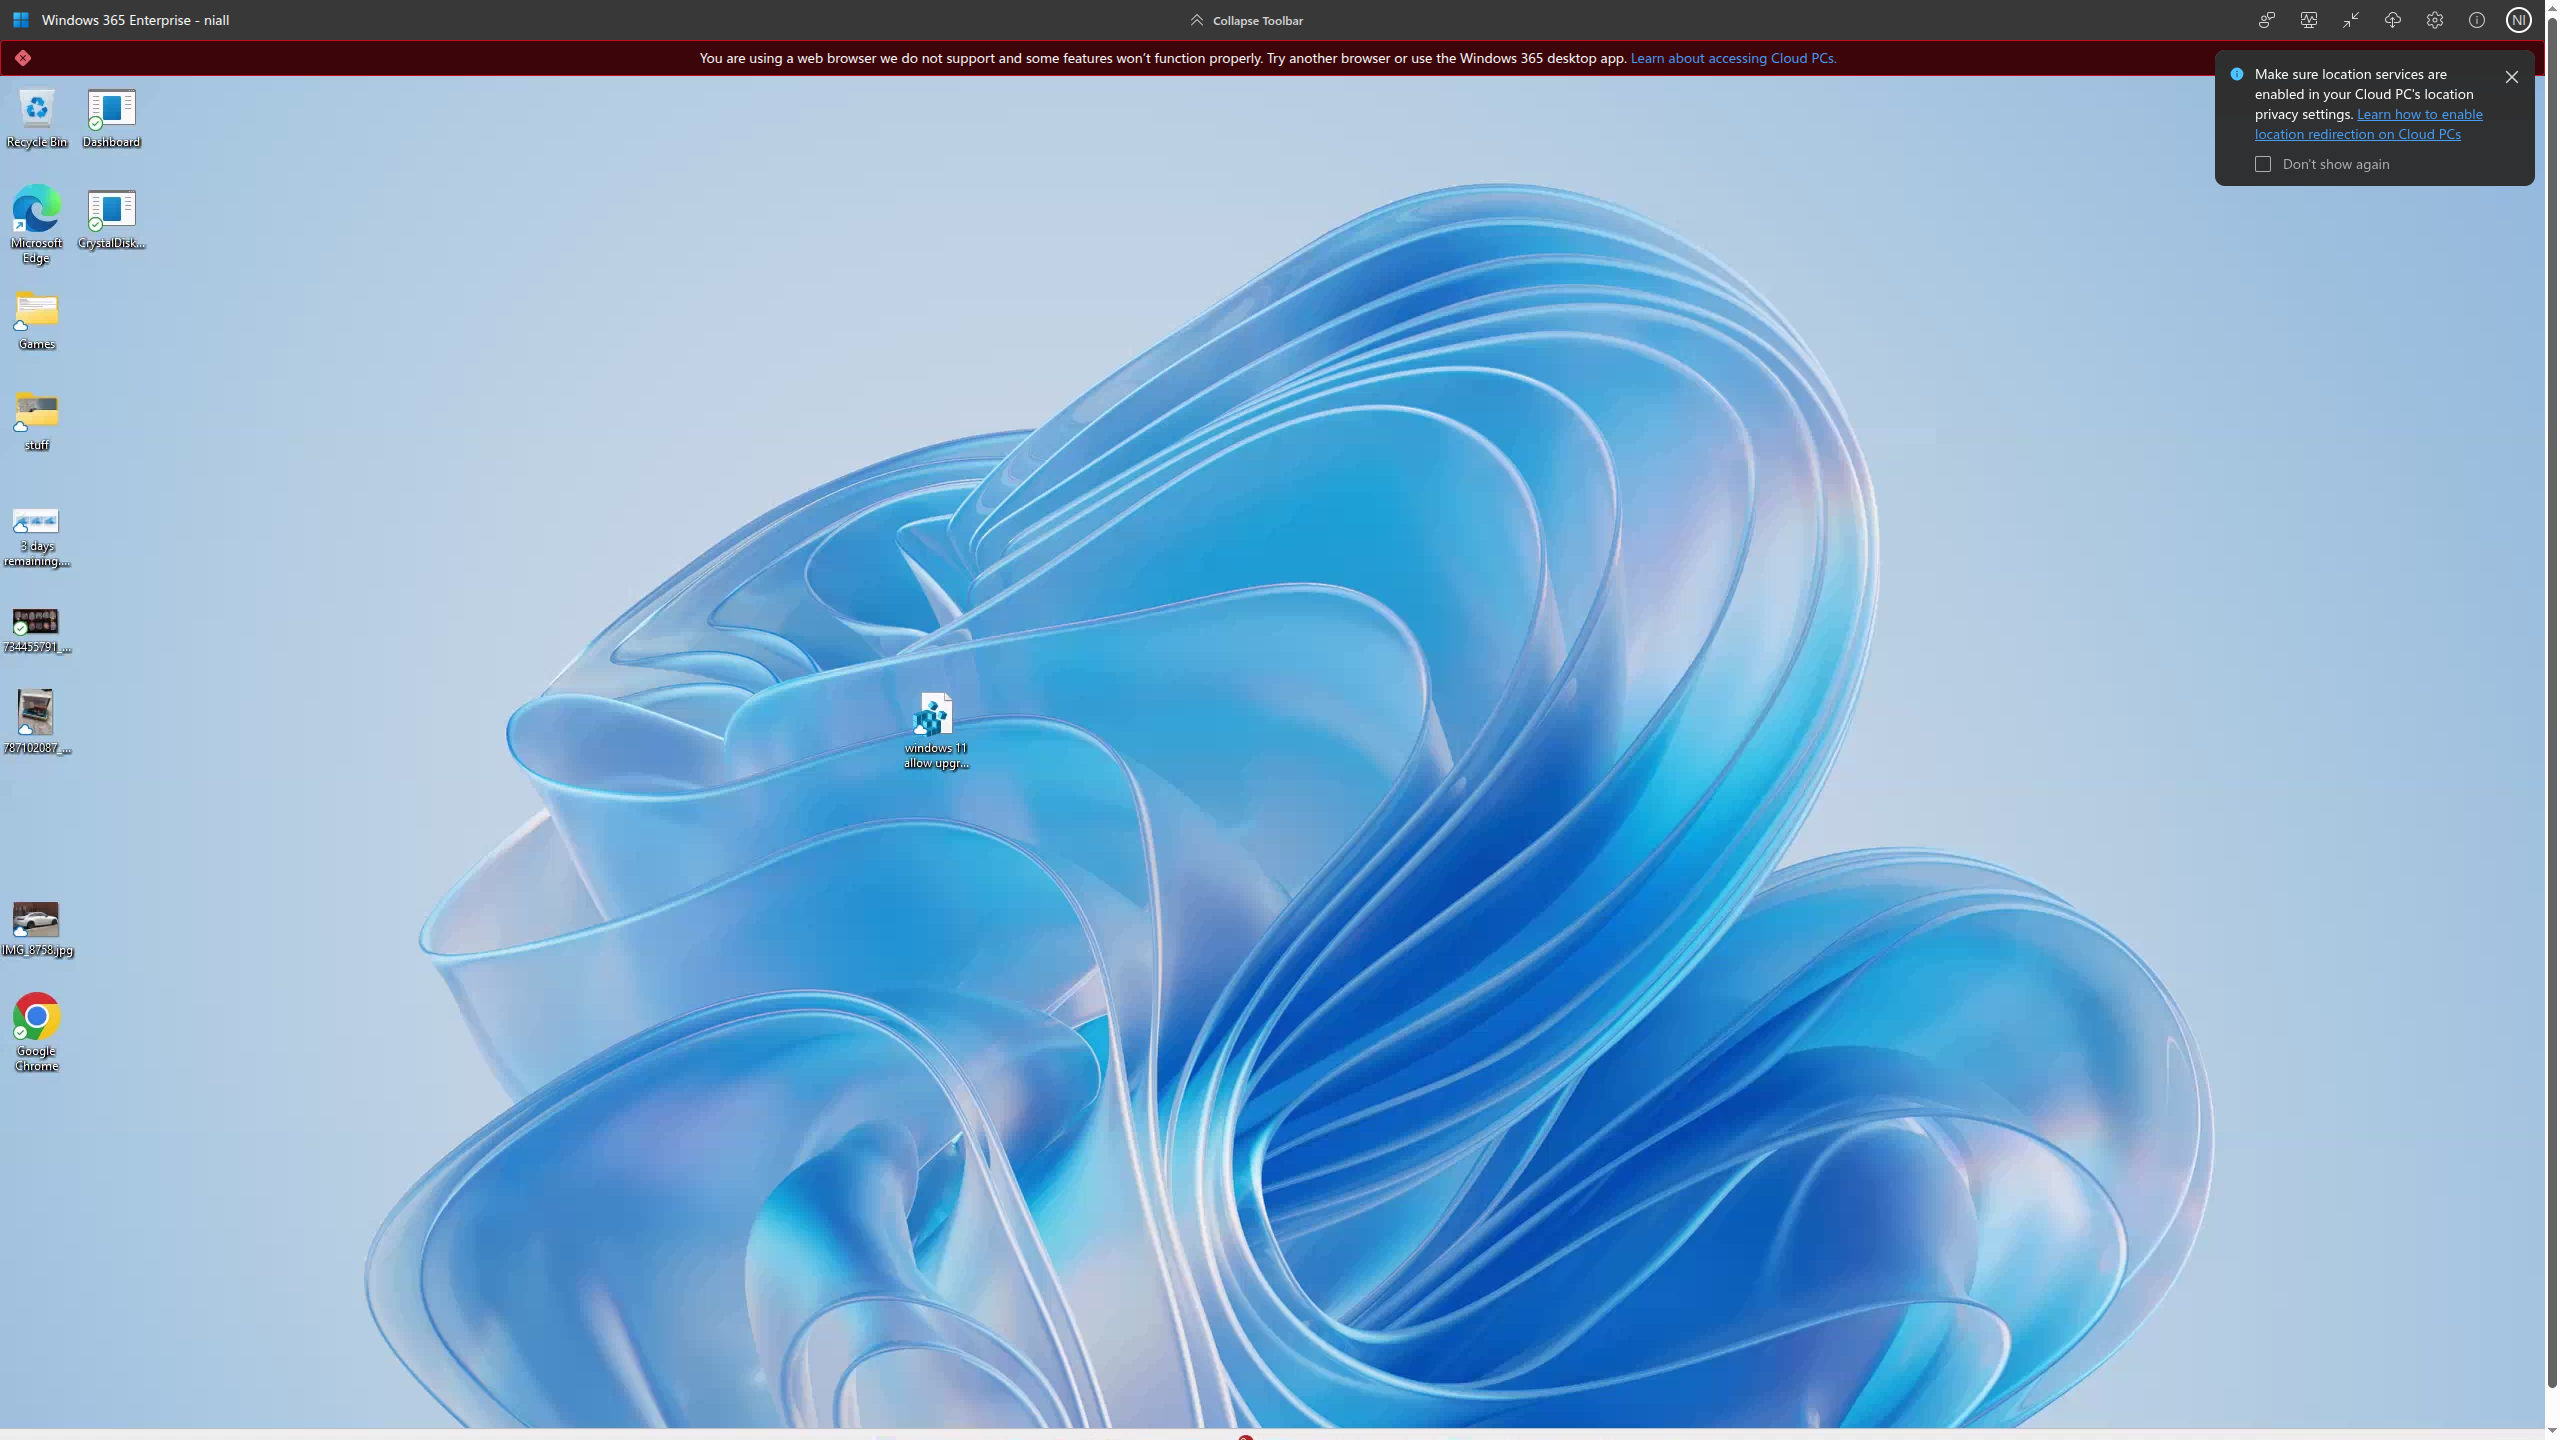
After connecting using the Brave web browser, you’ll see a warning at the top of the screen along with a popup asking you to enable location services.
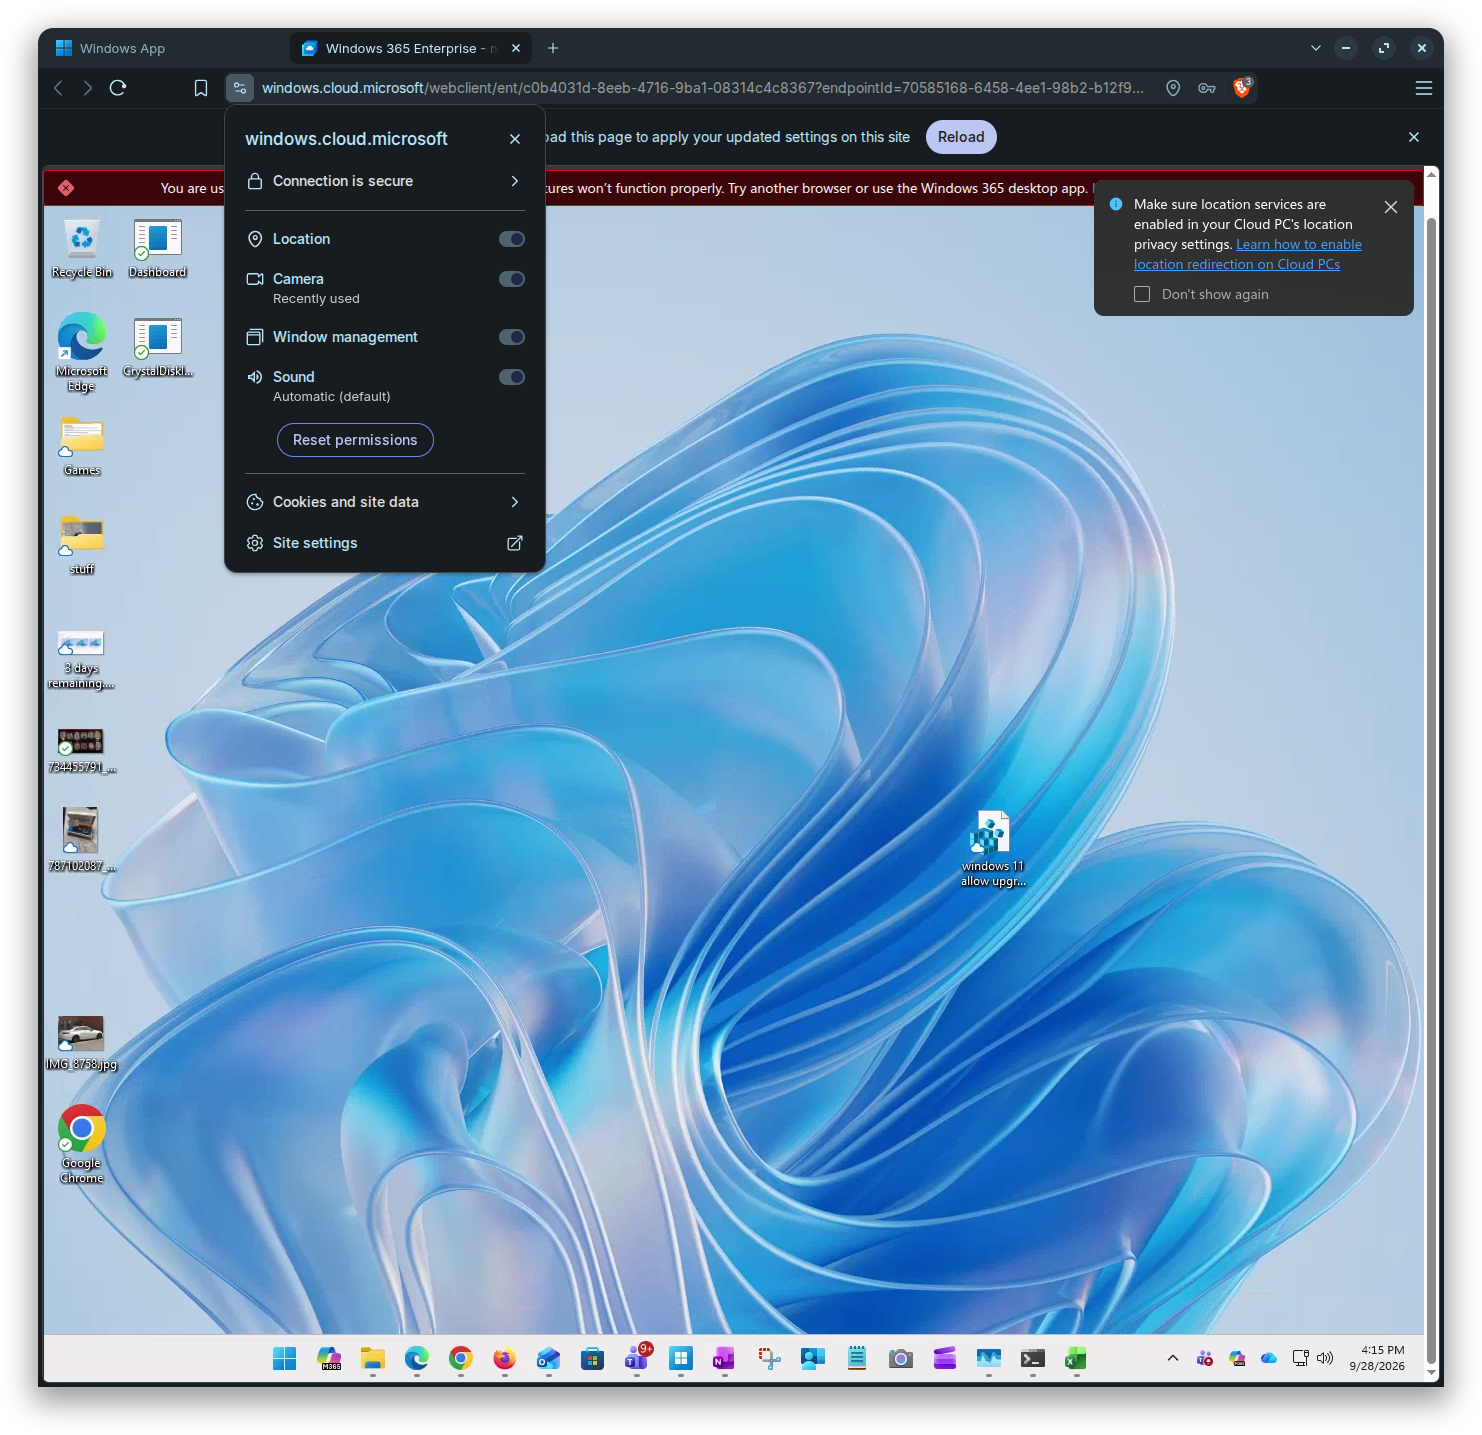
Aside from the warning, you can click the icon to the left of the URL to access the Windows app web browser settings bar, with lots of available options to choose from, such as those shown here (Location, Camera, Window management, Sound).
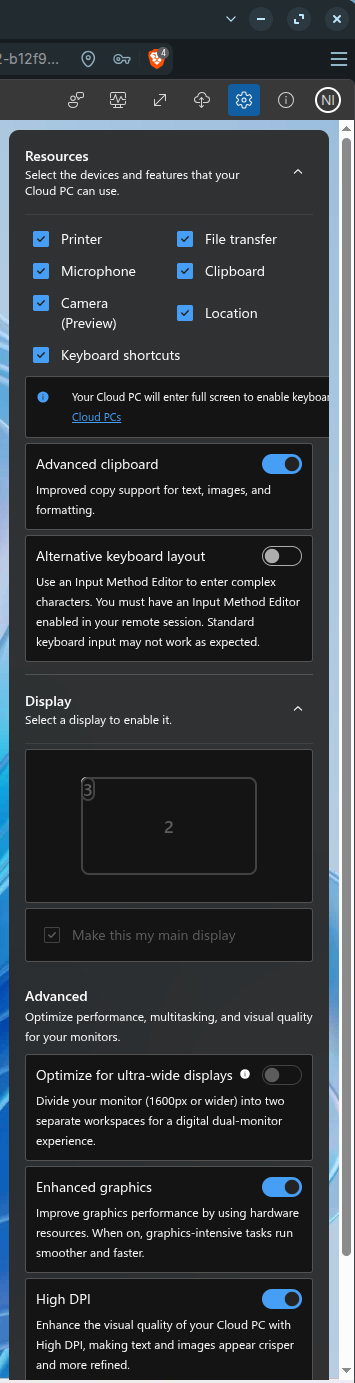
Clicking the settings icon in the toolbar, reveals all the additional settings for the Windows app via the web browser. It’s extensive and even includes multiple monitor support, however in the Brave browser it only showed one of three connected monitors as you can see below.
Audio playback works surprisingly well in this web browser, as do Teams calls from the Cloud PC. What doesn’t work well however (as expected) is video meetings, or web cameras.
The web camera works just fine using the Camera app in ZorinOS, but when you try to use camera abilities on the Cloud PC, it’s a miserable experience (via any web browser) as Teams is not optimized.
You can clearly see that Not optimized status in the below screenshot in my Teams status.

Next, I wanted to compare the Brave browser for accessing Windows 365 Cloud PC’s to a supported web browser, Microsoft Edge. Yup, you can install Edge in ZorinOS too!

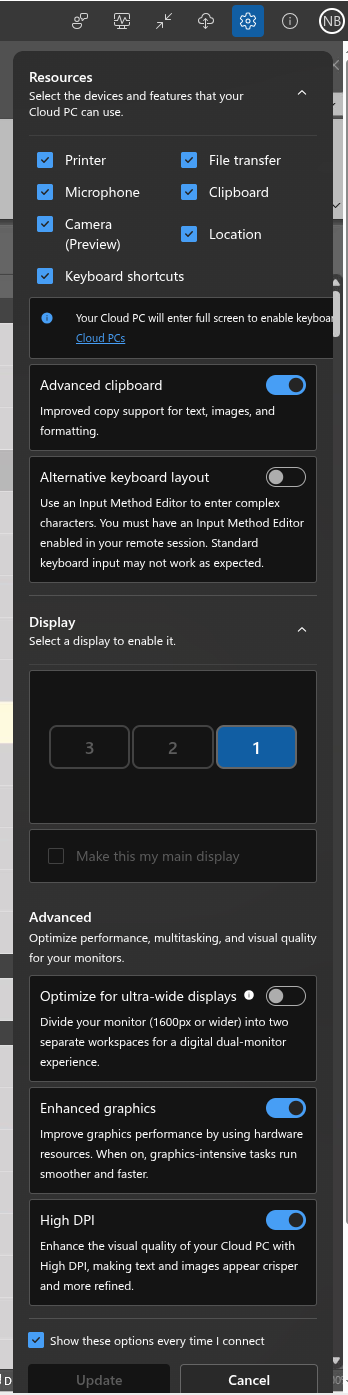
Accessing my Cloud PC’s via Edge worked just like with the Brave web browser except now I don’t see the warning about an unsupported web browser. The options available seem to be pretty much on par with what was offered with Brave, except now it could see all three monitors.
But, when trying to enable multiple monitors I could only get two of the three connected monitors to render at the same time using this option.
I did try the camera, and while it worked, but it was very glitchy and laggy, not something you’d want to try a video meeting with.
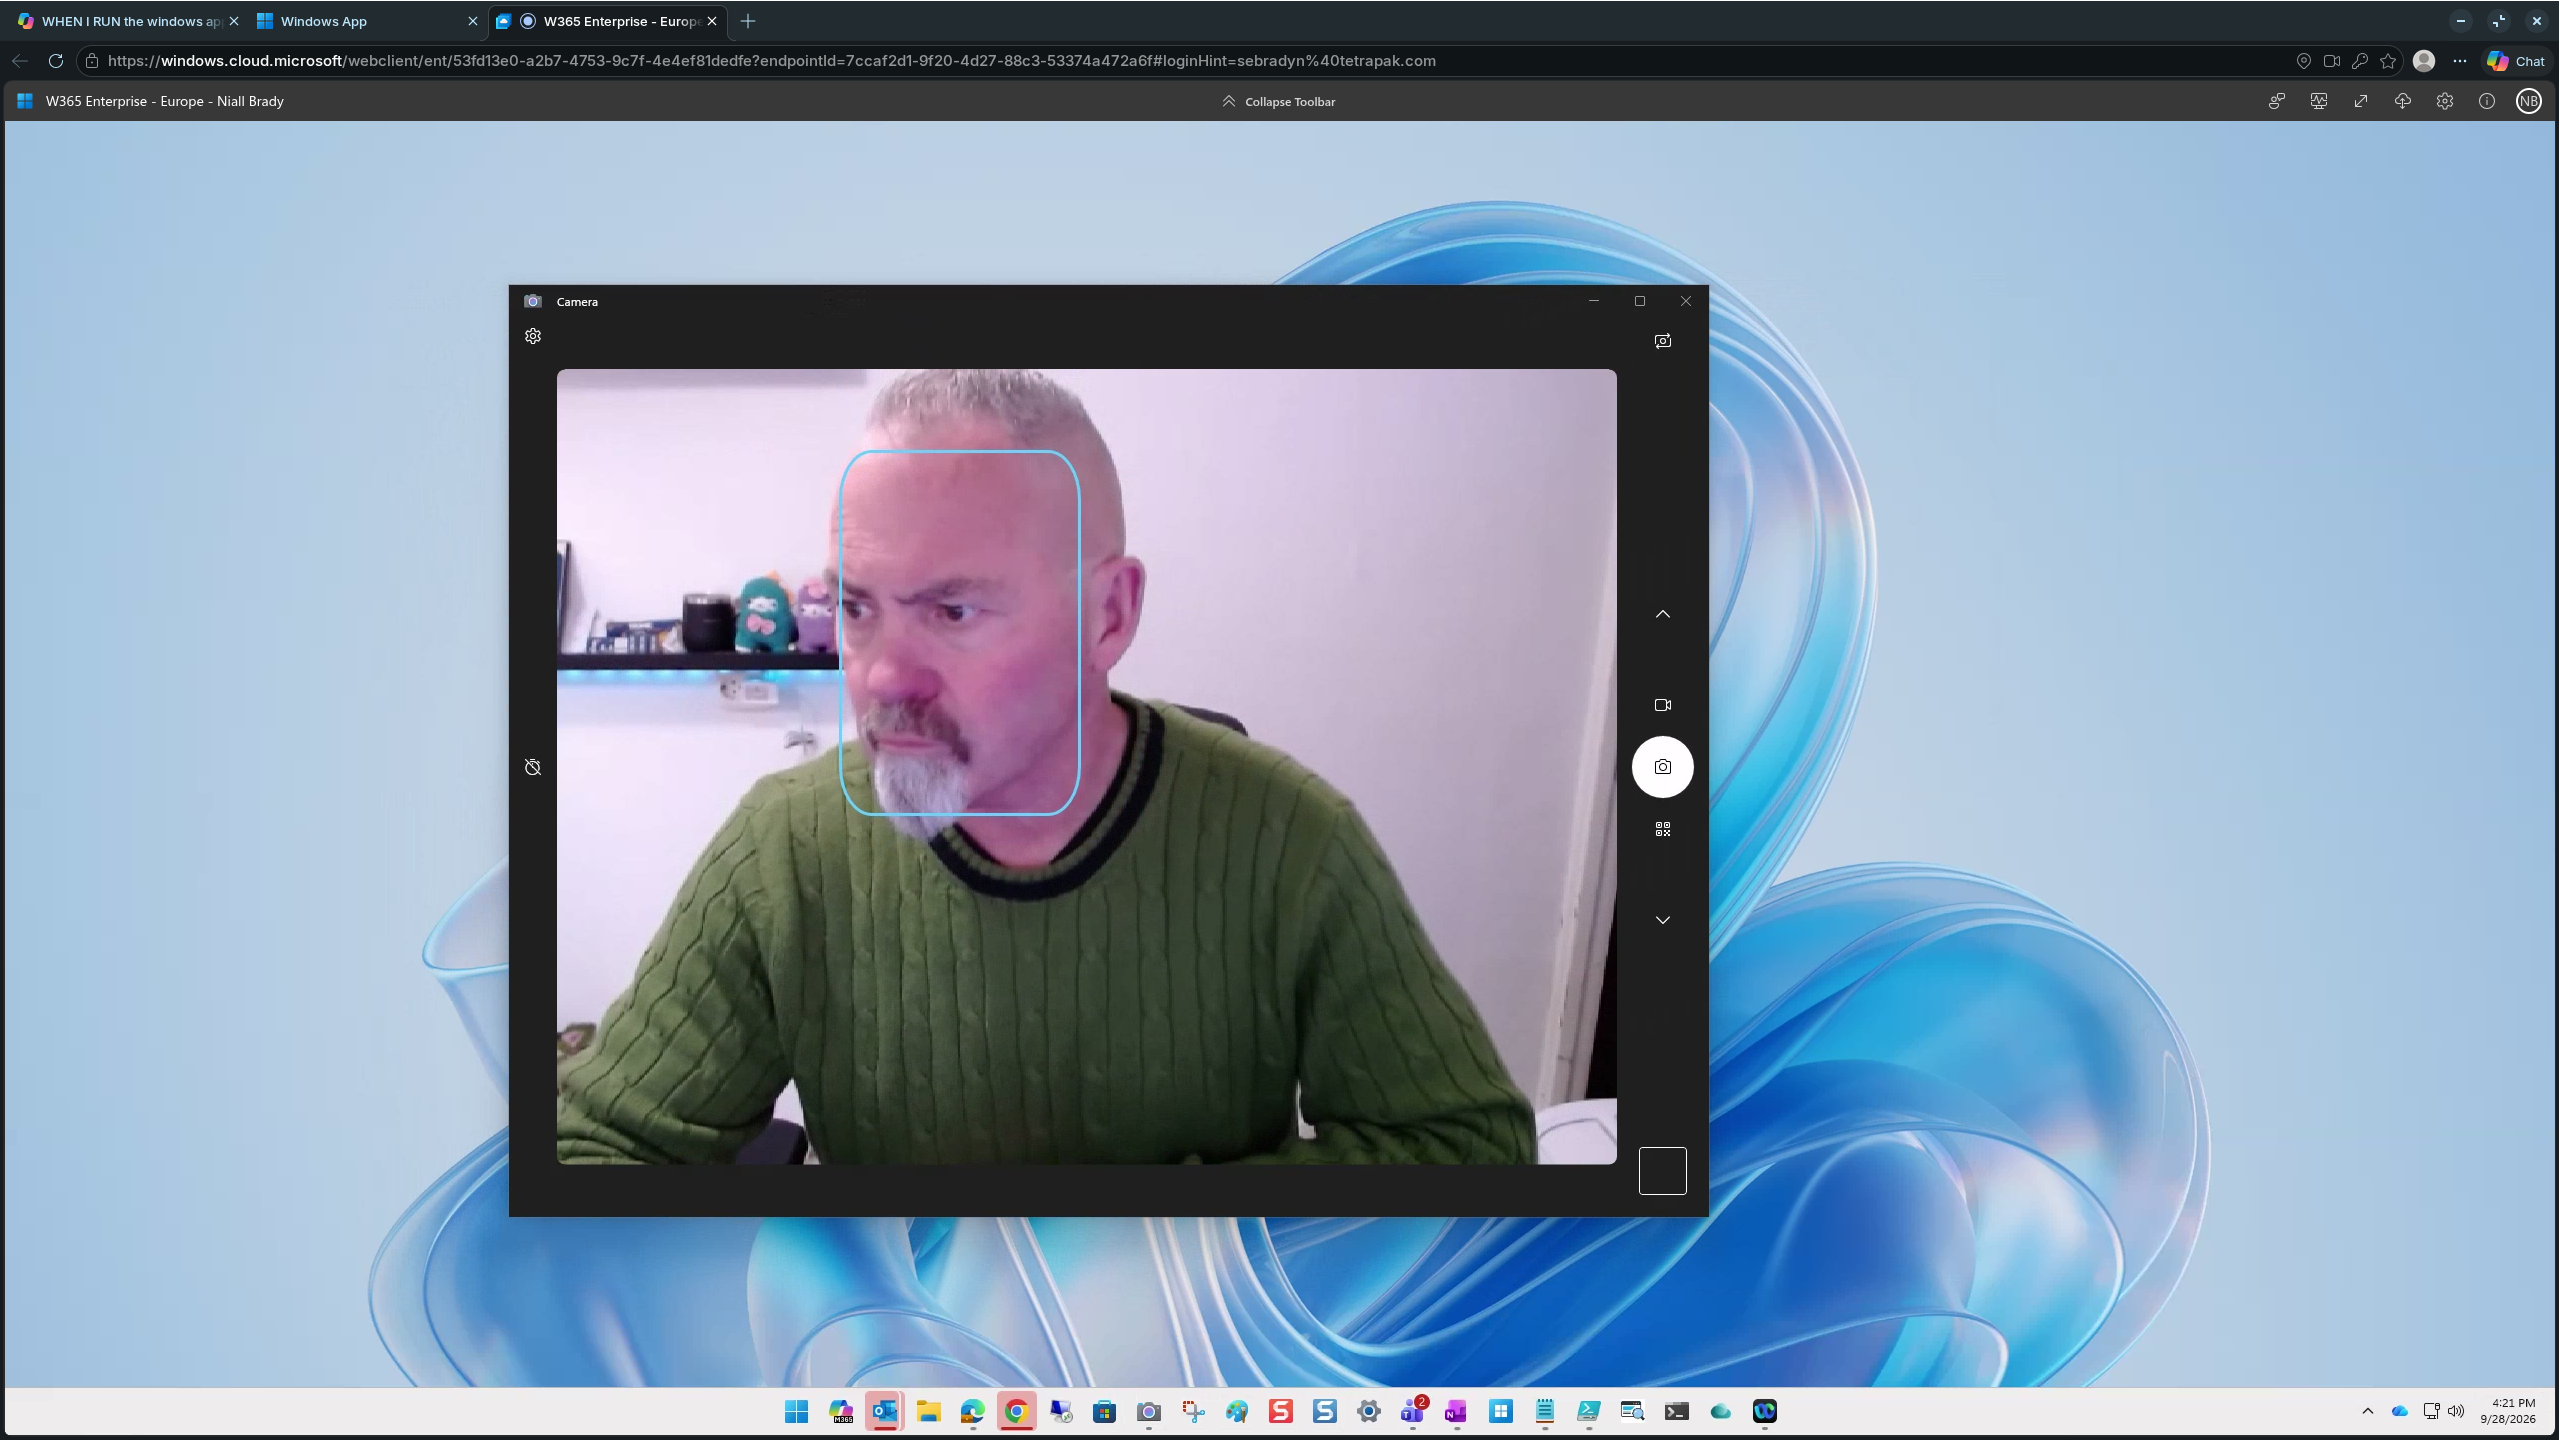
The cool thing about having multiple web browsers installed in ZorinOS is that I can have multiple Cloud PC’s running via those different browsers, for example as shown below, a personal Cloud PC on the left monitor via Brave, and my work Cloud PC on the right monitor via Microsoft Edge.

Unofficial Windows App
ZorinOS also offers an unofficial Windows app (client software) available for install via the snap software app store. It’s unofficial because Microsoft themselves have not released it, but it’s definitely worth a look.
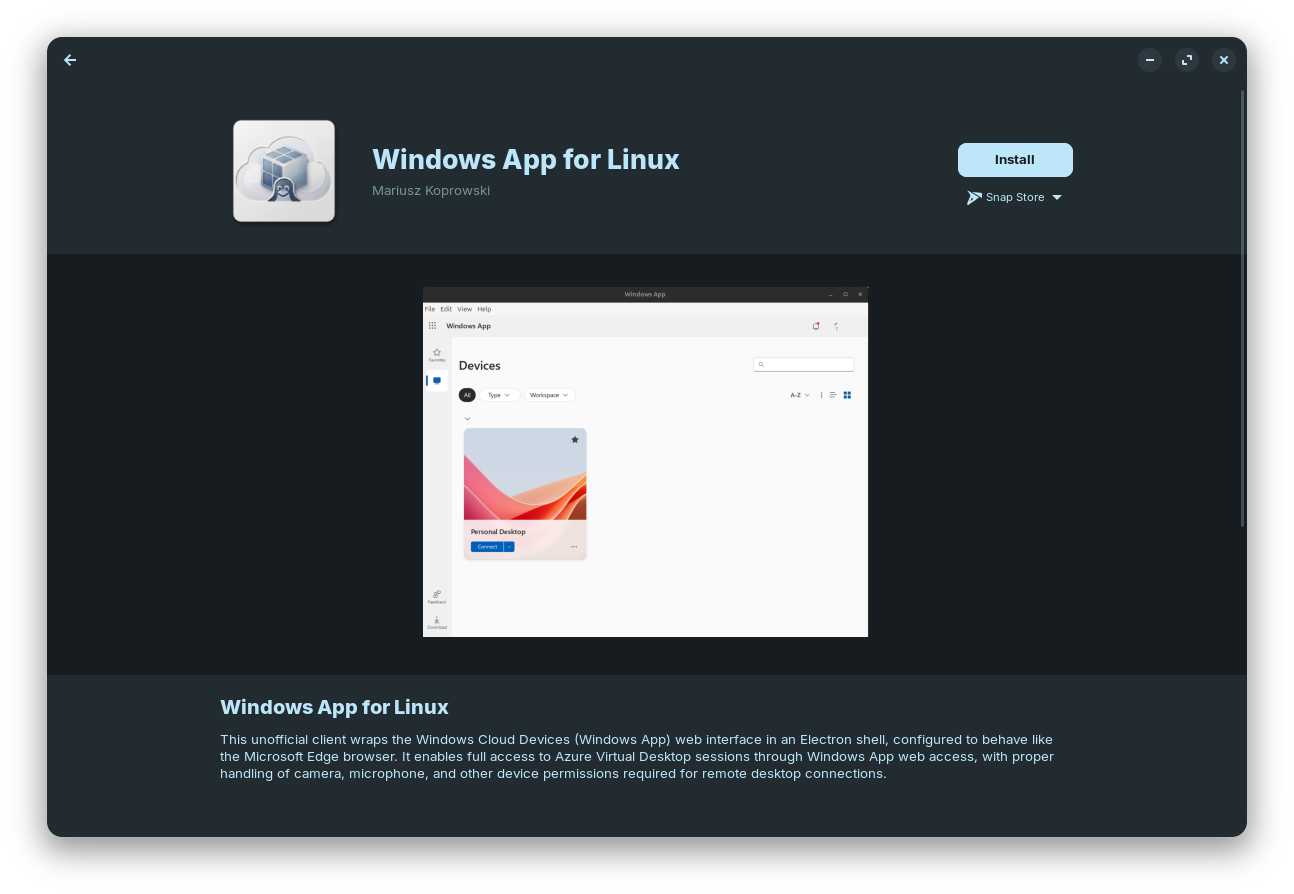
This unofficial client wraps the Windows Cloud Devices (Windows App) web interface in an Electron shell, configured to behave like the Microsoft Edge browser. It enables full access to Azure Virtual Desktop sessions through Windows App web access, with proper handling of camera, microphone, and other device permissions required for remote desktop connections.
After installing it, I clicked the app, but nothing happened. I went to his website, and found this.

I’ll reach out to him and see if he can assist with getting it to work in ZorinOS and post back here If I get it working.
Summary
Using your Windows 365 Cloud PC’s is absolutely possible with Linux and more specifically ZorinOS, however I still wish that we had an official Microsoft release of the Windows app. The Microsoft learn.microsoft.com docs page for the official Windows app does not even mention Linux 🙁 which is very disappointing.
Having no native app in Linux means that optimizations for Teams (audio and video) cannot take place and therefore won’t work as well as they could. It’s a shame because everything else is working really really well via the Web Browser sessions.
I will definitely keep bugging the Program managers for Windows 365 to release a Linux client, and I’ll be happy to post here once that day comes, if ever. Also regarding keeping Linux on my Lenovo T570, that’s for sure, I’ve been running it since early July and am not going back to Windows on this device except via Windows 365.
